Neat Smart Organization System - Set Separate or Combined Scanning Mode Before Processing
Please Note: Neat Web App now has ALL of the desktop features, and so much more! You can continue to use this desktop application, however, all new features, improvements, and updates will occur in our Neat web application. Click here to learn more!
Learn how to set separate or combined scanning mode using the Neat Smart Organization System. Neat allows you to change a number of scan settings, including separating or combining items before sending a scan to process. Follow the steps below to separate or combine a scan before processing.
At this time separating or combining items can ONLY be done before processing the item. Once the item has been fully processed alterations cannot be made to the item. We understand the importance of this feature and are working to implement this in a future update of the Neat Cloud.
Mac users can export their items to PDF files and use the Preview application on their computer to combine PDFs. Once combined, the single PDF can then be imported to the Neat Cloud using the Neat Smart Organization System.
Set Separate or Combined Scanning Mode Before Processing
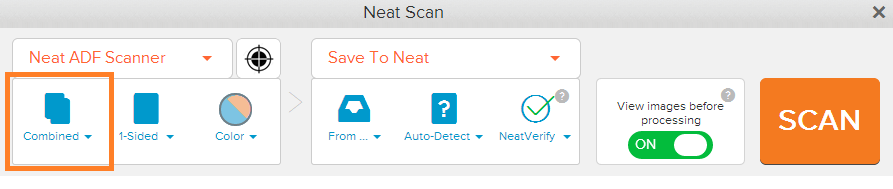
- Click the Scan button.

- A Neat Scan window will appear. You can change the separate or combined scanning setting before scanning any items. Click on the drop down under your scanner selection and select either Combined or Separated.
Then scan your item.
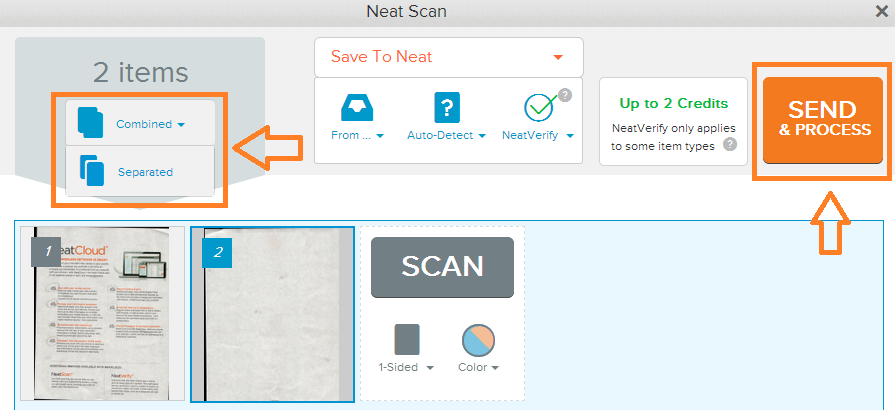
- You can also change the separate or combined scanning setting after you've scanned your item, but before you send & process the item in the Neat Cloud. Click on the Combined or Separate icon
to view the options on the drop-down menu.
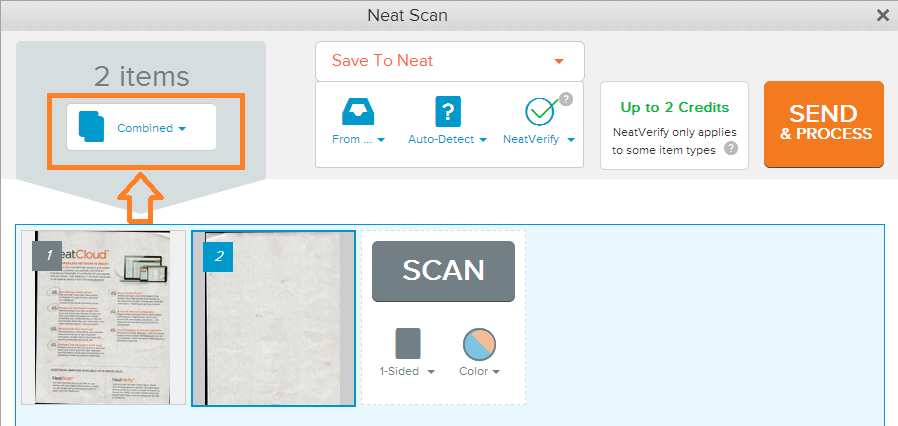
- Select either Combined or Separated, then click Send & Process to complete the scan.