Manually Adding Neat to ScanSnap Manager
If Neat doesn't show up in the list of available applications in the ScanSnap Manager after registering it with the Manager, then you can try to manually add Neat to it.
Windows Steps
- Open the ScanSnap menu, by clicking on the icon in the taskbar.
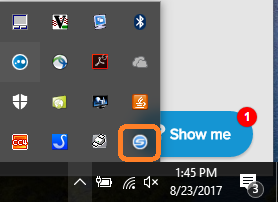
- Turn off the Quick Menu by removing the check mark next to Use Quick Menu. Select Details to view details about your configuration. Then choose Add or Remove.
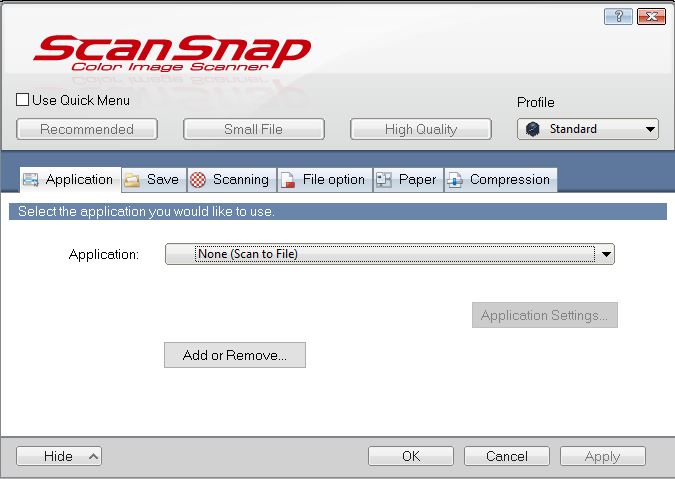
- Click Add.

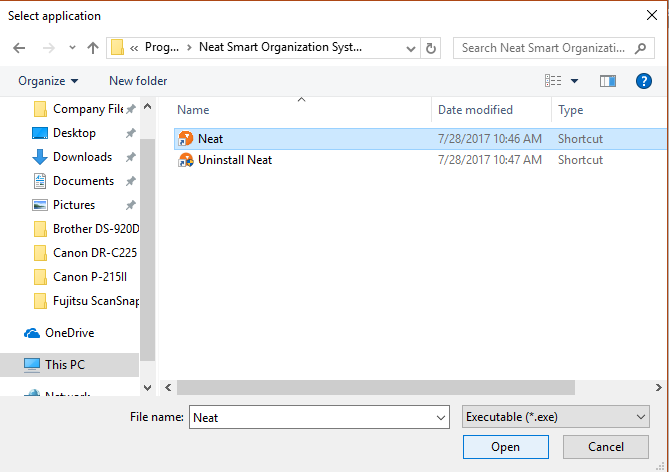
- Then select Browse.
- Browse to C:\ProgramData\Microsoft\Windows\Start Menu\Programs\Neat Smart Organization System. Then select Neat and Open.
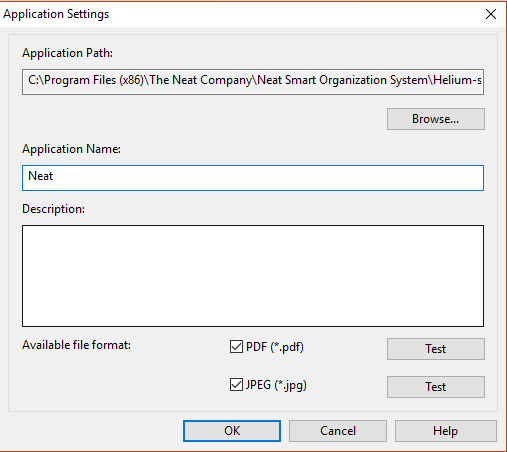
- Name the application Neat and then select OK.
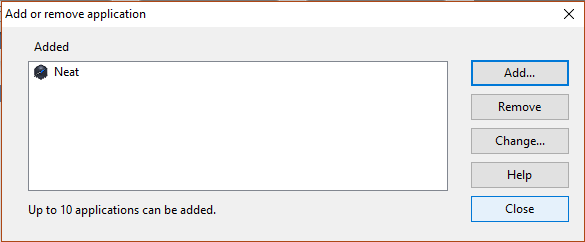
- Neat will then be listed in the Added applications list. Click Close to continue.
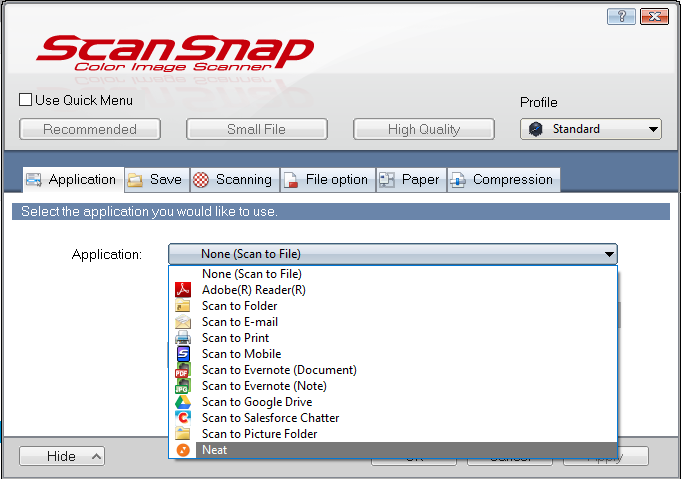
- Make sure Neat is selected under Application and then try scanning again.
Mac Steps
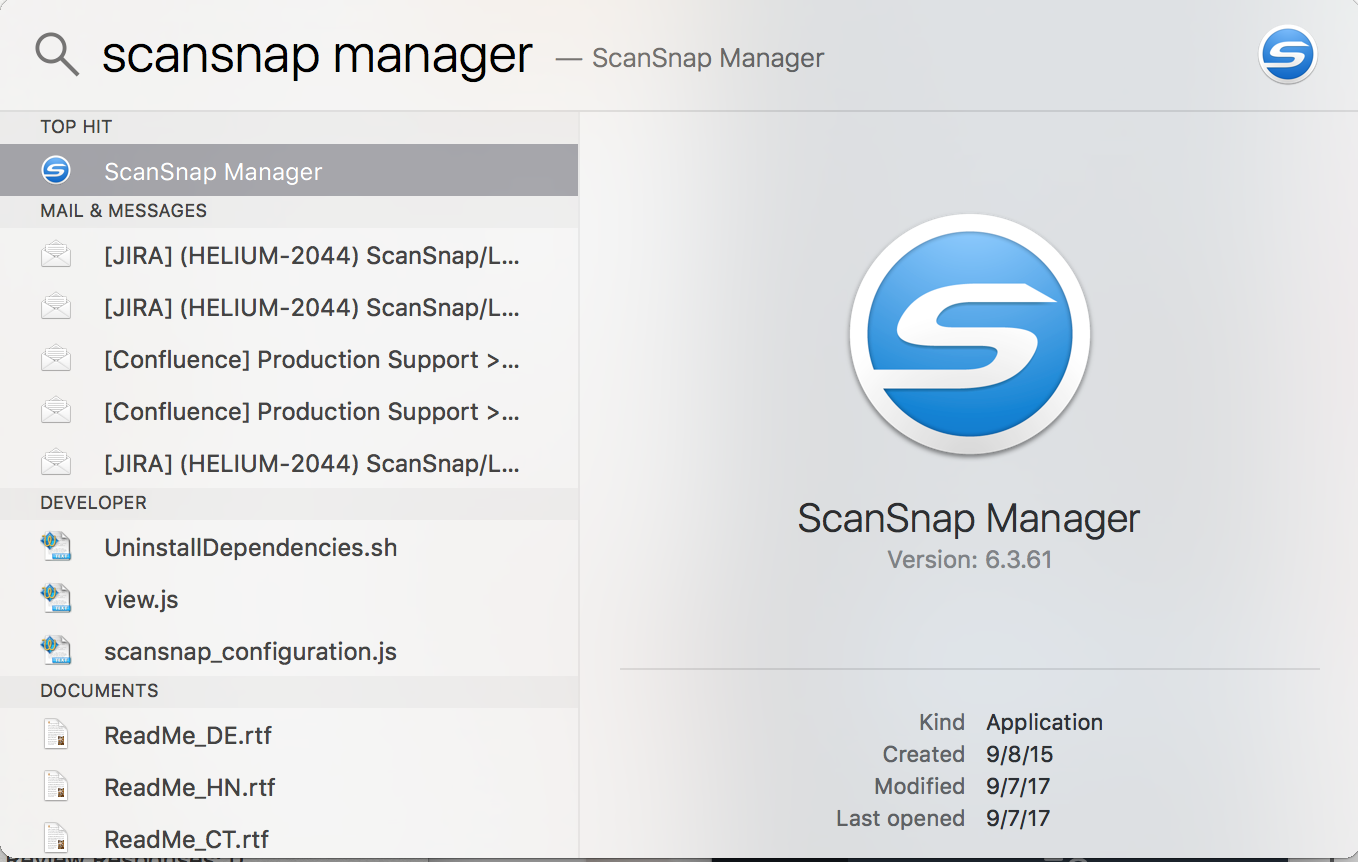
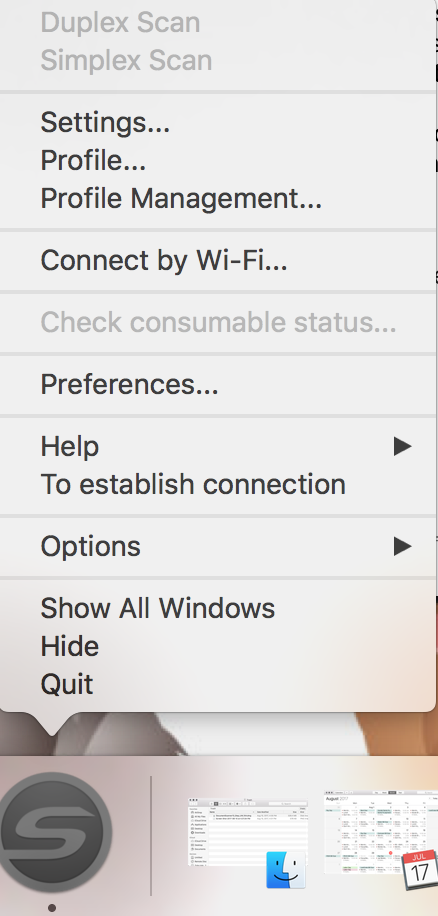
- Open the ScanSnap menu, by right-clicking on the ScanSnap application icon.

- Select Settings...
- Uncheck Use Quick Menu and select Detail.

- Choose Add or Remove.
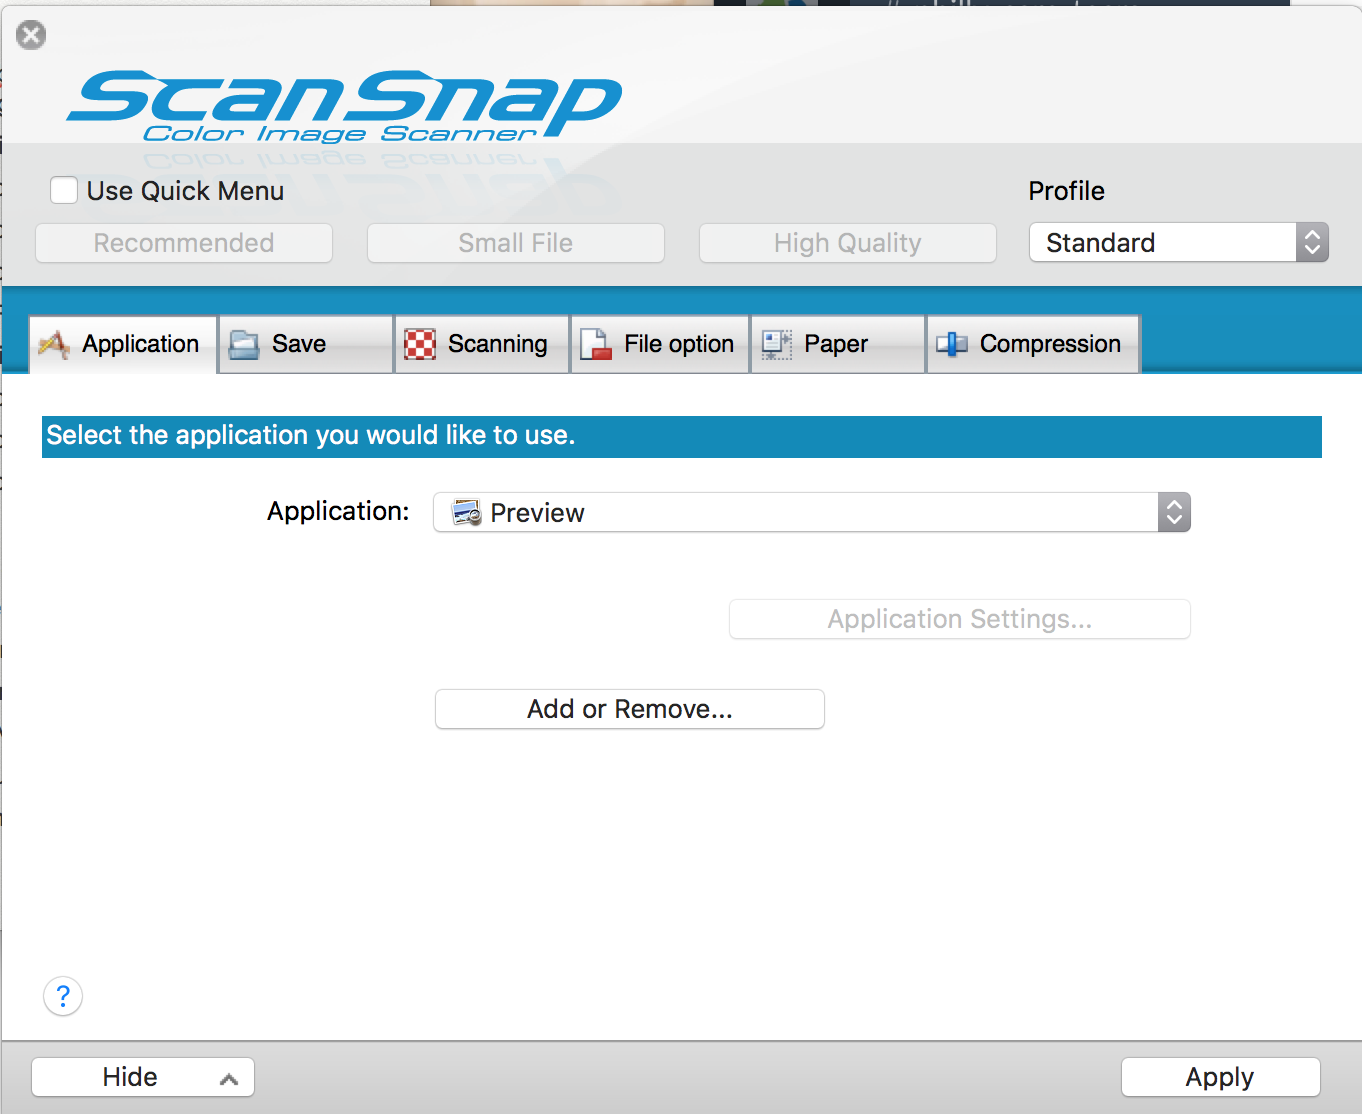
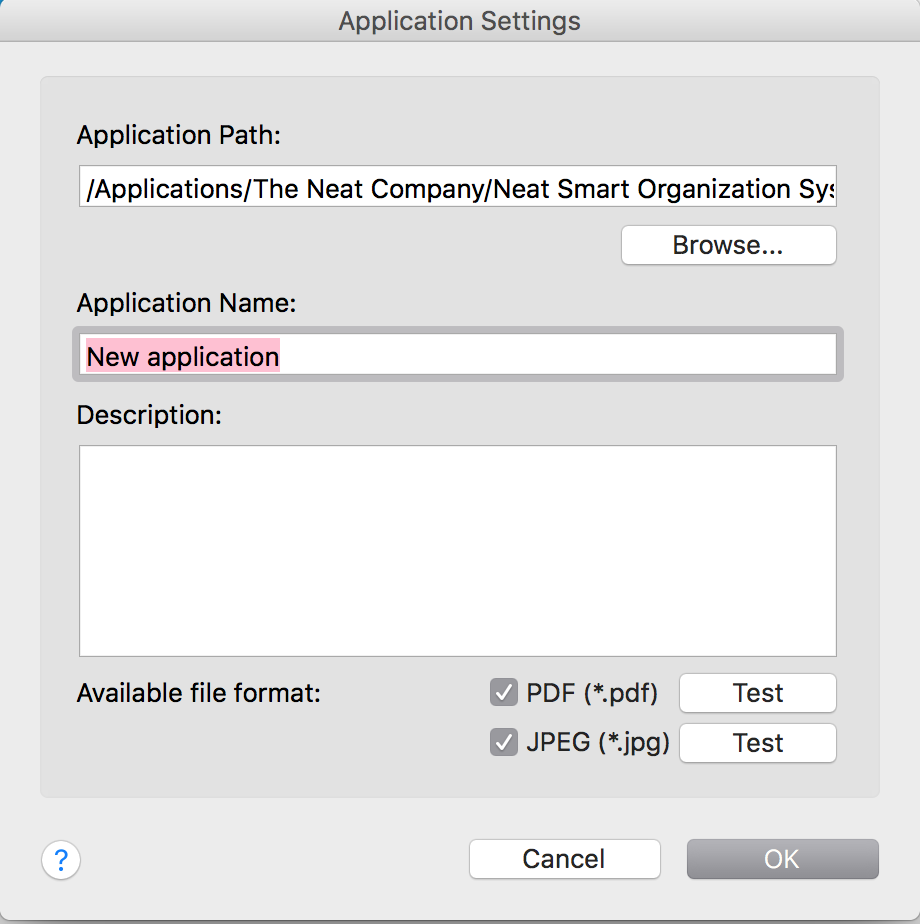
- Select Browse.
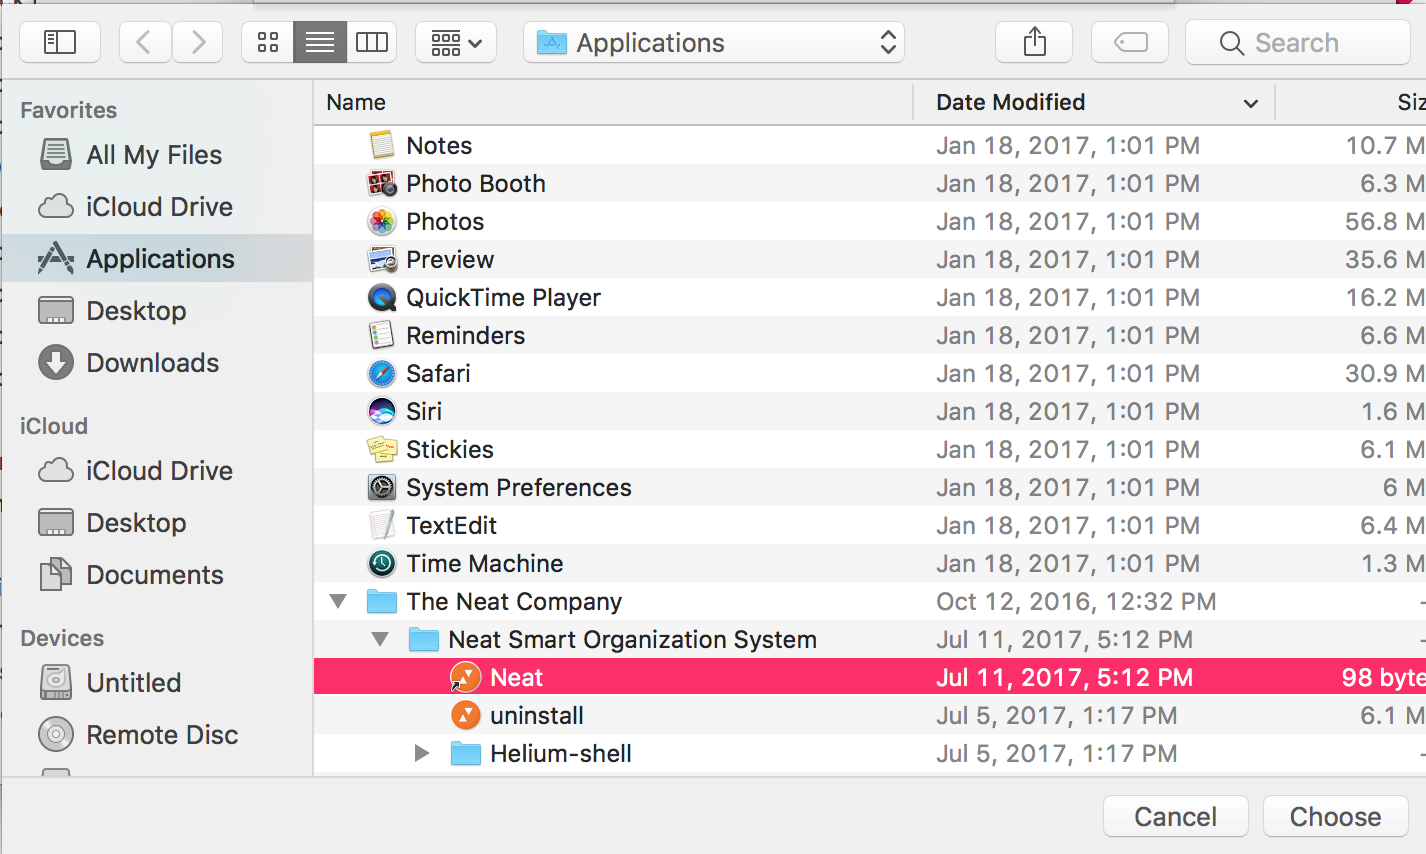
- Browse to Applications/The Neat Company/Neat Smart Organization System/ and select Neat. Click Choose.
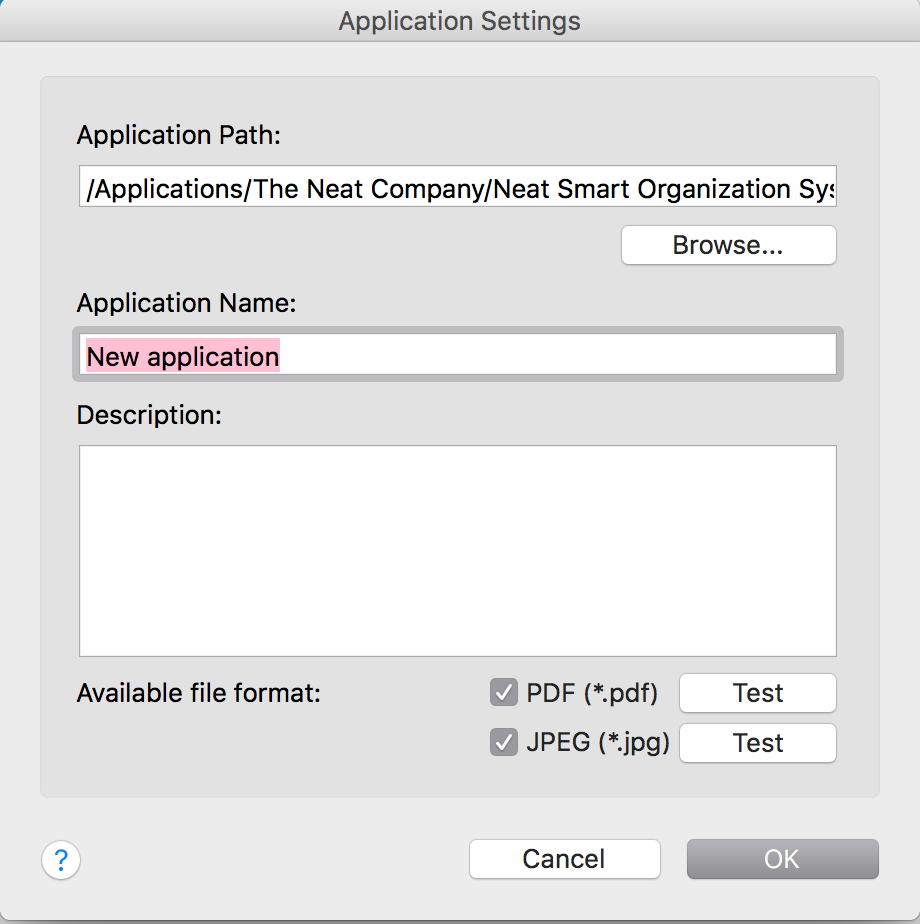
- Under Application Name enter Neat, and select OK.
- Select Close.
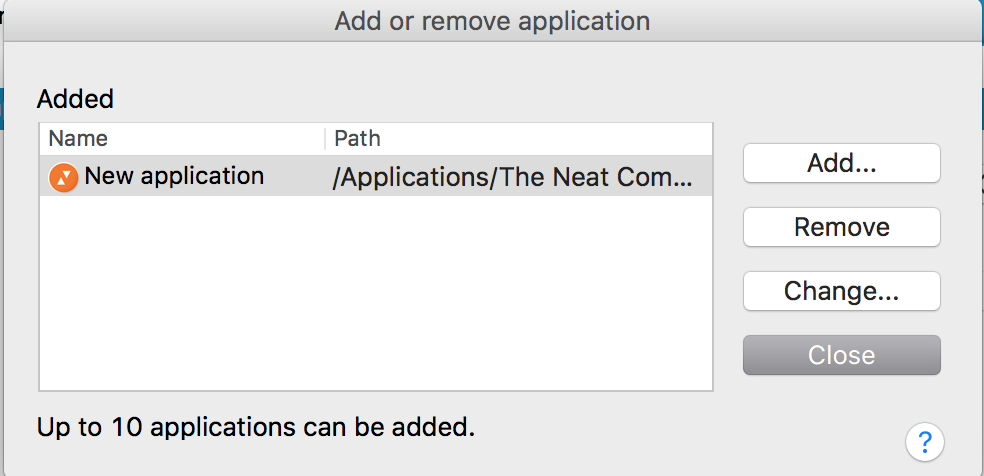
- Under Application, click on the dropdown and choose Neat.
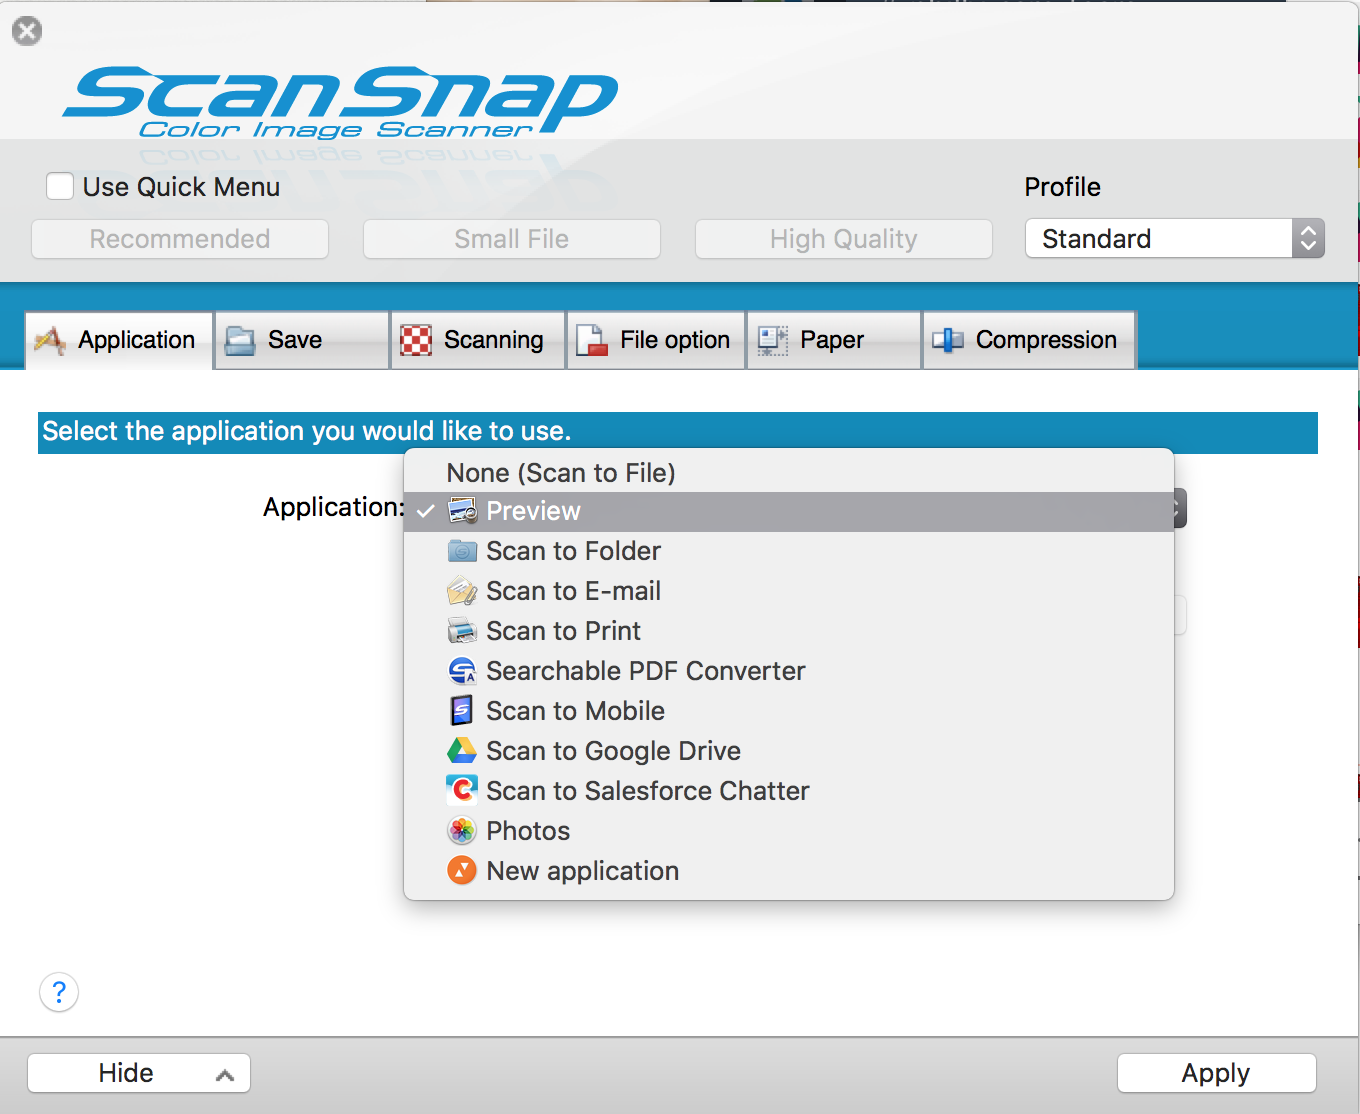
- Click Apply to save your changes.
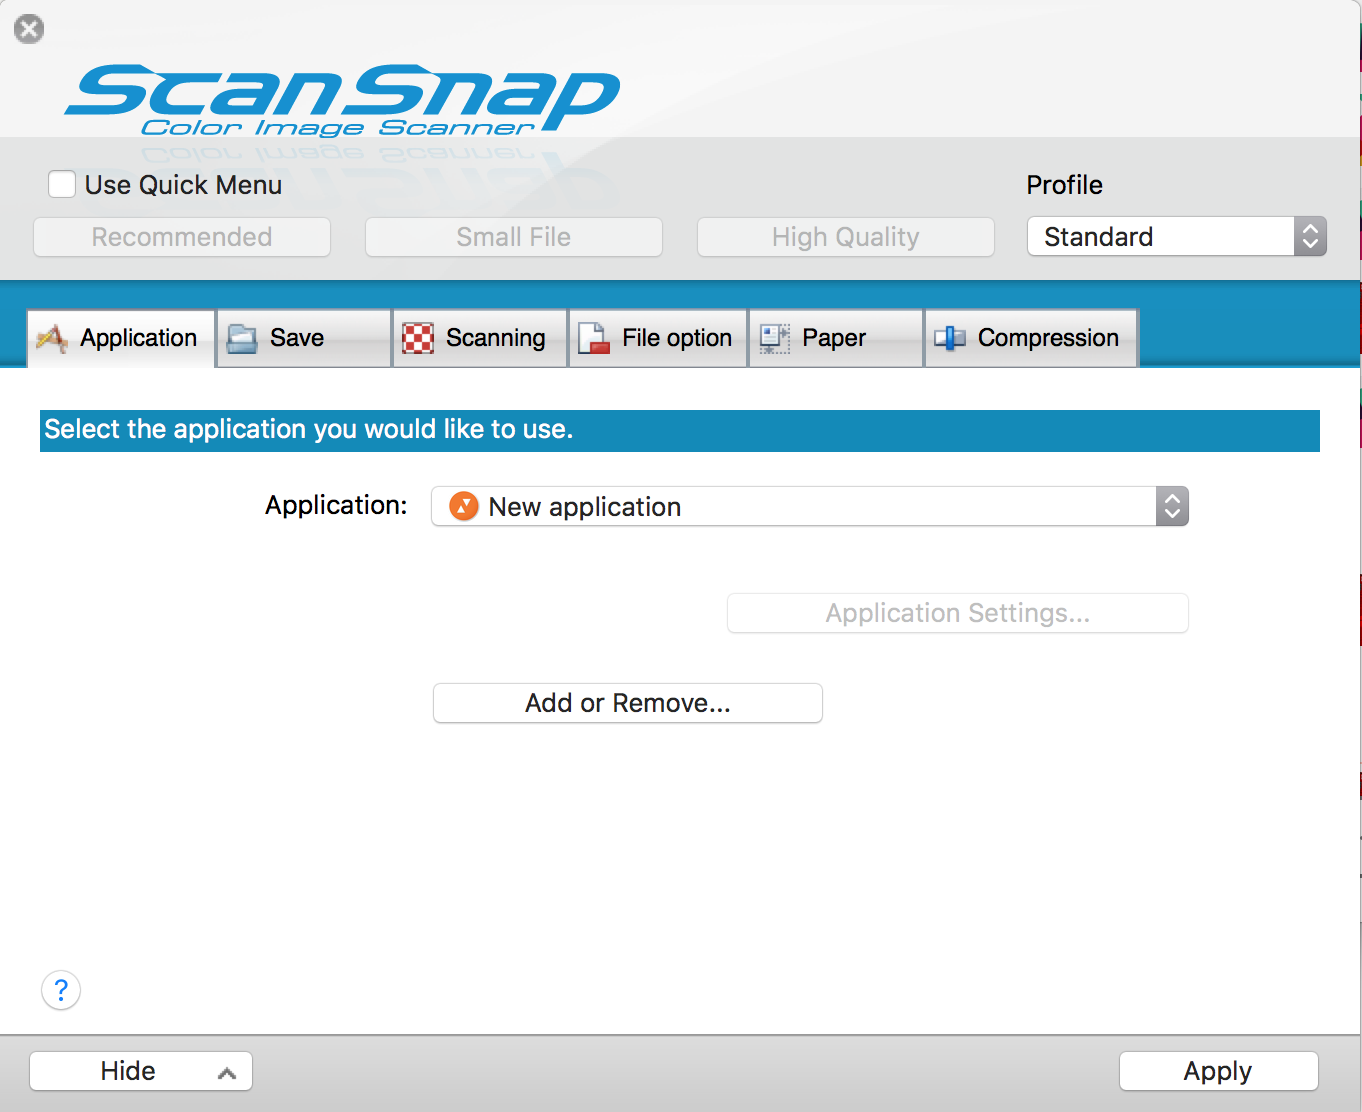
- Make sure Neat is selected under Application and then try scanning again.
