How to Scan to PDF and Import to Neat Using ScanSnap Manager
You can use the Scansnap Manager included in the CD with your scanner to scan items directly to PDF on your computer. If desired, those items can be imported to Neat afterward. Follow the steps below to scan to PDF using Scansnap Manager. These steps use the ScanSnap ix500 and assume the ScanSnap Manager is installed and the scanner is already set up, connected to your computer via usb, and powered on. For help see: https://www.pfu.ricoh.com/global/scanners/scansnap/dl/
- Open the front top cover and load your document. The blue scan button light should turn on.
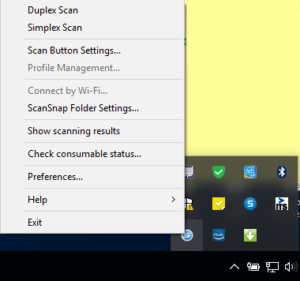
- You can either press the blue scan button or RIGHT-click the ScanSnap Manager icon from your task bar where you can choose your scan option: simplex (one-sided) or duplex (two-sided).

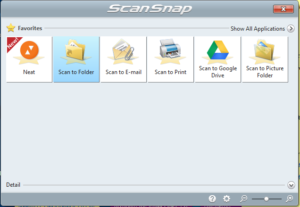
- Once scanned, you'll get the ScanSnap window giving you options to save your document. Choose "Scan to Folder" to save the file in a folder on your computer.

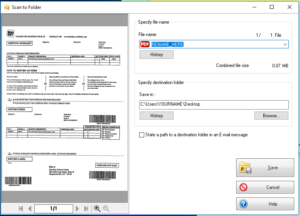
- In the Scan to Folder window, you can choose a name for the PDF file and choose a location on your computer to save it.

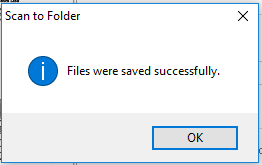
- Once ready, click the "Save" button and you will get confirmation the file was saved.

- If desired, you may then import your item directly to the cloud.
