Import Items into Neat
You can import items directly to Neat. You can import the following file types to Neat: .PDF, .JPG, .TIF, .PNG, and .BMP.For importing lists of customers, products and services into the Invoicing section of Neat, see Importing Customer, Product, and Service Lists to Neat Invoicing.
FAQs
- How do I import an item?
- What types of files can I import?
- What is the max file size I can import?
- How many files can I import at a time?
- Can I import an image to an existing file?
- How can I get help with importing other types of data?
How do I import an item?
- Login at app.neat.com
- Click Import then Files. Import is located along the top right of Neat.

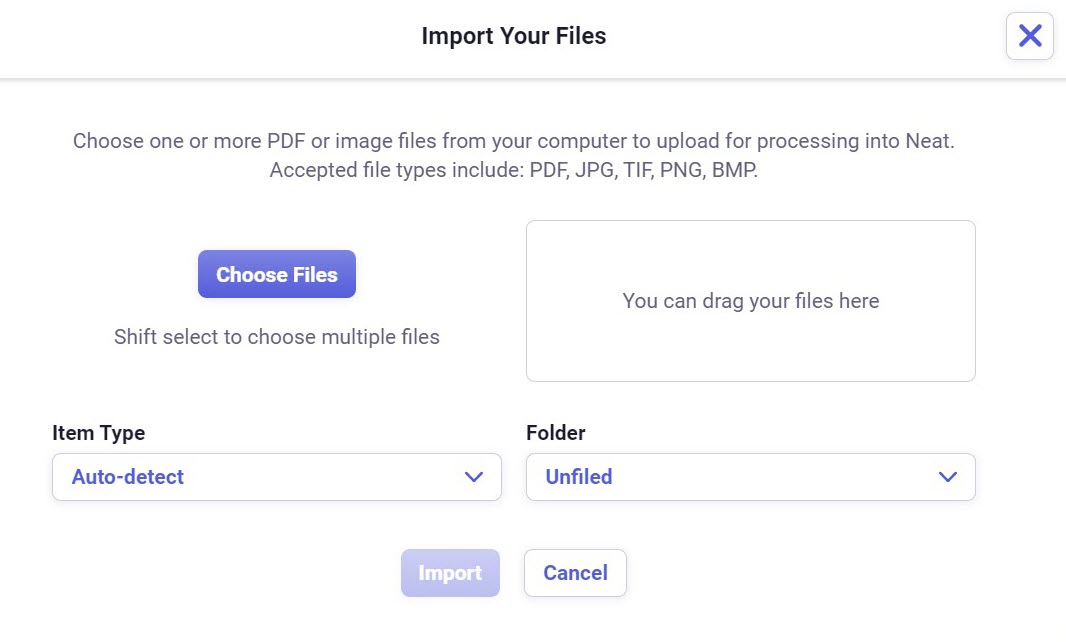
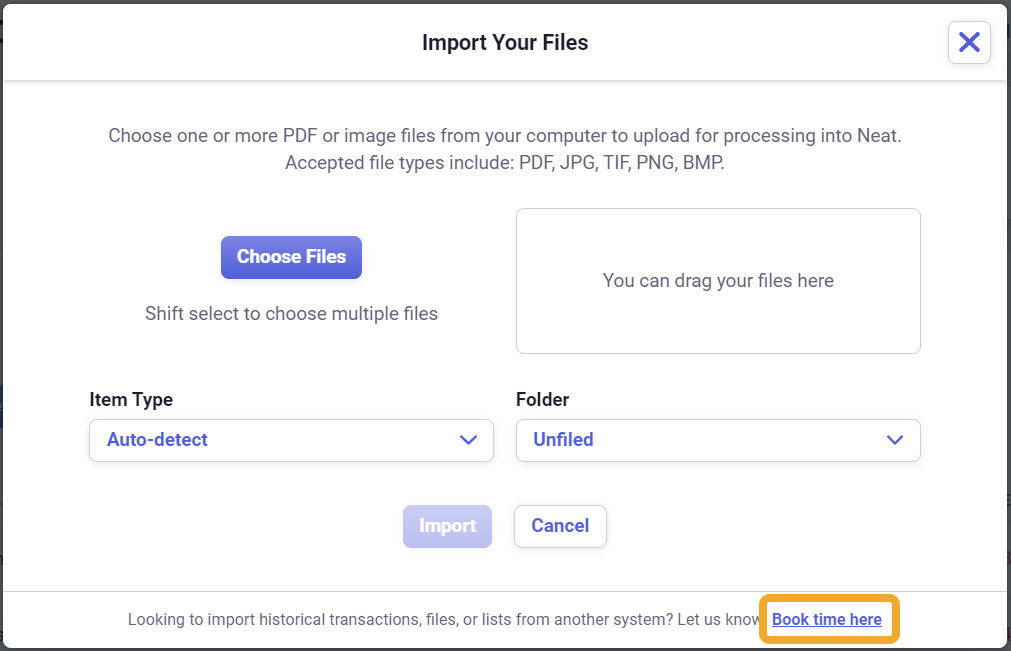
- In the Import Your Files box, click Choose Files, then browse to and select the file(s) you want to import. OR drag and drop the files you want to import in to the import window.
- Once you’ve selected your file(s), then select the Item Type you want your item(s) to be once they are imported.
Please Note: By default, the ‘item type’ is set to Auto-Detect. If you leave Auto-/Detect selected then the Neat Cloud will automatically classify the item type for you, based on the item type it thinks it is.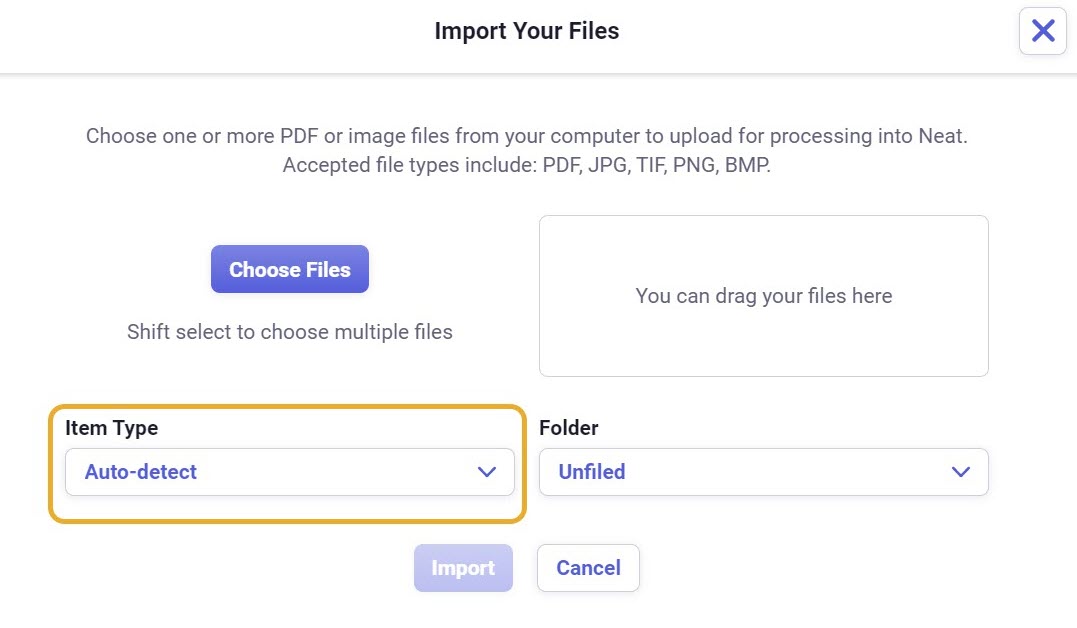
- Then select the folder you want to save your item(s) in.
Please Note: By default, the item(s) will be saved under the Unfiled folder in your file cabinet, if you do not select a folder.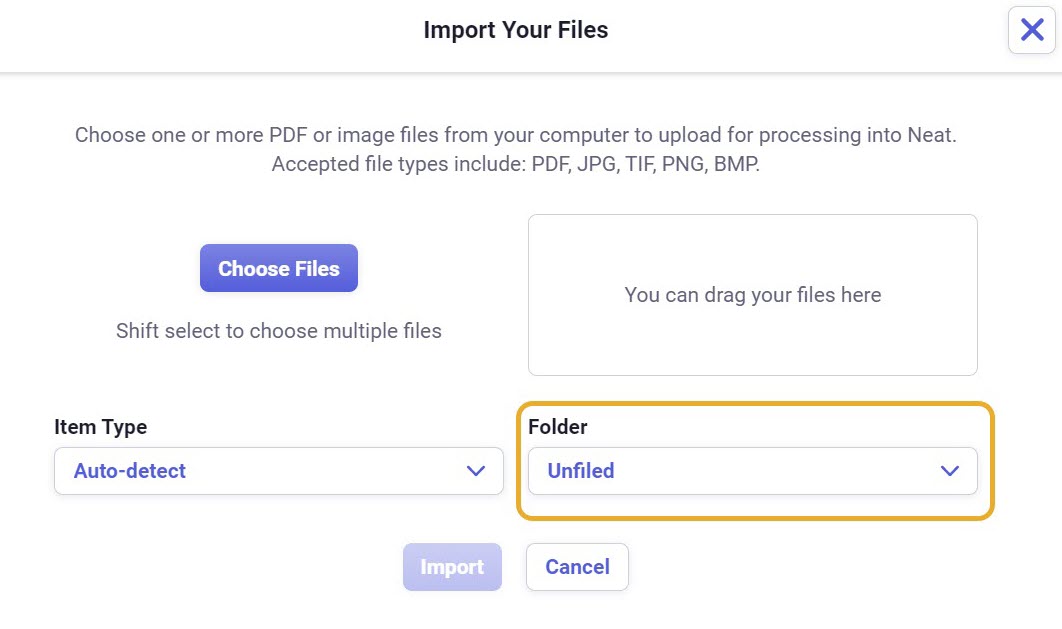
- Once you're done making your final changes, click Import.
- Your items will be imported to Neat in the folder you selected in step 6. Click on the link Take me to the folder in the green import success window that pops up to be taken right to the item.
 Please Note: Your item will also appear in your Needs Review folder.
What types of files can I import?
You can import the following file types to Neat:- .JPG
- .TIF
- .PNG
- .BMP
What is the max file size I can import?
There is no file size limit on items imported to Neat!
How many files can I import at a time?
There is currently no limit to the amount of files you can import at one time. However, the more items you import at one time, the longer it will take for your items to process.
Can I import an image to an existing file?
Yes, you can! However this feature is limited to items in your database that do not already have an existing image. Future releases of Neat will allow you to import or add images to items that already have images.
How to Import an Image to an Existing File
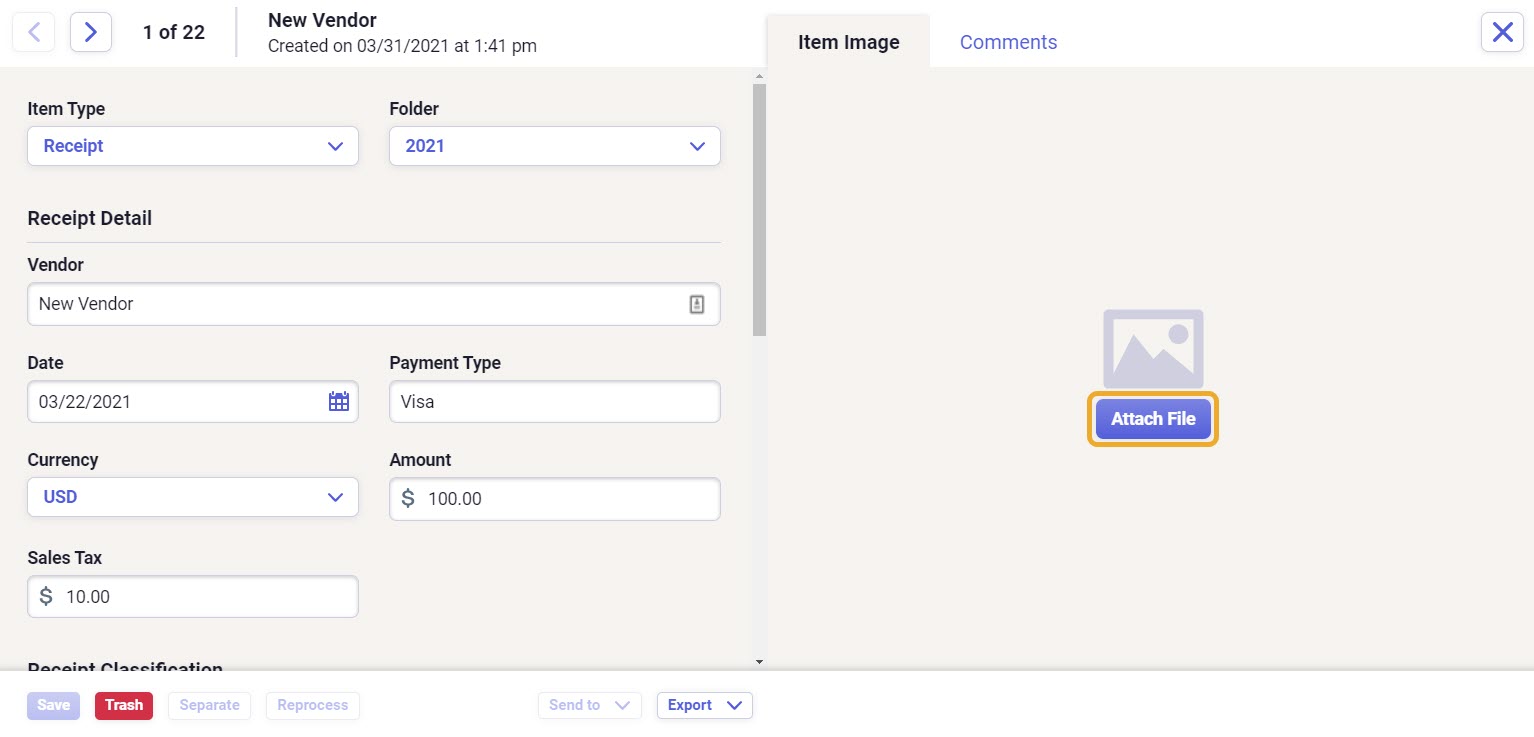
- Locate an item that does not already have an image, and double click on the item to open it. Click Attach File.
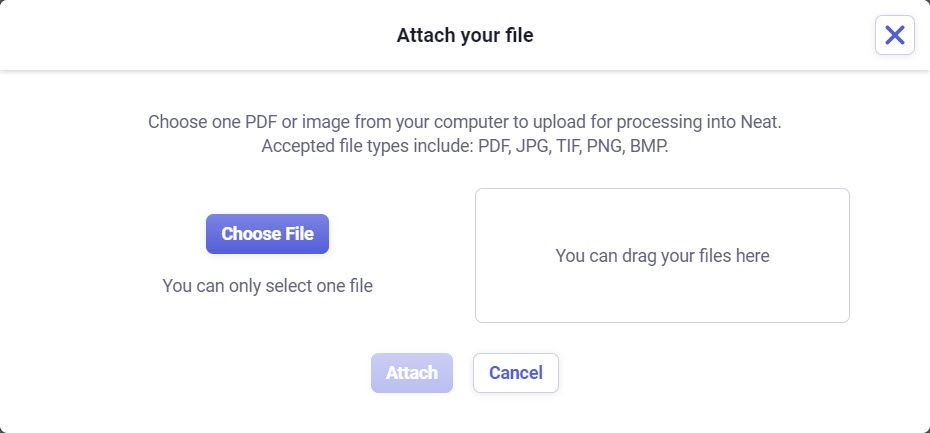
- In the ‘Attach Your File’ window, click Choose File. Then browse to the image you want to import on your computer and select it.
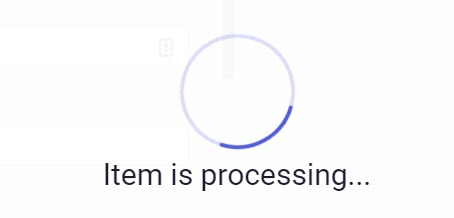
- It will take a couple moments for the import and your item to process. We recommend closing the item window and refreshing your page if processing is taking a while.
- Once the processing is complete, you can view your item image in the image viewer.
How can I get help with importing other types of data?
You can get further assistance directly within Neat by following the steps below.
For Windows users, an alternative to importing is Print to Neat.
- Click Import. Import is located along the top right of Neat.
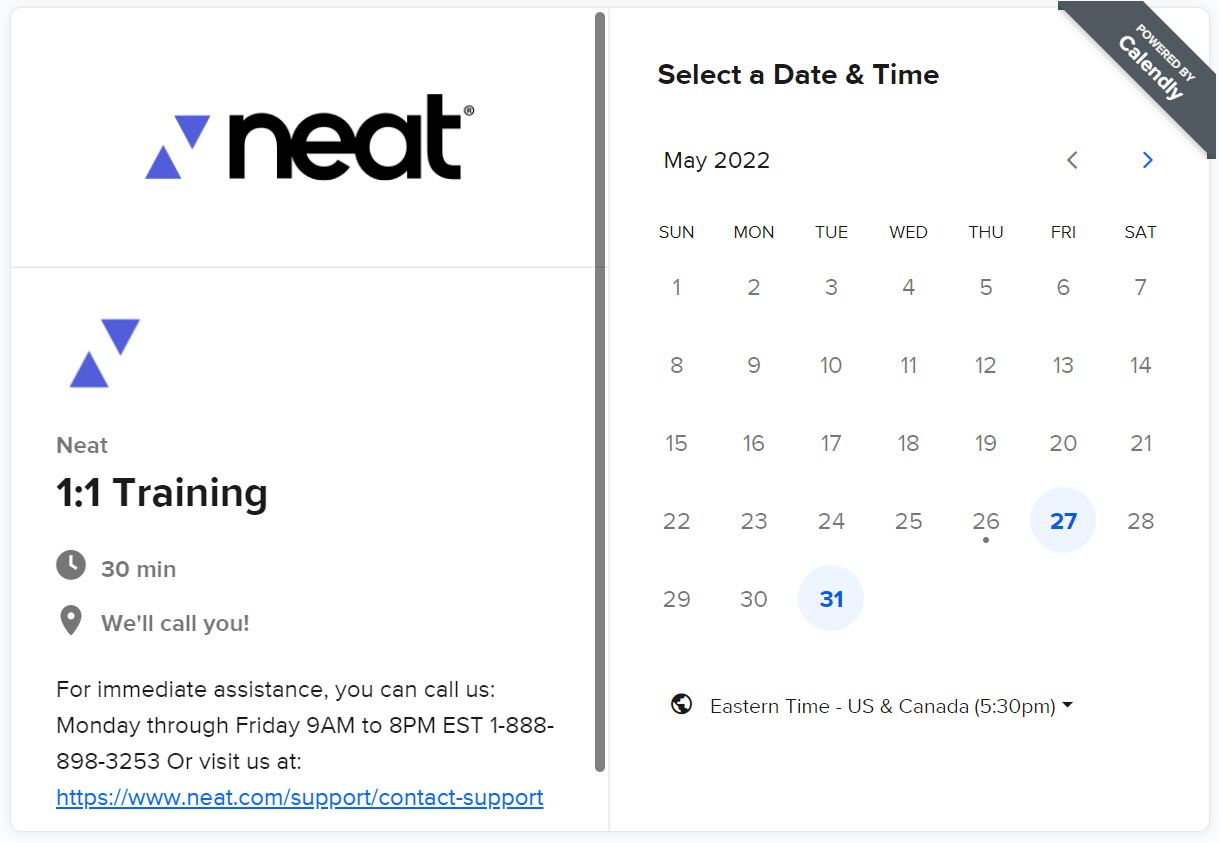
- At the bottom right of the Import Your Files window, click on the Book time here link.
- In the calendar provided, you can schedule a date and time to work with an agent.