Export to Excel in the Neat Smart Organization System
Please Note:The information provided on this page is related to products and/or services which are no longer supported. This information is provided as a courtesy for users who may still need troubleshooting or FAQ information for end-of-life products.
The Neat Web App now has ALL of the desktop features, and so much more! You can continue to use this desktop application, however, all new features, improvements, and updates will occur in our Neat Web Application.
The Neat Web App provides an updated and enhanced export-to-excel experience. Log in to your Neat account on the Web App here and check out this Help Center article for steps on exporting your data to excel.
Learn how to export to Excel spreadsheets in the Neat Smart Organization System.
Export to Excel
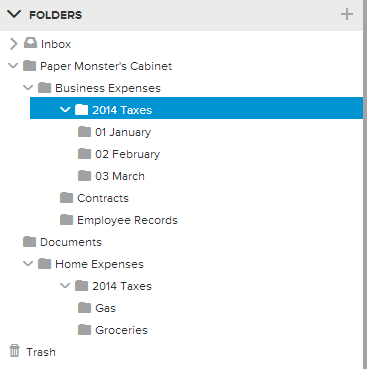
In the Folders pane, click on the folder that contains the file you want to export.
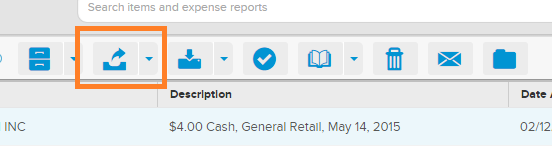
In the Details View pane, click on the item(s) you want to export. A menu will appear above the item(s).
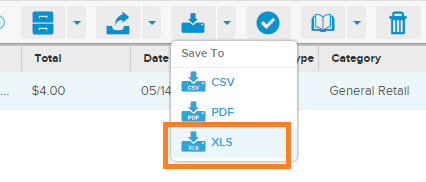
In the menu, click the small down arrow next to the Save To button and select XLS in the drop-down menu.
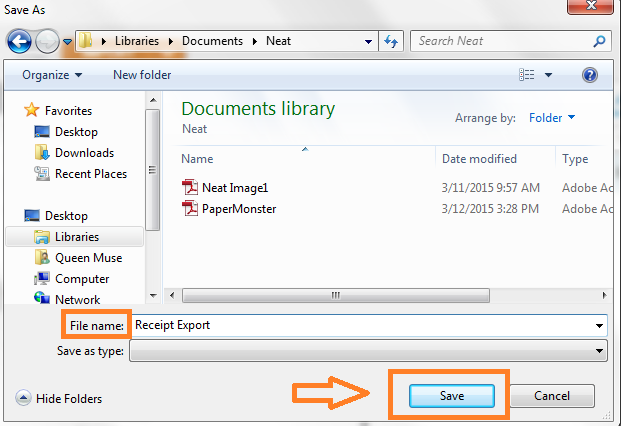
A Save As window will open. Browse the location you want the export to be saved in, enter a File Name, then click Save. The exported .XLS file will appear in the location you selected in Step 4.