Integrate QuickBooks Desktop
- FAQs
- What is the benefit of integrating QuickBooks Desktop with Neat?
- Is the QuickBooks Desktop connection included in my Neat plan?
- What version of QuickBooks is supported with Neat?
- Are there any system requirements for using the QuickBooks Desktop integration?
- How do I connect Neat with QuickBooks Desktop?
- How do I send items to QuickBooks Desktop?
- How do I map my data in Neat with QuickBooks Desktop?
- Is on-the-go mapping available in Neat?
- How can I disconnect Neat from QuickBooks Desktop?
- How do my Neat items appear in QuickBooks?
- How many Company Files can I connect to Neat?
- How do I manage my QuickBooks connections?
- Can I send items from Neat to QuickBooks multiple times?
- Error: Unable to Send to QuickBooks Desktop
Please Note: For the following you will need to be logged in to the Neat web app.
FAQs
- What is the benefit of integrating QuickBooks Desktop with Neat?
- Is the QuickBooks Desktop connection included in my Neat plan?
- What version of QuickBooks is supported with Neat?
- Are there any system requirements for using the QuickBooks Desktop integration?
- How do I connect Neat with QuickBooks Desktop?
- How do I send items to QuickBooks Desktop?
- How do I map my data in Neat with QuickBooks Desktop?
- Is on-the-go mapping available in Neat?
- How do my Neat items appear in QuickBooks?
- How can I disconnect Neat from QuickBooks Desktop?
- How many Company Files can I connect to Neat?
- How do I manage my QuickBooks connections?
- Can I send items from Neat to QuickBooks multiple times?
- Error: Unable to Send to QuickBooks Desktop
What is the benefit of integrating QuickBooks Desktop with Neat?
The Neat’s integration with QuickBooks Desktop allows you to connect your Neat account with QuickBooks, map your data in Neat to QuickBooks, and send reviewed items from Neat to QuickBooks Desktop so you can organize your financial documents in Neat and manage them in QuickBooks.
Is the QuickBooks Desktop connection included in my Neat plan?
One QuickBooks Desktop connection included with all Neat + Automated Insights plans. You may purchase more QuickBooks connections as an add-on to your plan. The QuickBooks connection is not available for the Neat Base plan.
What version of QuickBooks is supported with Neat?
In order to successfully connect QuickBooks Desktop with Neat you must have:
- QuickBooks Pro 2009 or later
- QuickBooks Premier 2009 or later
- QuickBooks Enterprise 2009 or later
- One of the above versions of QuickBooks installed on a Windows computer for the initial connection.
Are there any system requirements for using the QuickBooks Desktop integration?
Please Note: For the initial connection only, Windows 7 or later is required.
Also, QuickBooks (Pro, Premier, or Enterprise 2009 or later) must be installed on the same Windows computer for the initial connection. After the initial connection has been established, Mac users can map and export data from Neat to QuickBooks
Desktop.
How do I connect Neat with QuickBooks Desktop?
First, make sure you meet the system and version requirements listed in the previous 2 FAQs above.Second, confirm you have a QuickBooks connection with your account.
Then, confirm that:
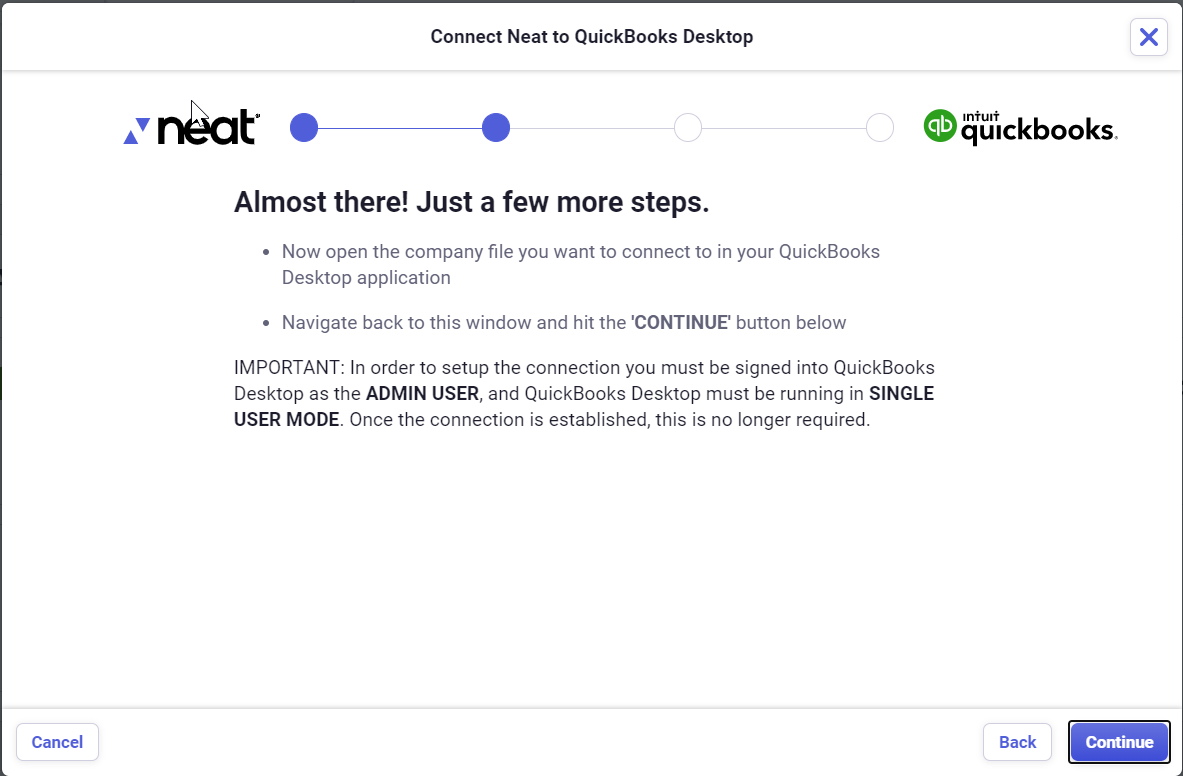
- You are logged into QBD as an admin.
- QBD is open in single-user mode.
- Log into
Neat and click on your name in the top right. Select Integrations.
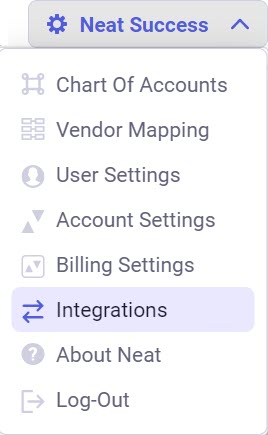
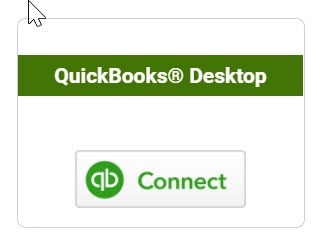
- Go to QuickBooks Desktop Application and click Connect.
- The connection wizard will open and inform you of the requirements. Click Continue.

- Follow the steps provided to download and install the Neat Sync Manager.
Important: In order for the connection to work properly, the Neat Sync Manager must be installed on the same drive as the QBD company file that you will access from Neat.
Once installed click Copy to Clipboard.
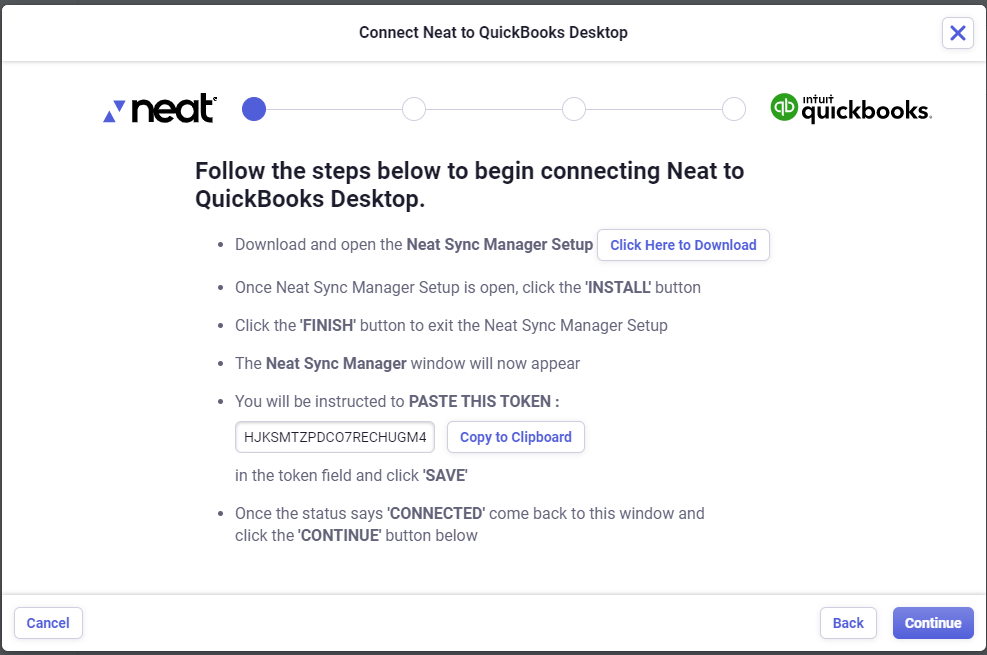
- If not already there, paste the token you copied in the Neat Sync Manager window. Then go back to the connection wizard and click Continue.

- Log into QuickBooks Desktop as an Administrator and open the company file you wish to connect to Neat. Once done, go back to the connection wizard and click Continue.
- You will need to allow Neat access to QuickBooks in order for Neat to send your items into QuickBooks.
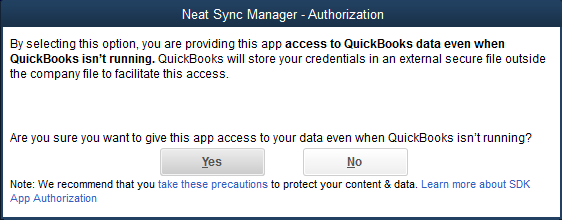
Please Note: We recommend choosing Yes, always: allow access even if QuickBooks is not running. You may, of course, choose a different option but will need to remember that QuickBooks Desktop will need to be open with the Neat connected company file whenever sending data, updating mappings, or connecting/disconnecting from the company file connected to Neat.
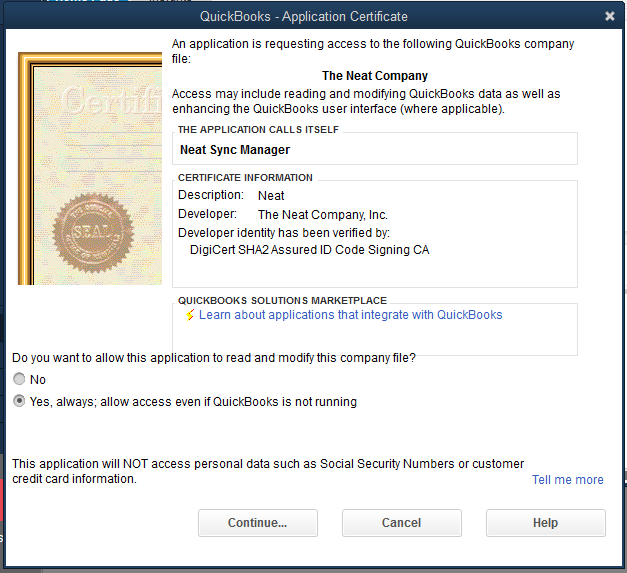
- Click Yes to allow Neat to access QuickBooks Desktop.
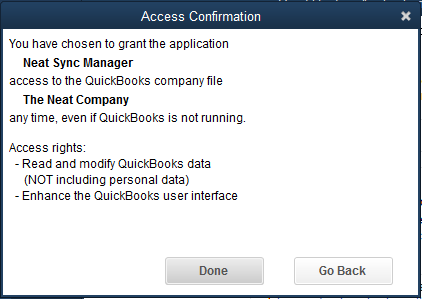
- Click Done.
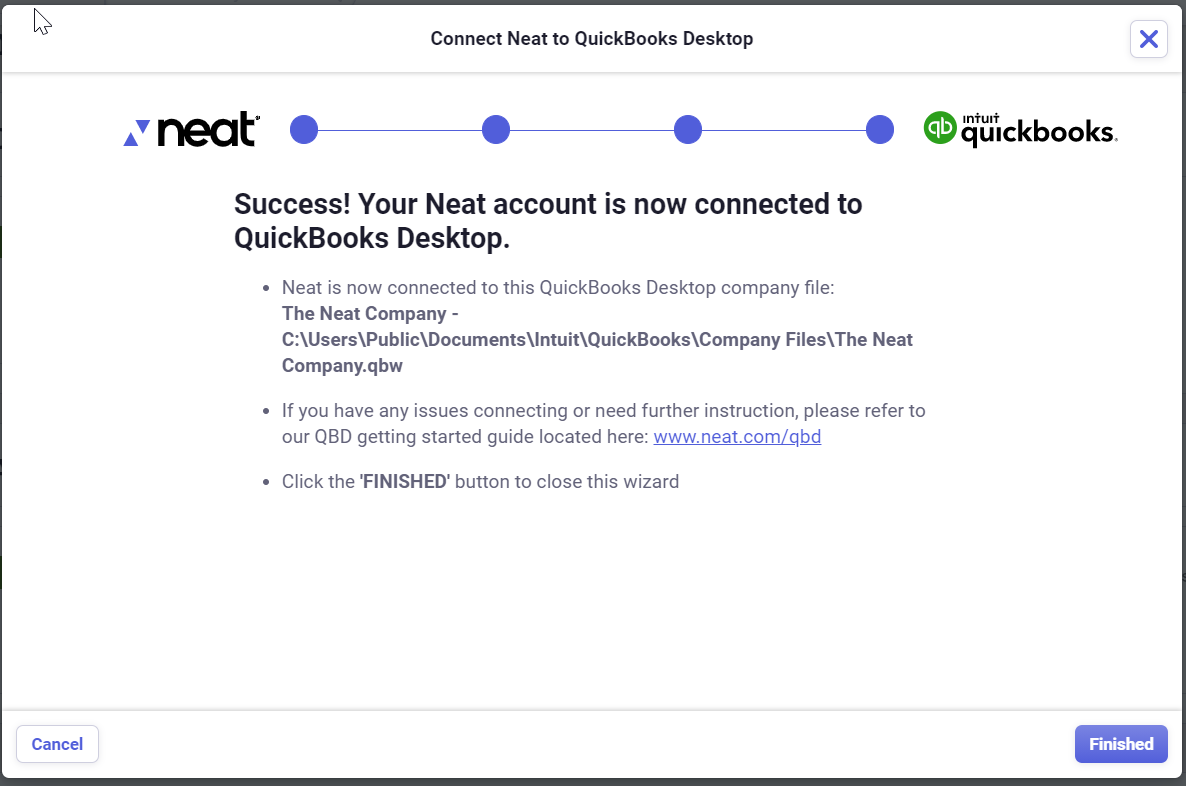
- Click Finished. You have connected Neat with QuickBooks Desktop. Keep in mind you will need to map your data between Neat and QuickBooks before you can export to QuickBooks.
How do I send items to QuickBooks Desktop?
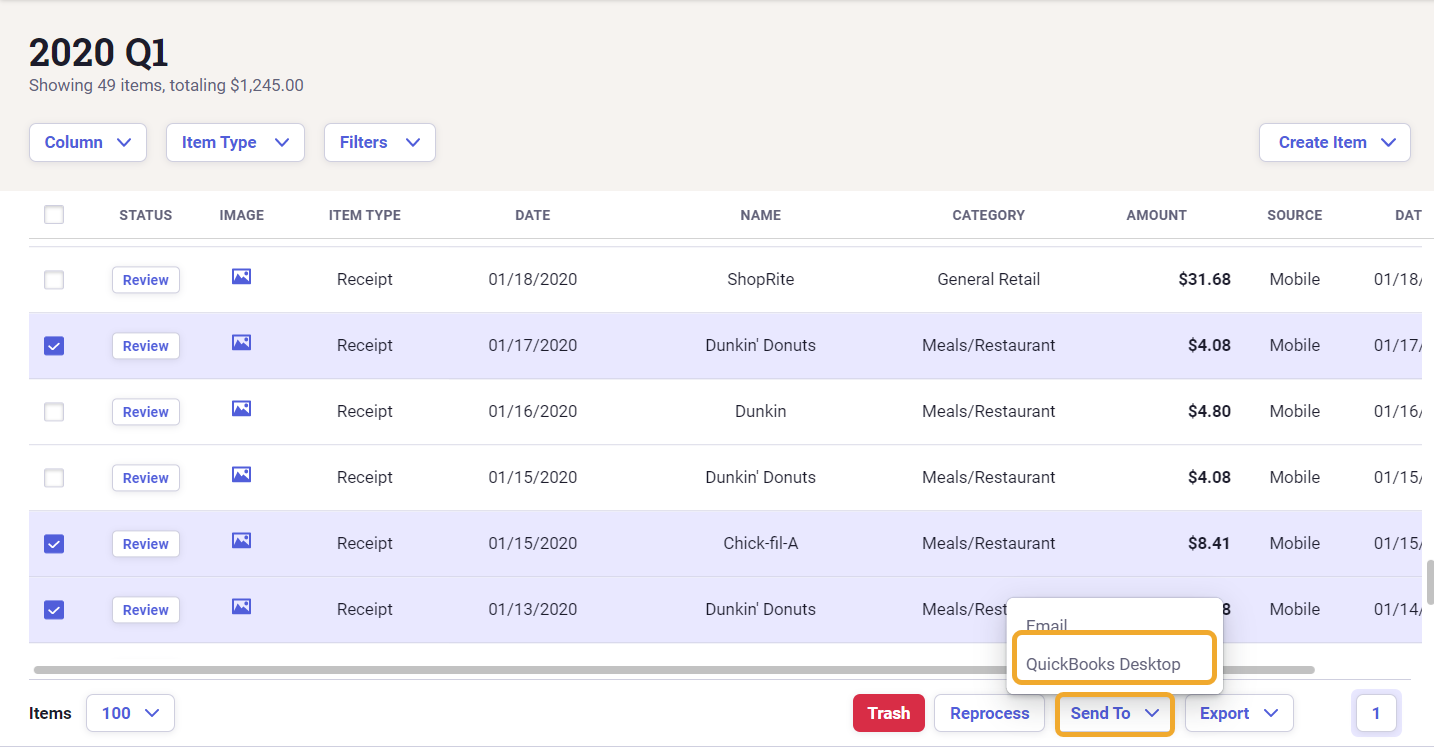
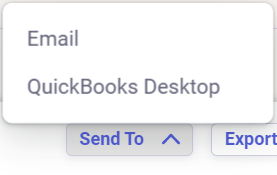
Only items classified as a Receipt or Invoice are available to send to QuickBooks Desktop from Neat. You can send items one at a time or in batches. When viewing a single item you can send to QuickBooks Desktop by clicking Send to from the lower right and then selecting QuickBooks Desktop. You can send several items at one time from a folder by either clicking the check box at the top left of the grid or holding Ctrl while clicking the check box for specific items you wish to send. Then click Send to and choose QuickBooks Desktop to export your items. If you have not fully mapped the items you are sending, you can map them as they are being sent.
How do I map my data in Neat with QuickBooks Desktop?
Once you have connected Neat with QuickBooks Desktop, you need to map your data between Neat and QuickBooks so that QuickBooks knows how to identify and manage incoming items from Neat.
Please Note: Neat maintains a complete copy of your QuickBooks Desktop lists. After the initial connection, Neat only needs to refresh the lists incrementally allowing Neat to load your lists quickly and easily!
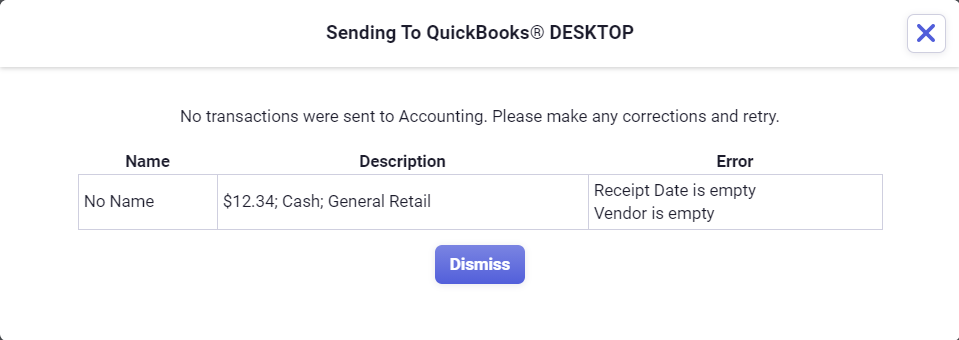
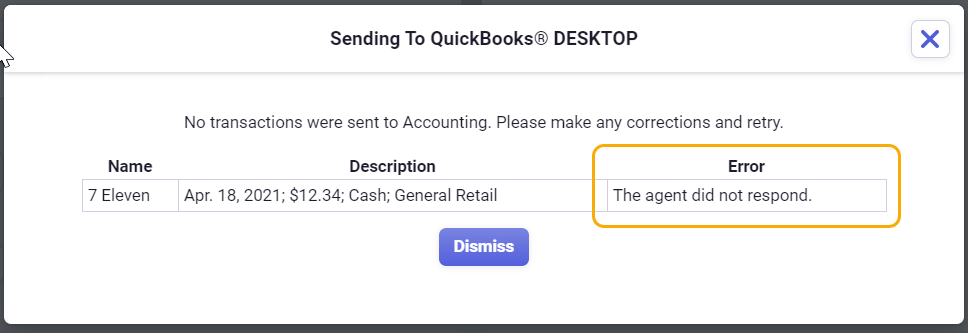
If you have not set your mapping, you will get an error like this when exporting to QuickBooks:
- Vendors
- Expense Categories
- Payment Types
- Projects
- Classes
- Locations
- Products
- Click your name in the top right and select Integrations from the dropdown list.
- Look for your connected QuickBooks Desktop integration and click the gear icon to access your mapping options.
- This will open the mapping window beginning with Vendors.
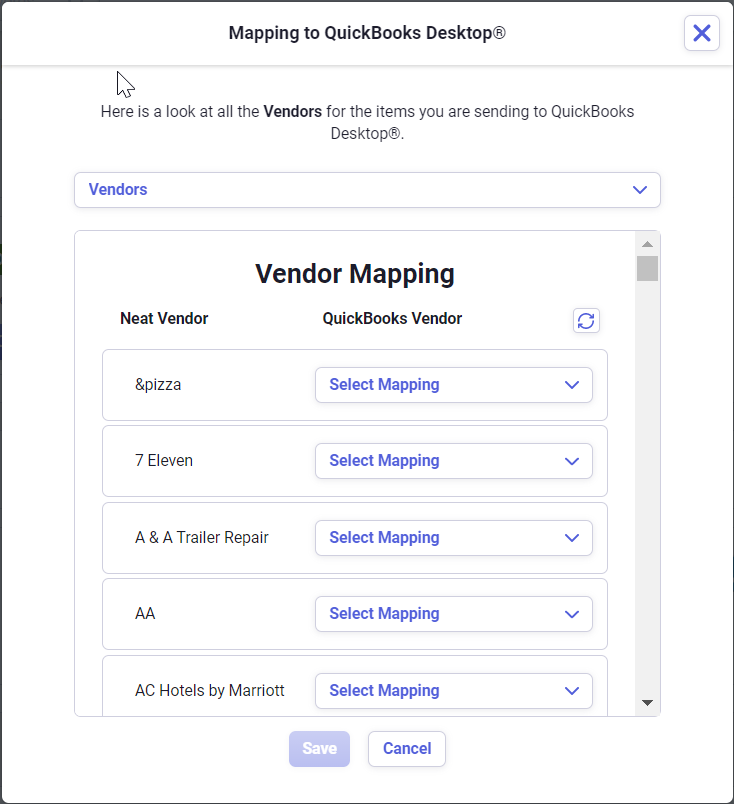
- For each Neat Vendor you need mapped to QuickBooks Desktop, click Select Mapping and choose the corresponding QuickBooks Vendor you wish to use. If you know you are not sending items to QuickBooks Desktop for a particular vendor, you do not need to set mapping for that vendor.
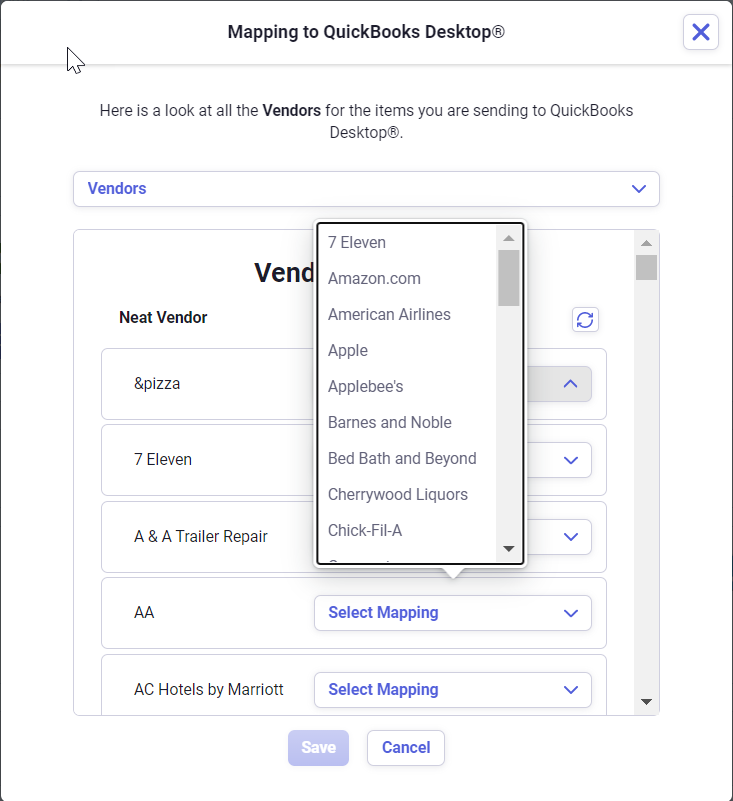
- When you are finished mapping Vendors click Save before you proceed to map Expense categories, Payment types, etc. in the same manner. You will see Mapping Updated to confirm your selections have been saved.
Is on-the-go mapping available in Neat?
This feature is now available in Neat and allows you to map any unmapped fields in the items you are sending to QuickBooks without having to stop and map them before going back to export them. You can simply map them as you send the items to QuickBooks by following these steps:
- To send items to QuickBooks Desktop, click Send to from the lower right and choose QuickBooks Desktop. This option is available for invoices or receipts selected in Neat.
- If there are any unmapped categories in your items, a pop-up window will open to inform you that items need review and will provide the unmapped items with an option to Select Mapping for each.
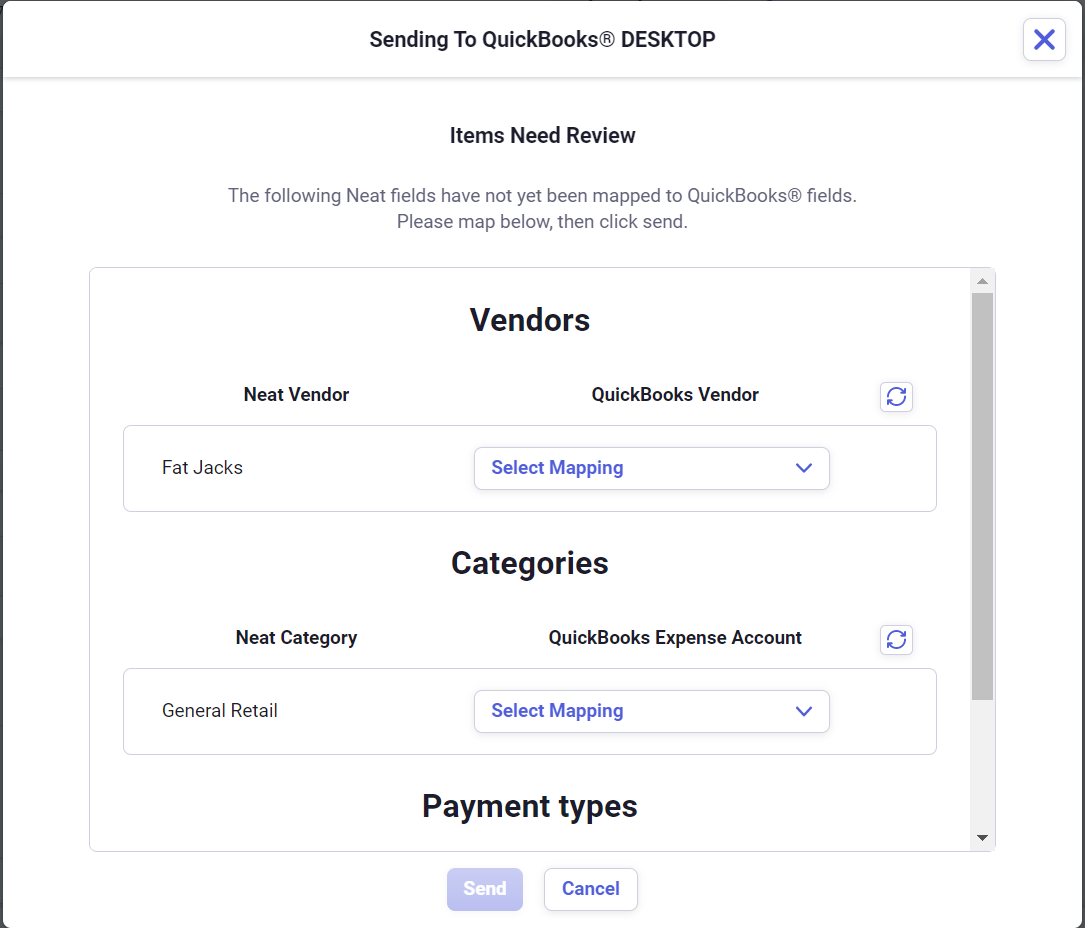
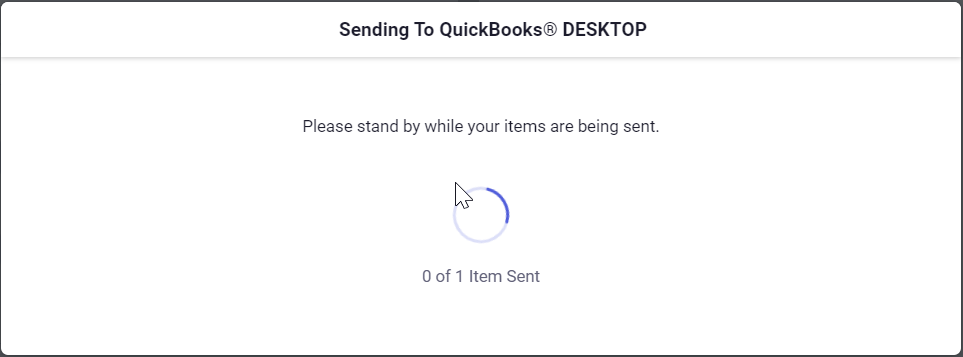
- Click Select Mapping and choose from the available QuickBooks options presented. When you are finished mapping, click Send. You’ll get the Send to QuickBooks Desktop window which will display the number of items sent to QuickBooks Desktop and ask you to stand by while it completes sending the items.
How can I disconnect Neat from QuickBooks Desktop?
Follow the steps below to disconnect Neat from your QuickBooks Desktop account:
- Log into
Neat and click on your name in the top right. Select Integrations.
- Go to QuickBooks Desktop and simply click Disconnect to remove the connection between Neat and QuickBooks Desktop.
How do my Neat items appear in QuickBooks?
Some of the terminology used between Neat and QuickBooks will vary but we have compiled some charts to reference how Neat items appear in QuickBooks. Please check it out here:https://support.neat.com/quickbooks-categories-neat/
How many Company Files can I connect to Neat?
You can connect one QuickBooks Desktop company file at a time. To connect to multiple company files, additional QuickBooks Desktop connections can be requested.
How do I manage my QuickBooks connections?
- You can view or switch between connected company files in Neat by logging into Neat, clicking on your name in the top right, and selecting Integrations.
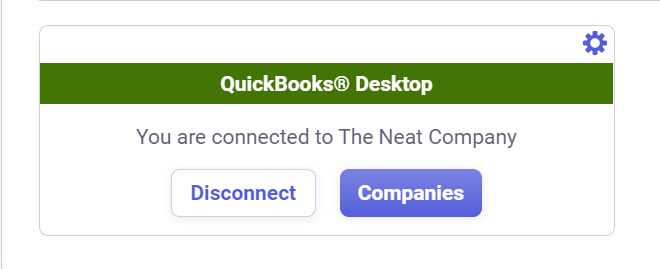
- From there, you’ll see your connected QuickBooks Desktop account.
- Click Companies to view your connected company files, or switch between connected company files, or add a new company file to connect to Neat.
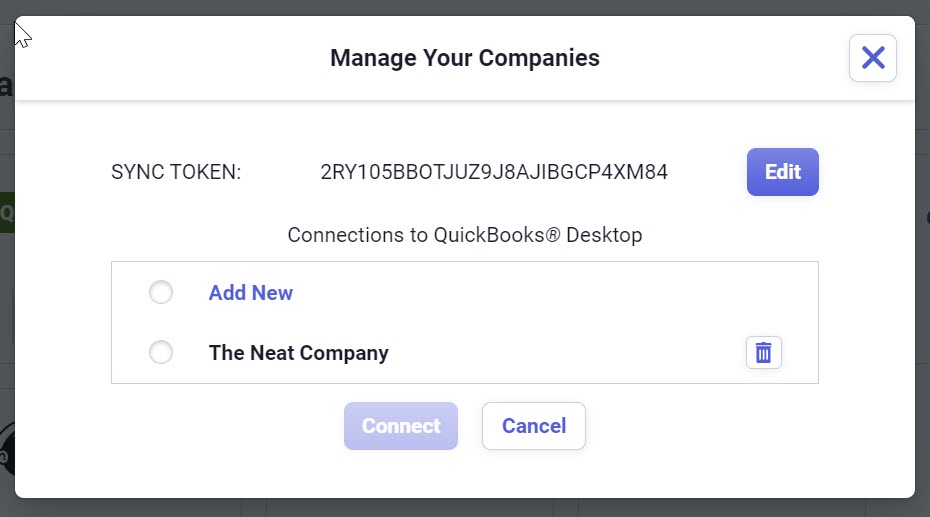
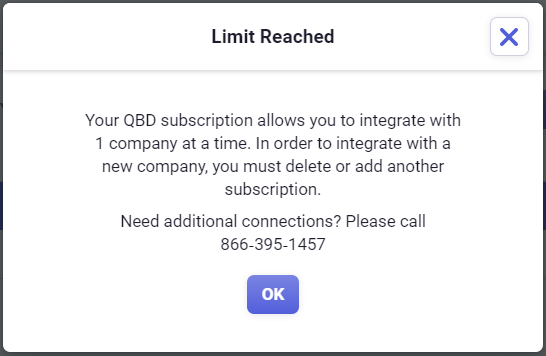
- If you attempt to add a new company file without an additional QuickBooks Desktop connection, you will be reminded that you must either delete a currently connected company file or purchase an additional QuickBooks Desktop connection. If you need an
additional connection, please call us at 866-395-1457.
Can I send items from Neat to QuickBooks multiple times?
No, once an item has been sent from Neat to QuickBooks it will then be locked so it doesn’t create duplicates in QuickBooks. A locked item in Neat cannot be edited. Any changes or additional information you want to add to the item fields within Neat should be completed before sending to QuickBooks.
Error: Unable to Send to QuickBooks Desktop
- The Neat Sync Manager is showing as 'Disconnected'.
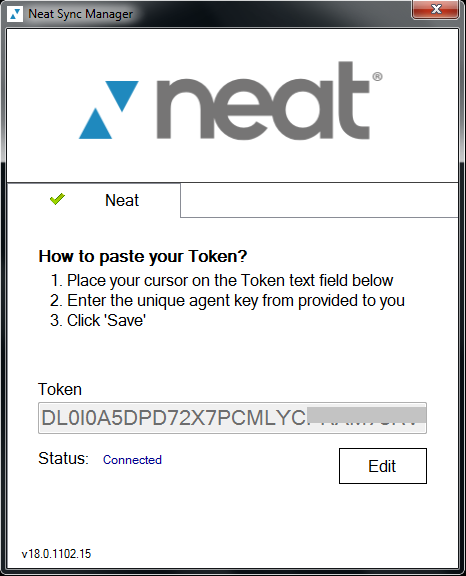
- When the token code entered in the Neat Sync Manager does not match the token assigned to the account.
- When the wrong QuickBooks Company file is open.
- Check your Neat Sync Manager to make sure it shows as 'Connected'.
- Check that the token code is the correct token code assigned to the account. This is the token code that is provided in step 4 of the connection steps above.
- Check to make sure the correct QuickBooks Company file is opened.