How to Scan and Import to Neat via ScanSnap Home
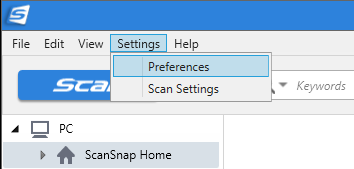
If you are using a ScanSnap scanner with the ScanSnap Home scanning software, you can follow the steps below to set it to scan and send items to the Neat Desktop App. These steps use the ScanSnap iX500 and assume that ScanSnap Home is installed and the scanner is already set up, connected to your computer via usb, and powered on. If you need to download ScanSnap Home, click the link below to select your scanner model and operating system and access the ScanSnap Home Download Installer: https://www.pfu.ricoh.com/global/scanners/scansnap/dl/- Open ScanSnap Home and click Settings then Preferences.
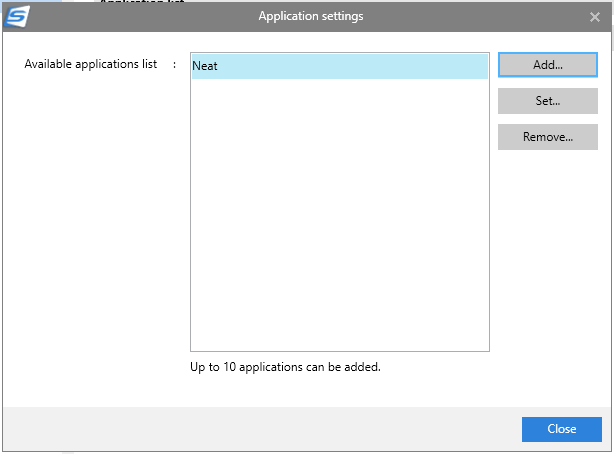
- Select Applications from the left and then click Add or Remove...
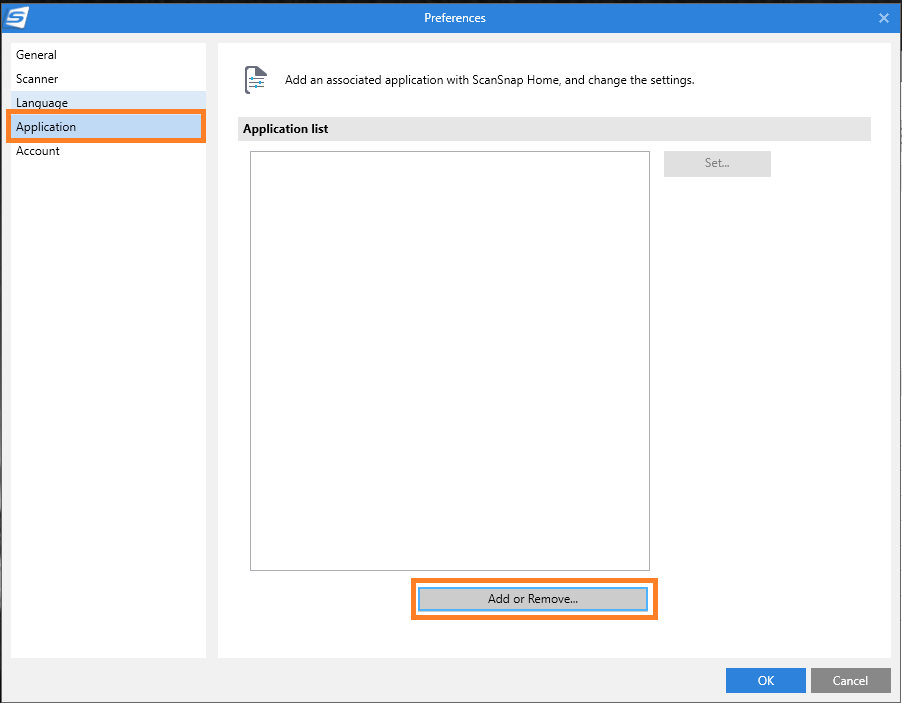
- Click the Add button.

- Set the Application path and optionally choose a Display name.
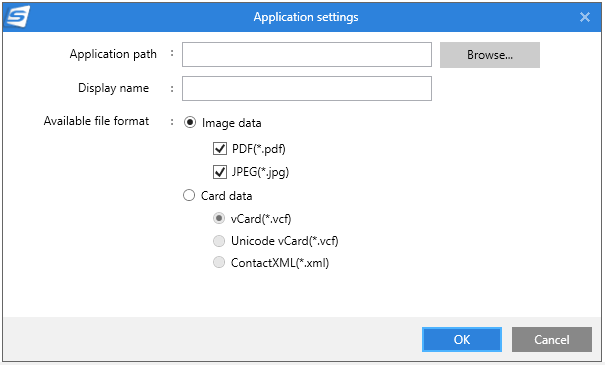
- After you click Browse look for Neat Desktop App and select Neat from the list, then click Open.
- Keep the default image data formats since both are compatible with Neat. Click OK.
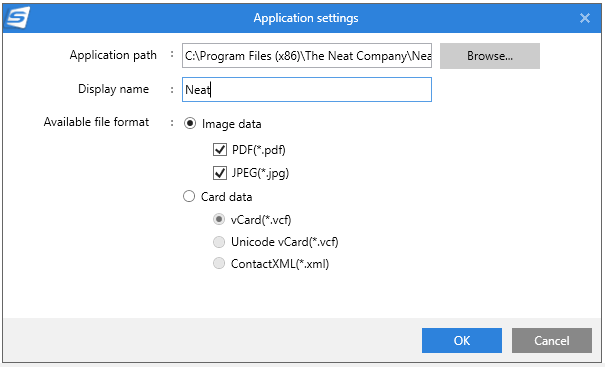
- Neat will now display with the name you chose. Click Close.
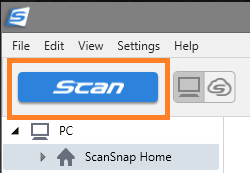
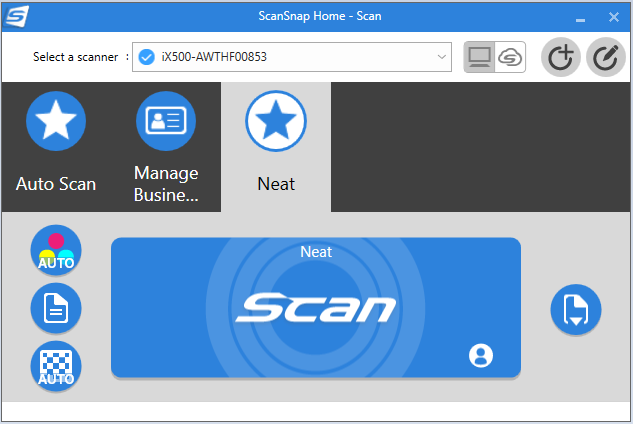
- Click SCAN to open scan settings.
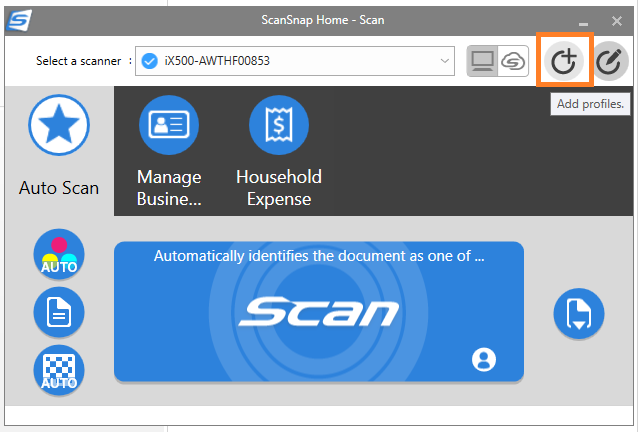
- In the top right of ScanSnap Home, click the circle with the '+' sign to add a scan profile for Neat.
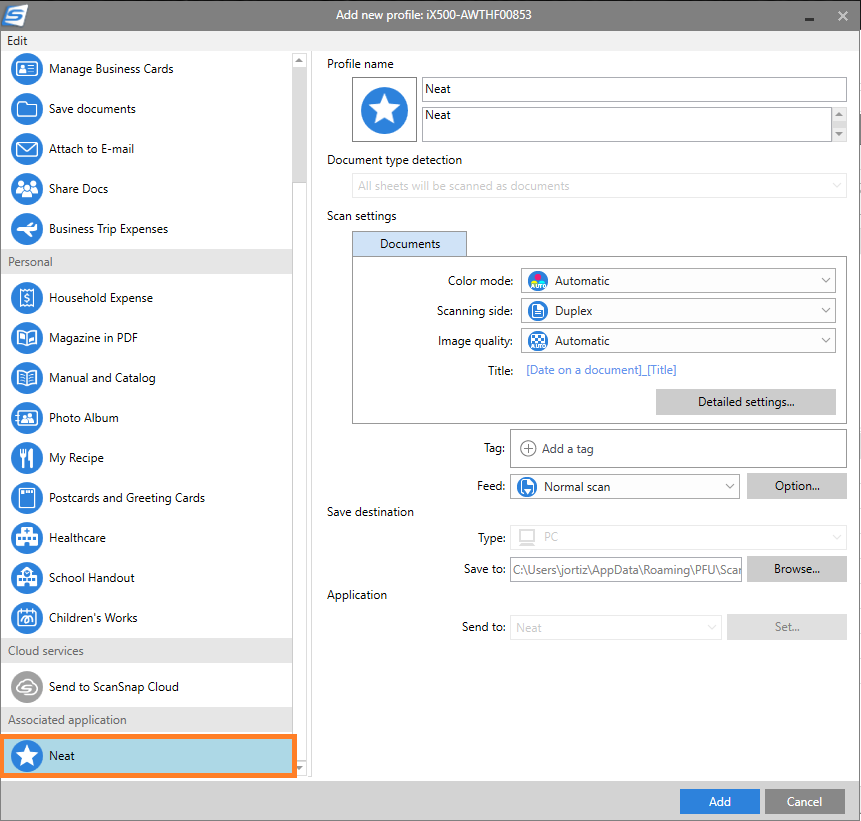
- Scroll to the bottom of the list on the left and look under Associated application to select Neat. You can change default settings for image quality, scanning one side or two, and set color, grayscale, or
black & white. You can also select a different icon by double-clicking it at the top. When finished click Add.
- Your new profile for Neat is now ready to use. Load a document and click SCAN under the Neat profile.
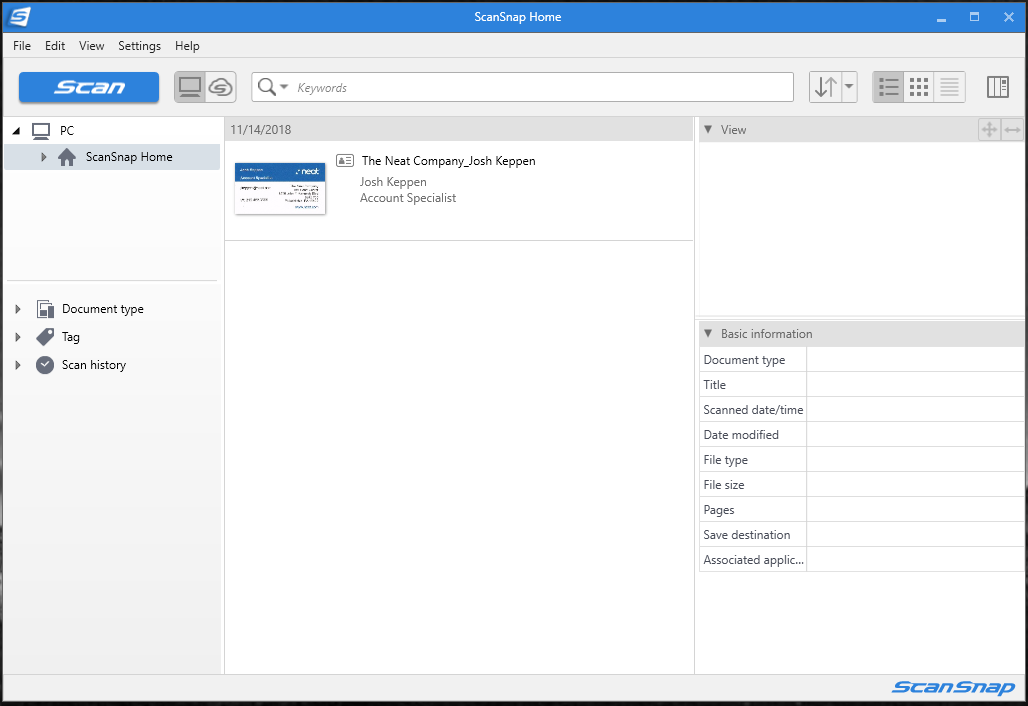
- Your image will appear in ScanSnap Home.
- In the Neat Desktop App, your item will show up in your list of scanned items to be sent to the Neat Cloud.
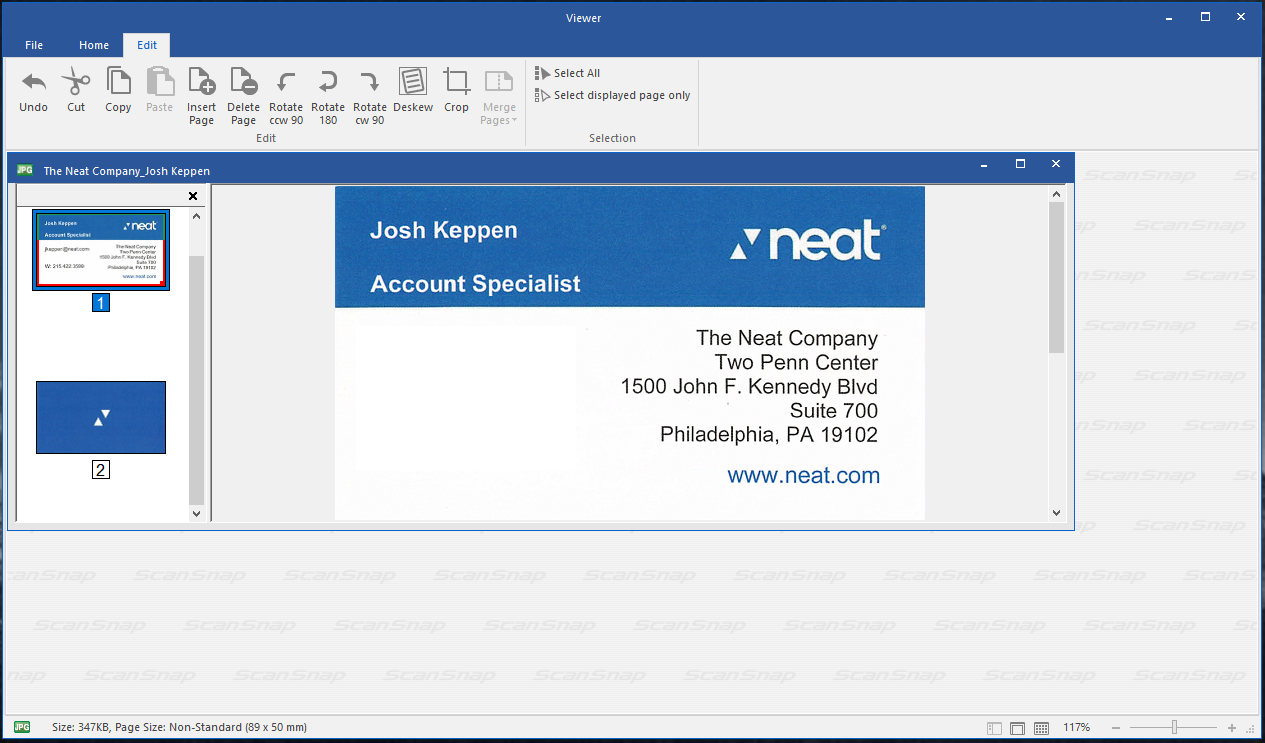
- Alternately, if you need to rotate or crop the image prior to importing into Neat, you can go back to ScanSnap Home and double-click the image to open the Viewer then select the Edit tab from the top where you can rotate,
skew, and crop the image as needed.
- RIGHT-click the item and choose Send to and select Neat.
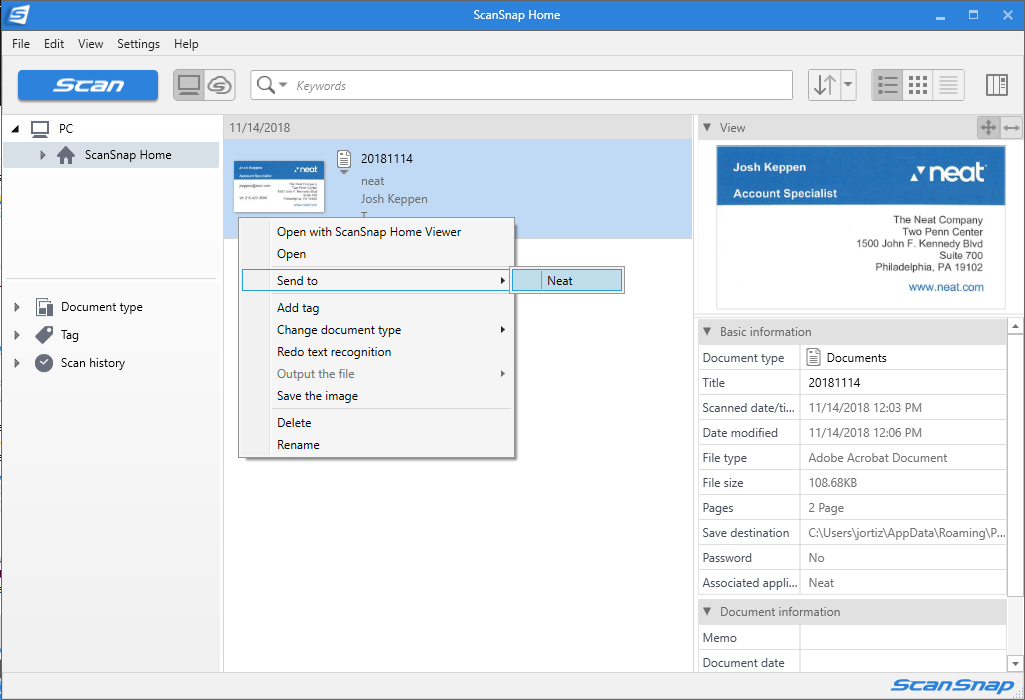
- You may also then import directly to the cloud.
Tip: You may also import multiple files at one time into the Neat Desktop App.