Getting Started - Managing Finances in Neat
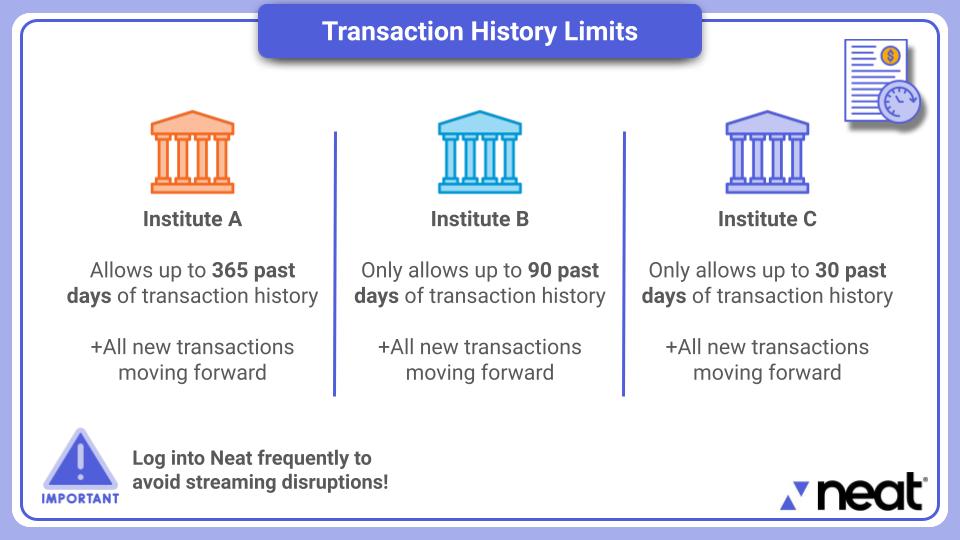
We recommend logging into your Neat account twice a month at minimum to ensure a smooth streaming experience
Neat rolled out several bookkeeping features to simplify the process of tracking your expenses, categorizing and reviewing your transactions, creating financial reports, and gaining new insights about your financial health. Follow the guide below to learn how to get started.
- Connect your Accounts / Transactions
- Set up My Categories
- Map your Vendors
- Monthly Review
- Reporting
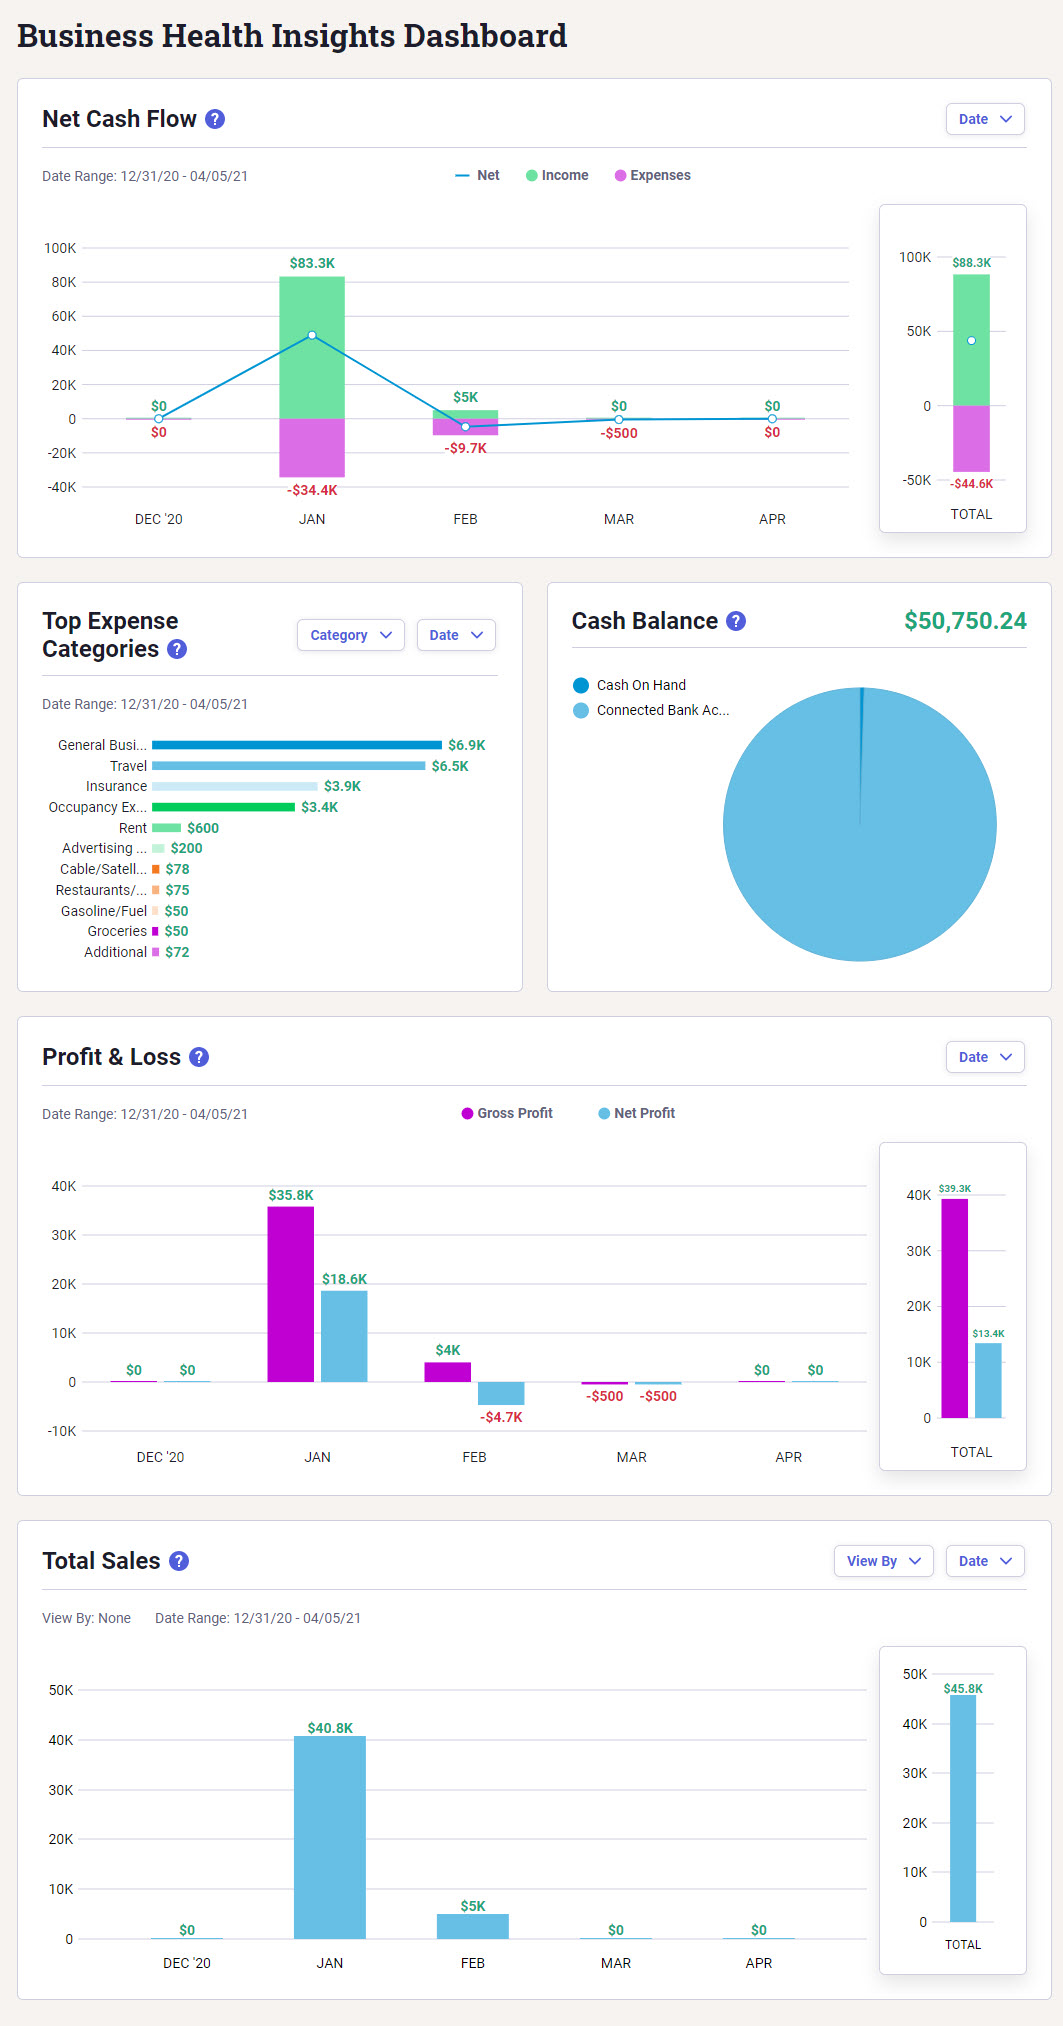
- Insights
Accounts / Transactions
The first step in getting started is to connect all your bank, credit card, and loan accounts to Neat. This needs to be done first as other areas of Neat like monthly review and business insights are driven by your transactional data.Financial institutes and streaming services may introduce new security features or require periodical account verification. By logging into Neat frequently, you are refreshing your streaming connection, re-authenticating your accounts, and ensuring that you maintain a smooth streaming experience. We recommend logging into your Neat account twice a month at minimum to ensure a smooth streaming experience
Please allow 15 minutes after connecting your accounts for transactions to load from those accounts.
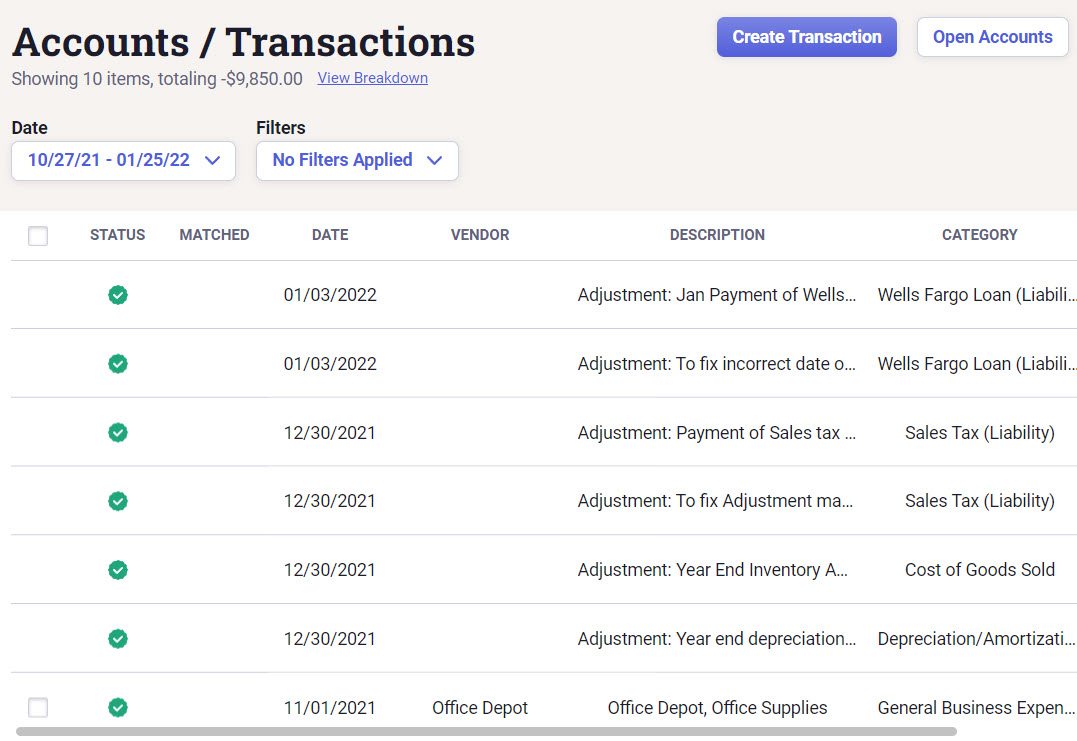
For more details please see Accounts / Transactions in Neat.
My Categories
Your Categories provide a complete listing of all categories used to classify your transactions as income, expenses, assets, liabilities, and more. My Categories is valuable because it allows you to separate all your transactions into different "buckets" (income, assets, etc) which will later give you deeper insights into your finances.You can use preselected categories or create custom categories. In order to make use of the My Categories section, you must have at least one bank, credit card, or loan account connected to Neat but we highly recommend connecting all your current accounts so you have a complete picture of your finances from the start. Doing so will also set up vendor accounts from your transactions so you won't have to create them manually.
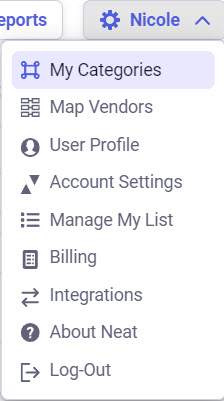
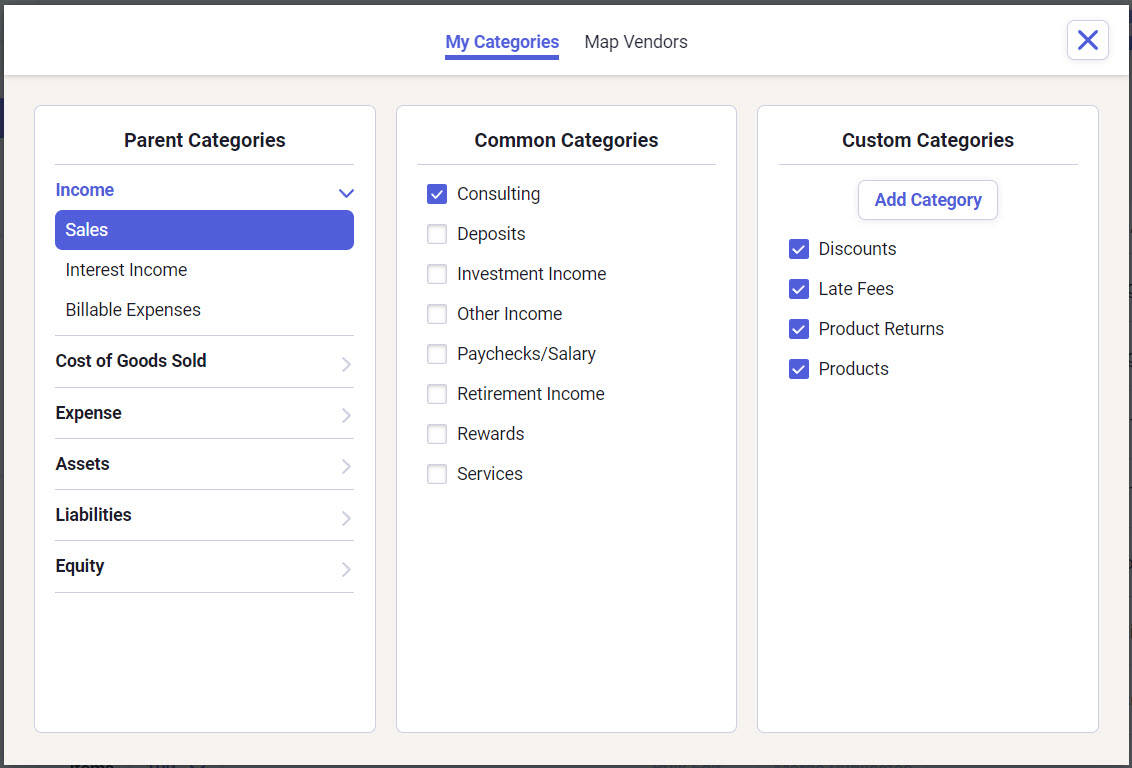
You can access the My Categories section by clicking on your name in the top right and selecting My Categories from the dropdown list.
My Categories has three columns. The column on the left shows the available Parent Categories which include:
- Income
- Cost of Goods Sold
- Expense
- Assets
- Liabilities
- Equity
The column in the middle shows available Common Categories. These are standard categories that appear in Neat by default. They can be enabled or disabled as desired.
The column on the right shows Custom Categories which allows you to create categories you need for your business. Like common categories, they can be disabled if you no longer need them. Custom categories can also be moved if you decide they belong under a different parent category.
For more details please see My Categories.
Map Vendors
Vendor mapping allows you to assign categories to vendors from your streamed accounts/transactions in Neat. Once mapped, Neat will automatically update a transaction's category to a mapped category for that vendor.You can open Map Vendors by clicking on your name in the top right and selecting Map Vendors from the dropdown list.
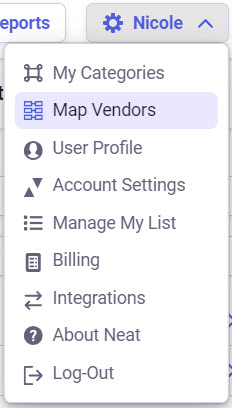
In the Category column, click the drop-down to see your available categories. Select the category you want to map to your vendor.

For more details please see Vendor Mapping.
Monthly Review
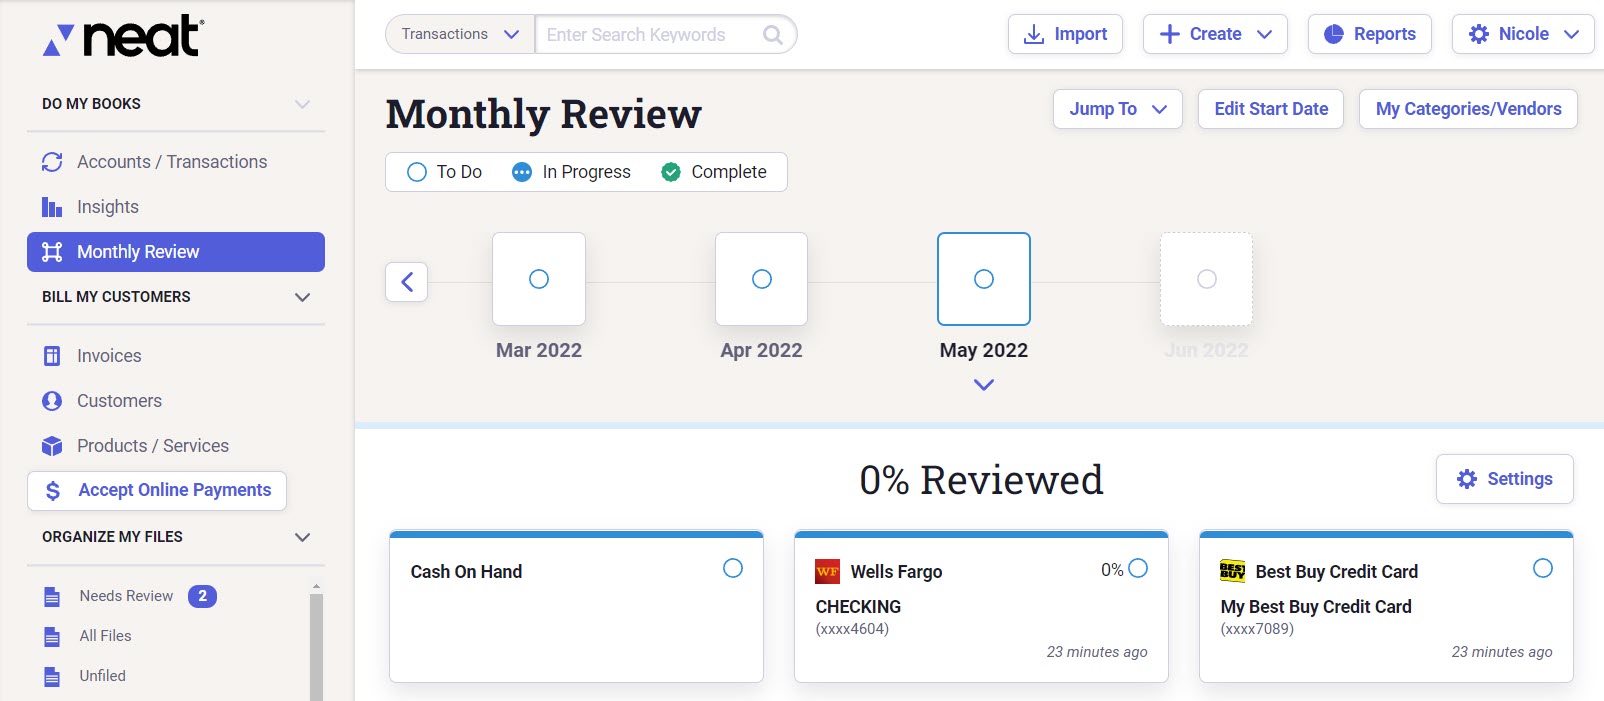
Neat simplifies your monthly review process so you can save time for other tasks. When reviewing your monthly expenses, you provide supporting documentation to accounts / transactions streamed into Neat from your connected accounts. For instance, if you have a $650.00 electricity charge from your bank account, you can attach an image or file of the electric bill while doing your monthly review or you can add it from your Neat File Cabinet if you've already scanned or uploaded it.You can review and match supporting documentation to your streamed accounts/transactions in monthly review periods. The monthly review periods begin with your chosen bookkeeping start date. You can scan, email, import, or take photos with the Neat mobile app to get your supporting documents into Neat so they can be matched with your streamed transactions so they are reconciled.
You can also take advantage of the Neat mobile app to review some items while you're on the go!
For more details please see Neat Monthly Review Experience and Mobile Monthly Review Experience.
Reporting
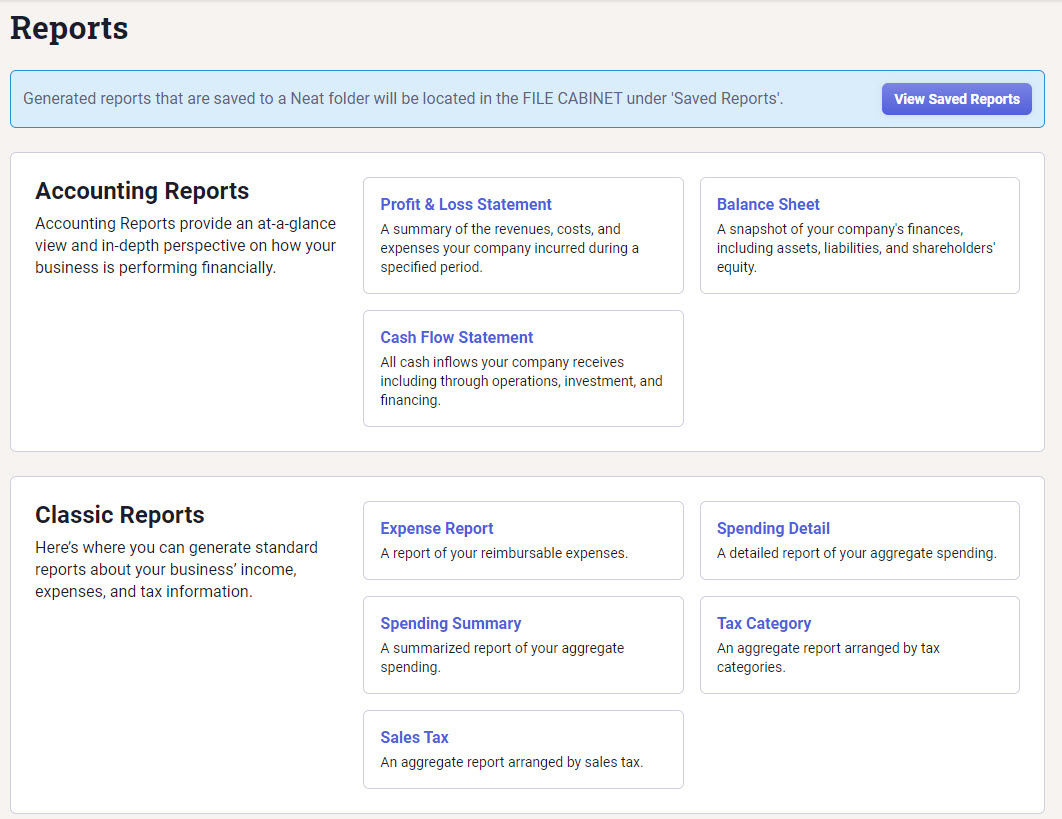
Neat offers a variety of reports to give you a better overview of your data.Classic reports can be run for both streamed Accounts / Transactions and items in your File Cabinet and include:
- Expense Report
- Spending Detail
- Spending Summary
- Tax Category
- Sales Tax
The accounting reports offer the option to specify a date range, account, vendor, or reconciliation status for the reporting period. The classic reports offer the option to narrow down the report by date, vendor, folder, category, and more.
For more details please see Classic Reporting in Neat and Transactions Reporting.
Insights
Neat's Insights feature offers a variety of quick at-a-glance information without the need to create reports. The Insights section of Neat includes:- Net Cash Flow
- Top Expense Categories
- Cash Balance
- Profit and Loss
- Total Sales
