After a factory reset, you will need to reconnect to Wi-Fi and then log into your Neat account to continue using it just like the first time you powered on the scanner. Once you log in to that account, the scanner will automatically be connected to that account every time you turn it on.
Note that you can have more than one connected Neat account on the NeatConnect. It is not necessary to do a factory reset if you simply wish to remove a scan destination and it's associated login credentials. To remove a scan destination, tap the gear icon in the lower left, select View My Destinations, choose the account, then tap Remove Account.
Follow the steps below to begin.
Factory Reset
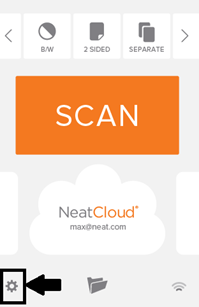
Click the Settings gear in the left corner of the home screen on the touchscreen.
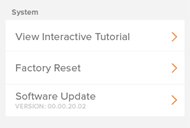
Scroll until you see a section titled System. Under this heading, tap Factory Reset.
A message box will appear, prompting you to confirm that you want to reset your scanner to the original factory settings. Please note: A factory reset will permanently delete all of your scans, history, accounts, and preferences. Tap Reset to continue.
A message will appear confirming that the factory reset has been completed. Tap OK.
The device will reboot and prompt you to begin the Neat Setup Wizard process.