Neat Smart Organization System - Rescan an Image Before Processing
Please Note: Neat Web App now has ALL of the desktop features, and so much more! You can continue to use this desktop application, however, all new features, improvements, and updates will occur in our Neat web application. Click here to learn more!
Learn how to rescan an image using the Neat Smart Organization System. Neat allows you to rescan any page before processing. Follow the steps below.
Rescan an Image Before Processing
- Open your Neat Smart Organization System software (orange logo)
- Click the Scan button.
- A Neat Scan window will open. Make sure the View Images Before Processing indicator is On.
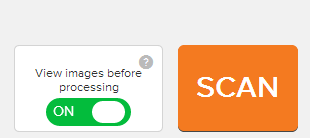
Please Note Here is your opportunity to modify your scanning settings. Opt to scan multi-page items as separate or combined items, set your color mode, or set the Neat Smart Organization System to scan only 1 side of your items. You can see your scanned items before we process them! - Click Scan.
- A preview of the images will appear when the scan has completed.

- Click on any image that you wish to rescan. An options menu will appear below the selected image. Load the page you need to rescan into the scanner and click Rescan.
 The item will be scanned again. The new image will appear in the preview window and will replace the old image. Click Send & Process to complete your scan and send it to the Neat Cloud.