Starting Balances in Neat
Please Note: You must be on an active Neat (Yearly) or Neat (Monthly) subscription in order to take advantage of the features in this article.
Starting Balances FAQs
What is a Starting Balance?
Neat allows you to enter a starting balance to the accounts you connect to Neat. A starting balance is the amount of funds in an account at the beginning of a new fiscal period. If you are transferring over from another bookkeeping solution into Neat, you probably don't want to enter or import every single transaction from the entire history of that account. Starting balances allow you to include the carryover amount from your prior bookkeeping solutions for reporting. You will have the ability to record the carryover amount for income, cost of goods sold, and expense categories as a starting balance.How do I enter a starting balance?
During the initial bookkeeping set up process, you will be presented with the Set Starting Balances window. During the initial set up process, you can enter any starting balances you have. However, if you need to consult with your financial advisor or you need to verify your account totals, you can skip this in the setup process and revisit, set, and adjust starting balances at any time through the Adjust or Set a Starting Balances modal.- Click the Add button in the top right corner of Neat, and in the dropdown window, click Transactions, then Adjustments.
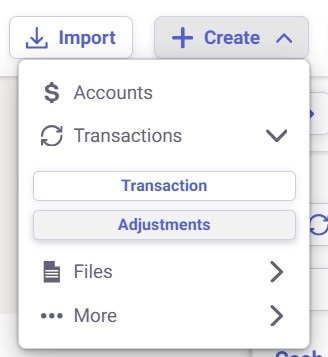
- In the Select an Adjustment Type window, click Adjust Starting Balances.
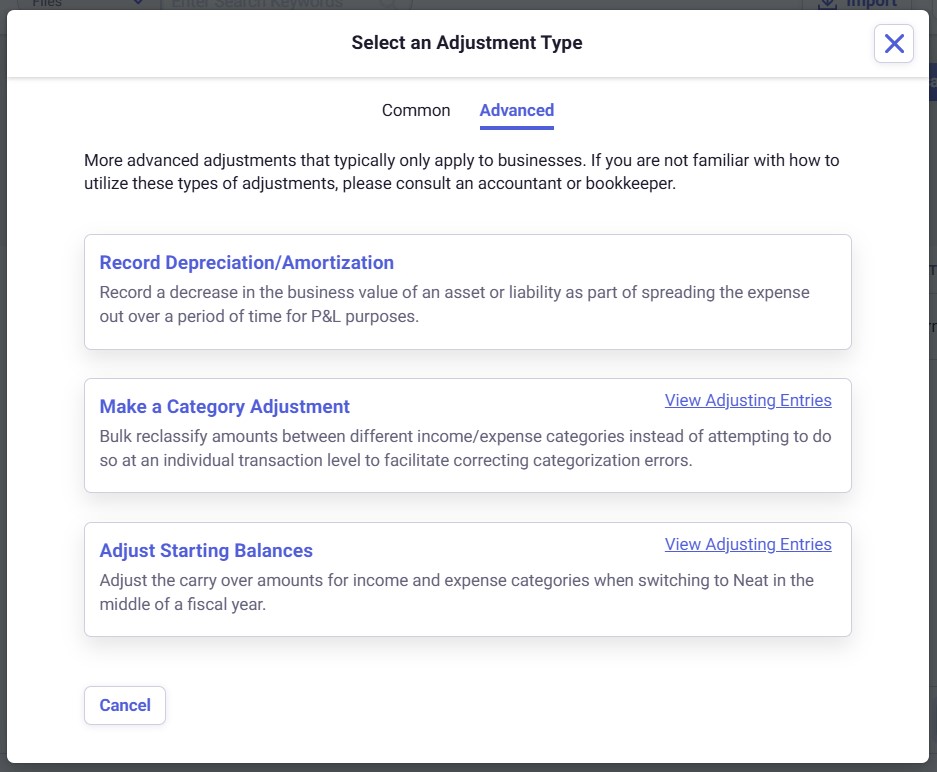
- In the Adjust Starting Balances window enter your starting balances for income, cost of goods sold, expenses, etc and click Save when finished.
Please Note: These are placeholder totals for you to use if you are confident in their accuracy. Accurate calculations and verification of these totals should be done with a tax professional, and can be updated at any time in Neat.