NeatConnect allows you to scan directly to Neat Cloud Service, SkyDrive, Evernote, Box, Google Drive, Dropbox and FTP (network) destinations. You can also send scanned images directly to anyone’s email address via your email account with AOL, Gmail, Yahoo Mail, Hotmail or POP/SMTP. To add a destination, follow the steps below.
Add scan destinations
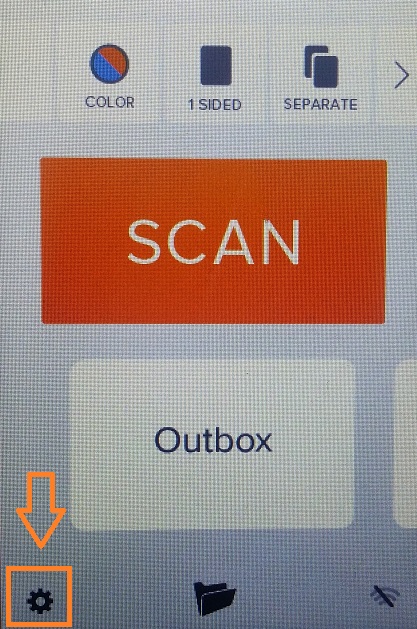
- Tap the Settings gear on the bottom left hand corner of the home screen as shown below. This will bring you into the Settings screen.
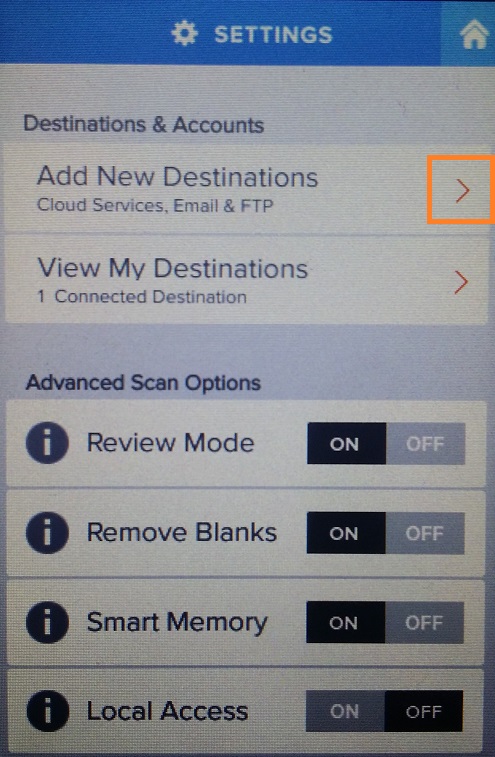
- Tap Add New Destinations.
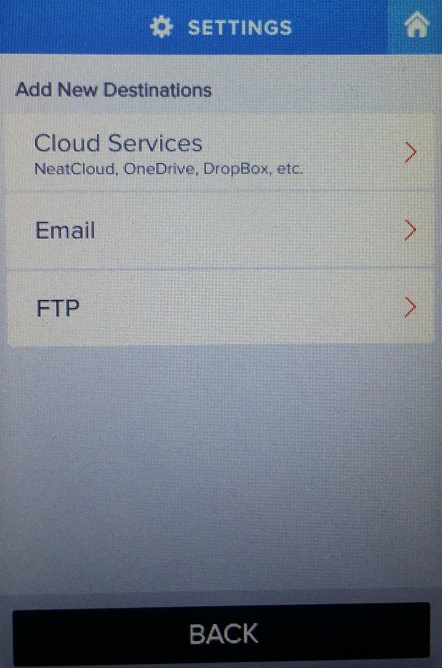
- Select the type of Destination: Cloud Services, Email or FTP.
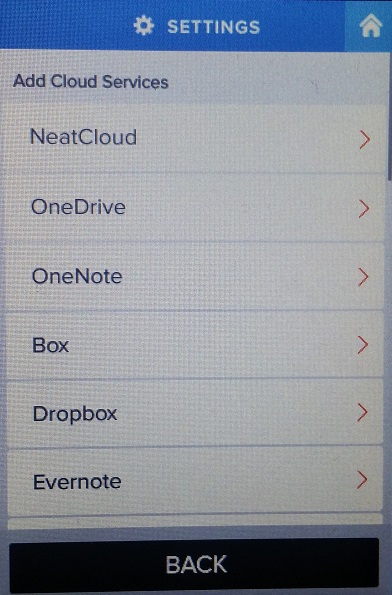
- If you selected Cloud Services, choose which service and type in your credentials.
- If you are adding an email, select your email provider and type in your credentials.
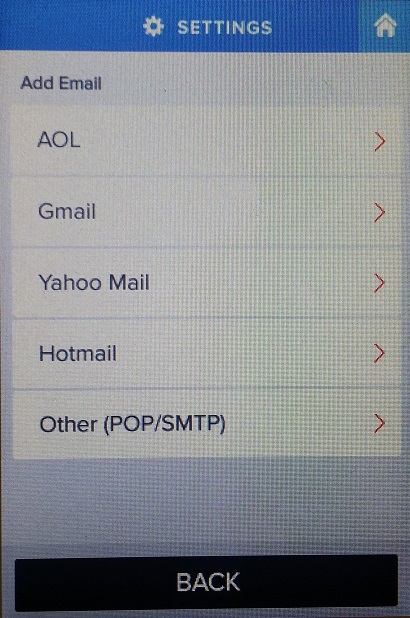 Neat Tip: When using Other (POP/SMTP) you will want to use your SMTP server information.
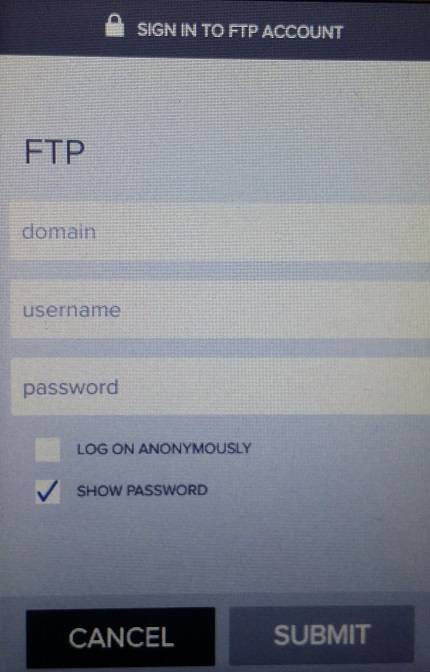
 - For FTP, you will need the domain in addition to your login information.
- Once you have added your destination, it will appear as an option on your home screen. You can select the newly added destination the next time you scan an item.
- Here’s where you should look for your scanned items:
- When scanning to Neat Cloud Service, your items will be saved into the Unfiled filter in your Neat account.
- When scanning to other cloud destinations, your items will be saved into the root location of that service. In addition, image files will automatically be named according to the following pattern: NeatConnect_date_time. Note that the date and time in the file name are based on UTC time, which is the universal reference time for clocks and computers. Eastern Standard Time (EST) is four hours behind UTC time during the summer (daylight savings) and 5 hours behind during the winter.
- When scanning to an email address, your items will be emailed to the recipient you specified as attachments.
- When scanning to FTP, your items will be saved to the root directory in the FTP location.


