Print to Neat : Windows
Neat is thrilled to bring back one of our most popular features with Print to Neat for Windows. This feature allows you to print documents, images, and web pages to the Neat Desktop App and upload them to your Neat account.Please Note: To take advantage of this feature users must have the Neat Desktop App for Windows.
FAQs
How do I set up Print to Neat?
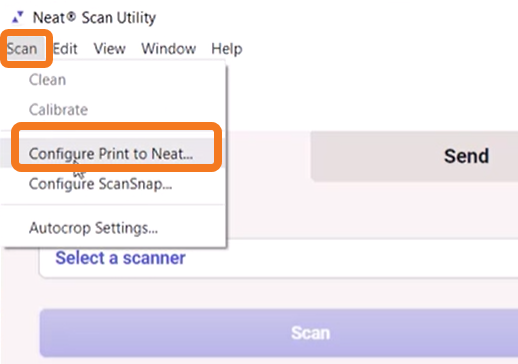
- In the top left of the Neat Desktop App, click Scan.
- Select Configure Print to Neat
- In the Print to Neat pop-up, select Install Print to Neat.
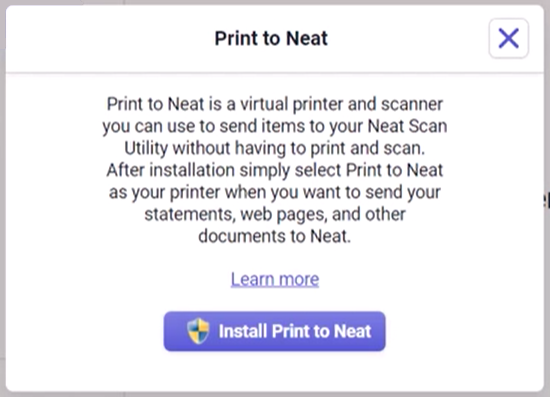
- Once installation is complete, you'll get the message: Print to Neat is ready to use!

How do I print items to Neat?
- Find your file in Windows and right-click it to select Print from the list. Alternatively, open the file in your software and select File > Print within the software.
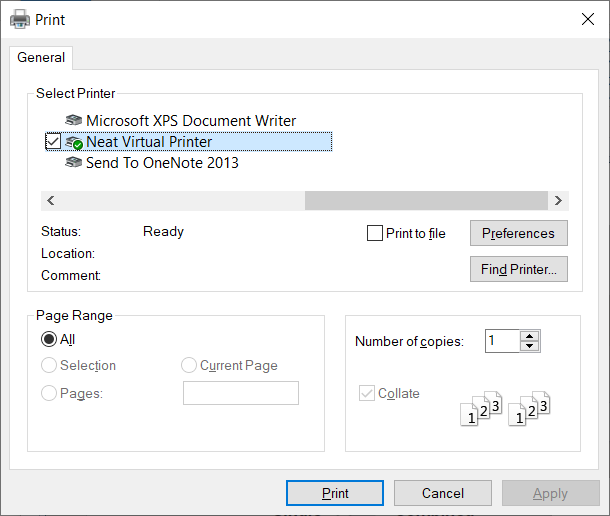
- Set your printer or destination as Neat Virtual Printer. Click Print.
- The Neat Desktop App will open and your print image will be processed. After a moment, the image(s) will appear in the utility.
- You are now ready to edit and upload your item to Neat on the cloud.