Learn how to capture items with your Neat Mobile App by snapping a picture with your mobile device's camera or importing images from your mobile device.
New Features in the Neat Mobile App! Capturing documents on the go is now faster and more powerful than ever.
With Batch-Capture, you can capture multiple items in a row without waiting for each one to upload. After capturing your first item, simply tap the add button to continue capturing additional images as individual items, then upload them all at once.
We've also added new tools to help you stay organized and improve data extraction. You can now apply filters to your captures to enhance image quality and optimize OCR processing and data parsing, helping Neat recognize and extract key information from your documents and receipts more accurately.
Capture an Item
From the Files menu select Capture.
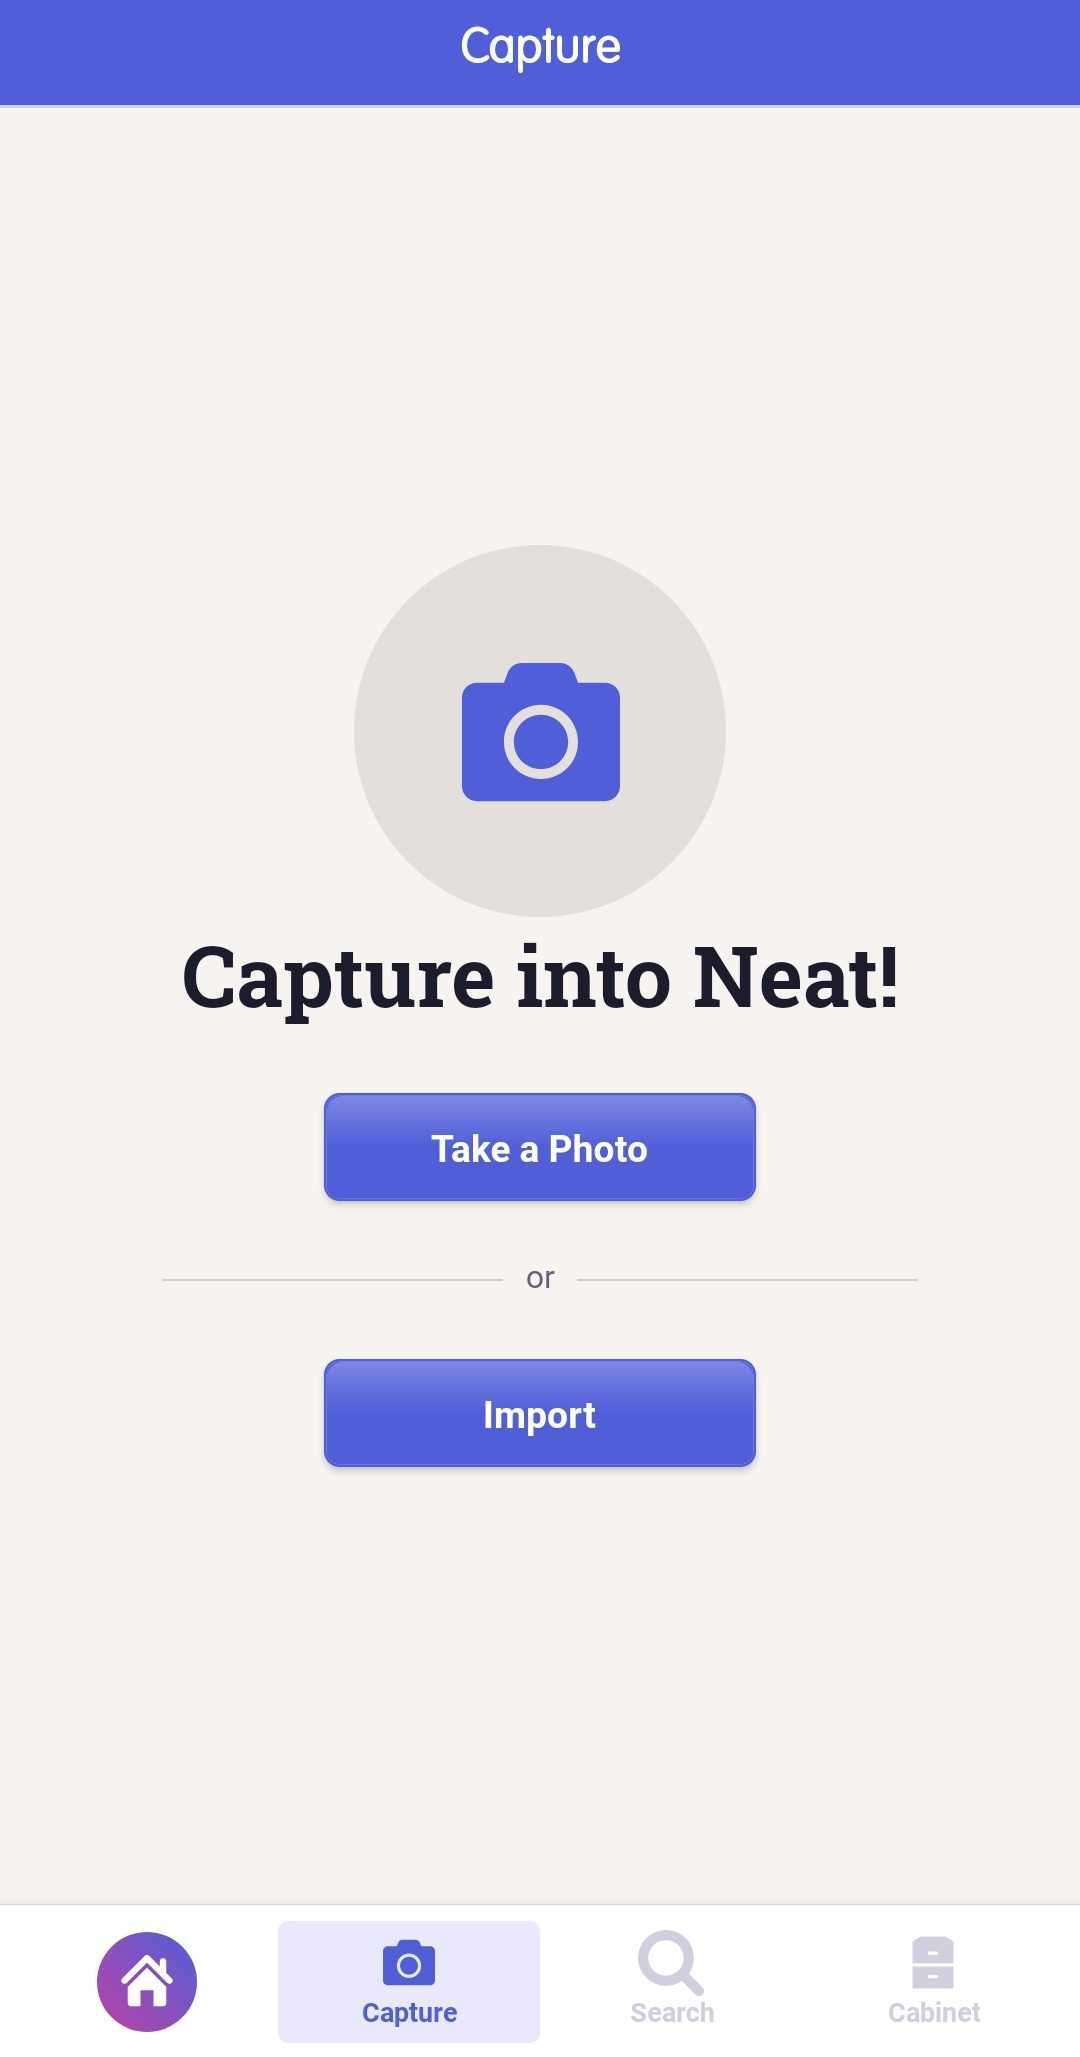
In the Capture window, choose Take a Photo.
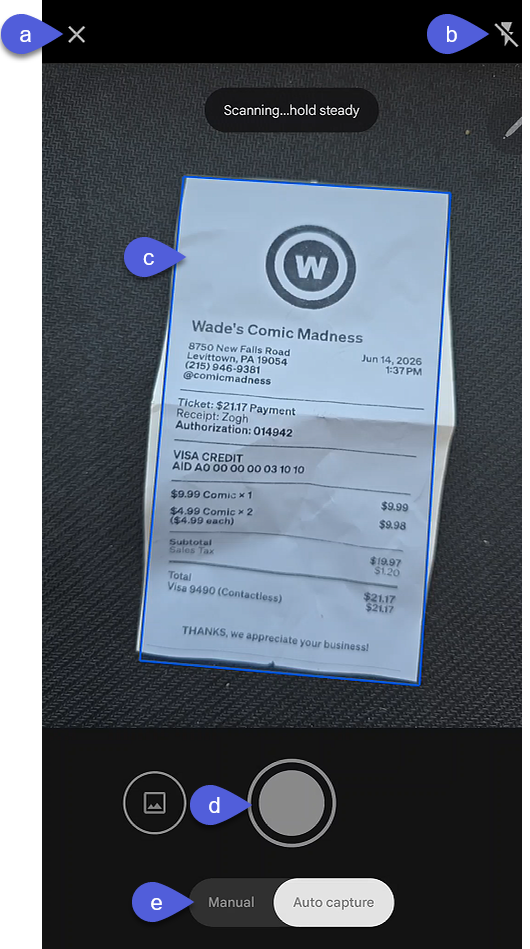
Your device's camera will open so you can capture a photo of your item. The Neat Mobile App uses auto-capture by default, so you do not need to click a button to snap your picture. The Mobile App will detect the edges of your item and highlight your item in a blue box. Auto capture works best when you have a contrasting background. For instance, placing a white receipt on a dark background will make capturing the image very easy. When it has detected all four sides, it will automatically snap a picture and automatically crop it for you.
Exit capture mode to go back to the files menu.
Toggle flash light on or off for more or less lighting.
The blue box shows you what will be captured by Neat.
Click the capture button to capture a file when manual capture is enabled.
Toggle between auto capture and manual capture.
Neat Pro Tip: If you're having any trouble with auto capture, toggle to manual capture (e) instead to manually capture your file with the capture button (d).
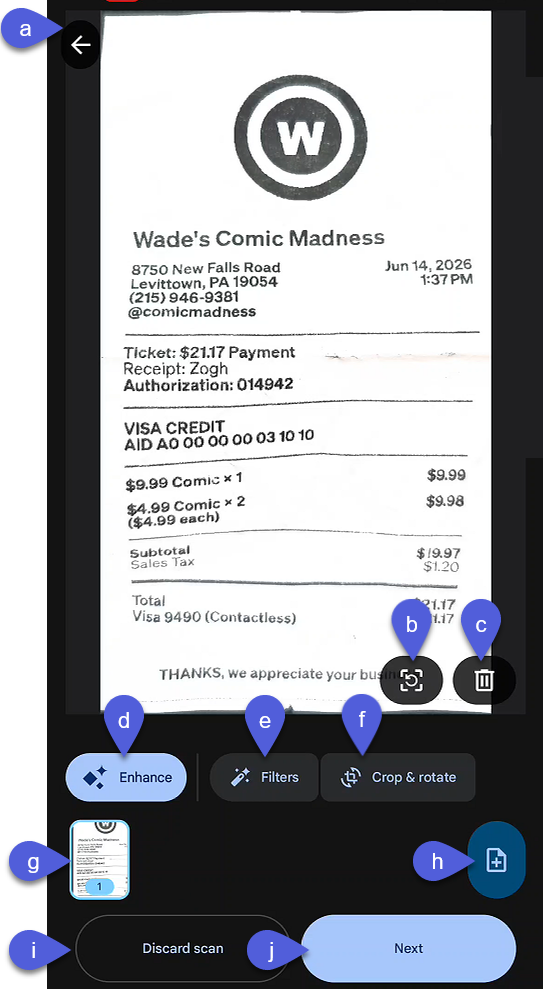
In the Capture Preview window, review your captures. Edit your images to your preference and continue batch scanning if you have multiple files to capture.
Back button: Quickly go back to the capture screen to take more captures. Perfect for batch capturing!
Retake page: Neat will delete this capture and let you take another capture.
Delete page: Neat will delete this specific page from your captures.
Enhance: Apply the enhance filter to make your capture more readable to OCR processing.
Filters: Apply filters to your scan to make the scan more readable. Filters include original, auto, color, grayscale, and black & white.
Crop & Rotate: Crop and rotate your capture to your preference.
Captures: See all your captures and choose which ones to edit. Perfect for batch capturing!
Capture Another File: Enter the capture screen again to take another capture. Perfect for batch capturing!
Discard Scans: Exit out of the entire capture mode back to the main capture menu.
Next: Move to the next step of the capture and upload process to edit your file details.
Neat Pro Tip: Enhancing or applying filters to your captures may improve OCR processing and parsing in Neat.
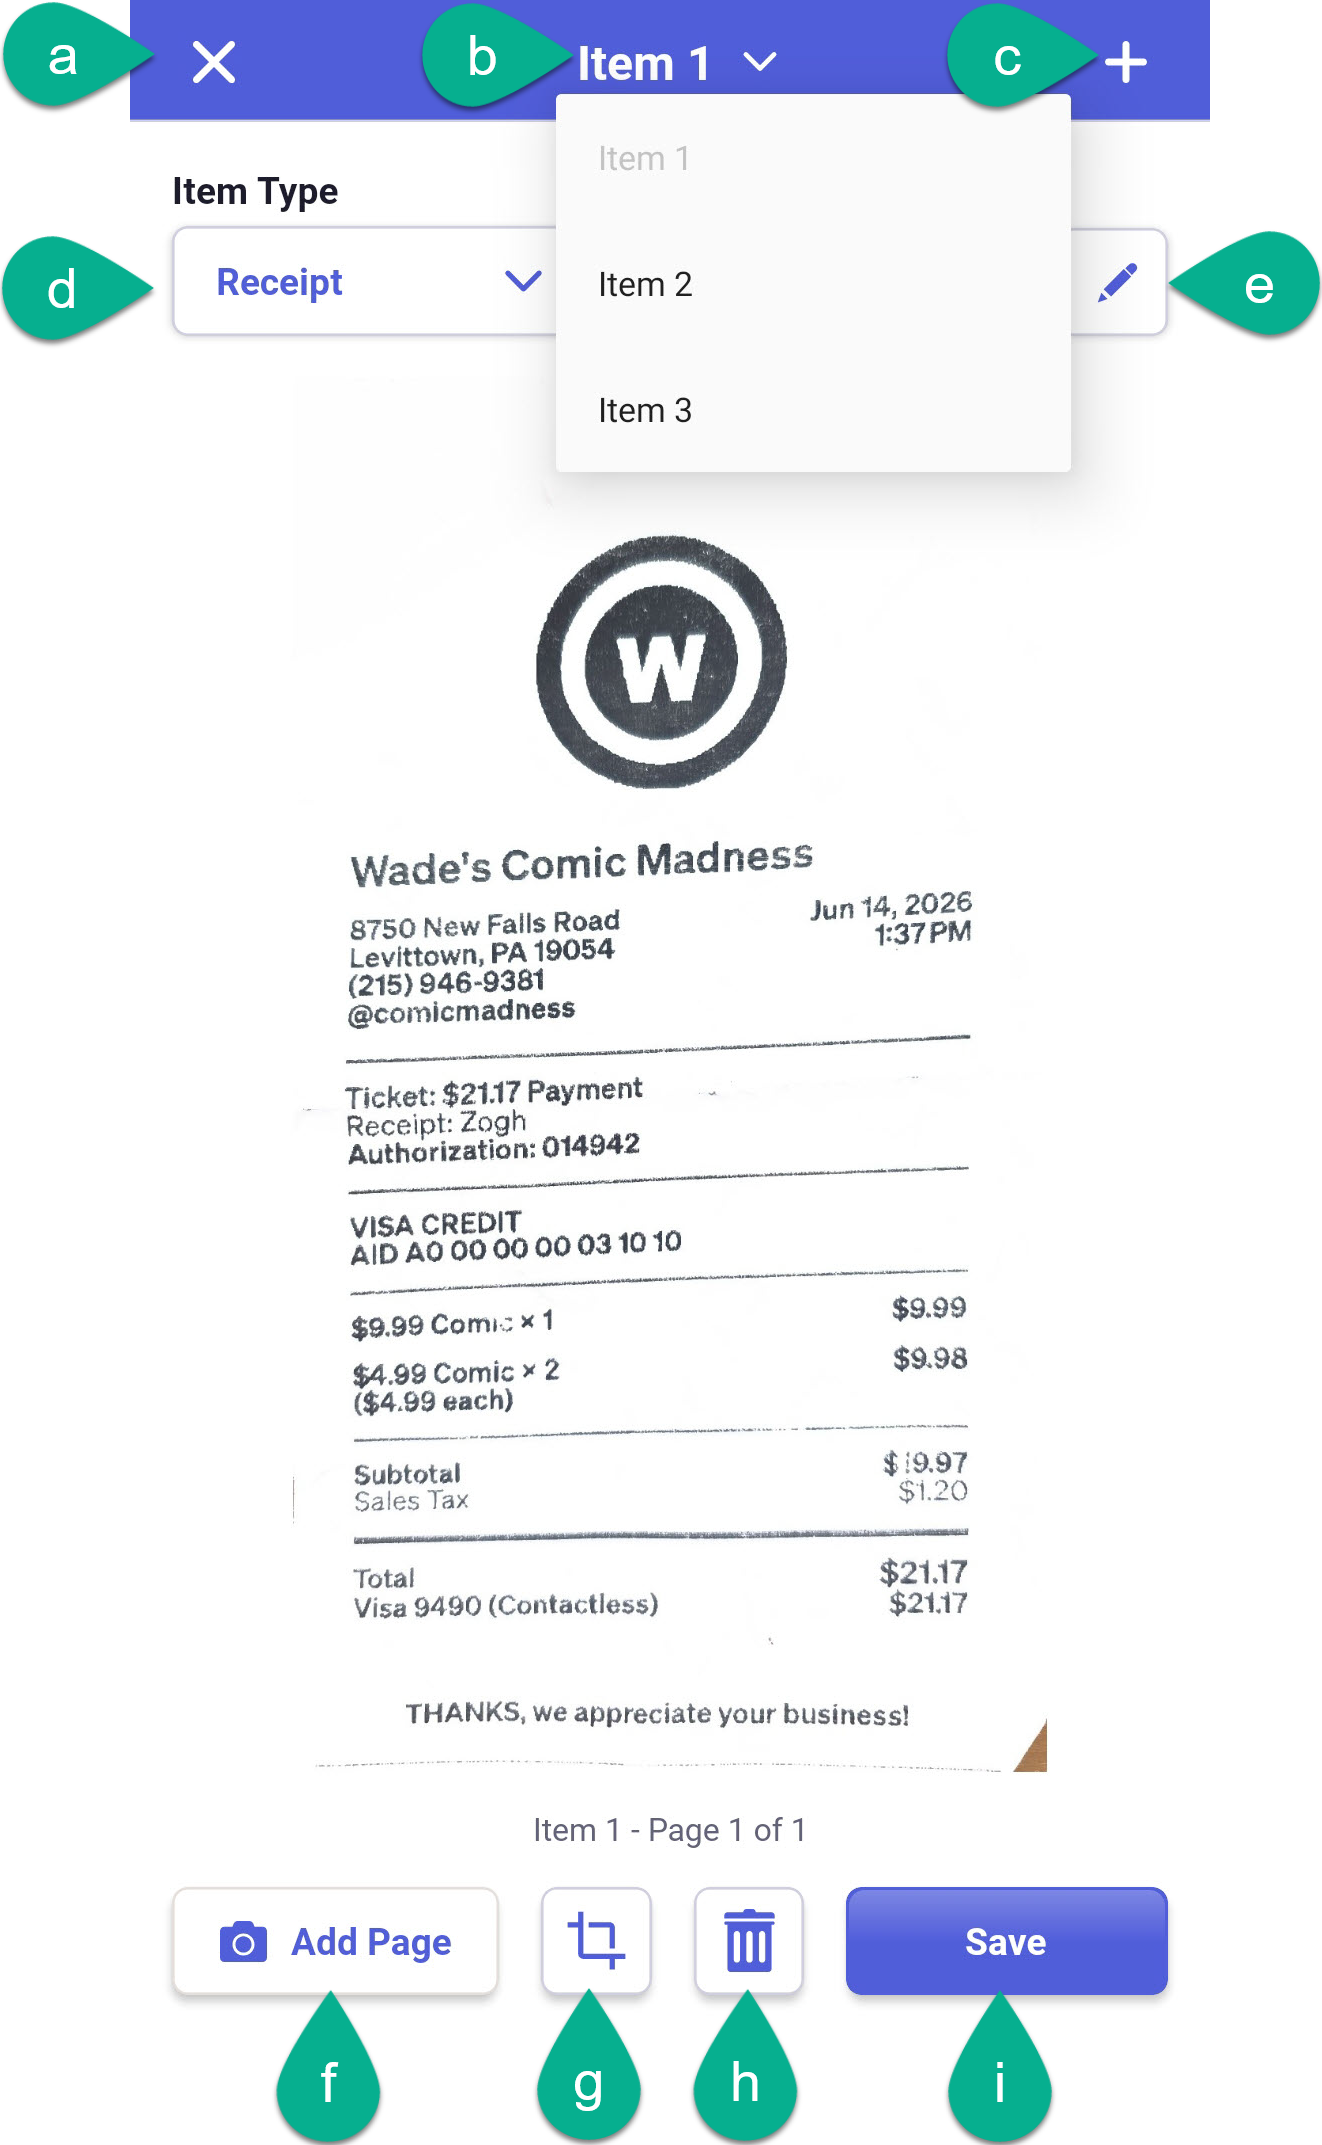
Once your item has been captured, you will be brought to the preview screen before you send the item to Neat. Here you can tell Neat which folder you want to save your capture in, what type of file it should be, and even add categories to the capture before you upload them to Neat. Check out the quick guide below to see what each button does.
Cancel: If you click cancel, you will exit the capture menu and be brought back to the main screen.
Batch Item Dropdown: Clicking the Batch Item dropdown button will allow you to switch between your batch captured files to make changes to each.
Capture More Plus Button: Clicking the plus button will take you back to the capture mode to capture more files. After you click the plus button, you will be asked to select Combined or Separated.
Choose Combined to add more pages to the same item.
Choose Separated to quickly capture individual items before upload. Perfect for batch scanning!
Item Type: This drop-down allows you to pre-select the type of item you are sending to Neat for better parsing accuracy. By default, this is always set to receipt.
Edit Data Fields: Click the pencil icon to edit your item's date, vendor, amount, category, and even add notes to your item all before sending it to Neat!
Add Page: Click the Add Page button to add more pages to the selected item.
Crop: Click to drag the edges of the image to crop it. You can also Rotate your image here.
Trash: Click to discard the image and start over.
Save: This will upload all images captured in this session.
Folder: Tap to select a folder from your cabinet to save your item or leave it on the default Unfiled option to review and file later.
Neat Pro Tip: After taking a photo of your item, you can select the Capture More Plus Button (c) if you have more pages for the same item or if you have separate items to upload at the same time. You can choose Separated or Combined.
Separated allows you to continue capturing images of individual items and quickly upload them all at once after you've finished capturing them. Each image will be a separate item in Neat.
Combined allows you to capture multiple pages for the same item to upload as one single item with many pages.
Once you are done editing your images, click Save to send your captured item to Neat. Your item will be uploaded to Neat. You will see a Success message once it's complete.
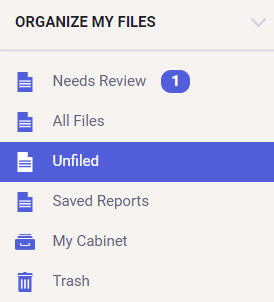
By default, your items will be uploaded to the Unfiled section in the Neat Dashboard.
Capture an item directly to a folder
By default, all captured items go to your Unfiled folder, but you can scan your items to a specific folder, too! Just follow the steps below.
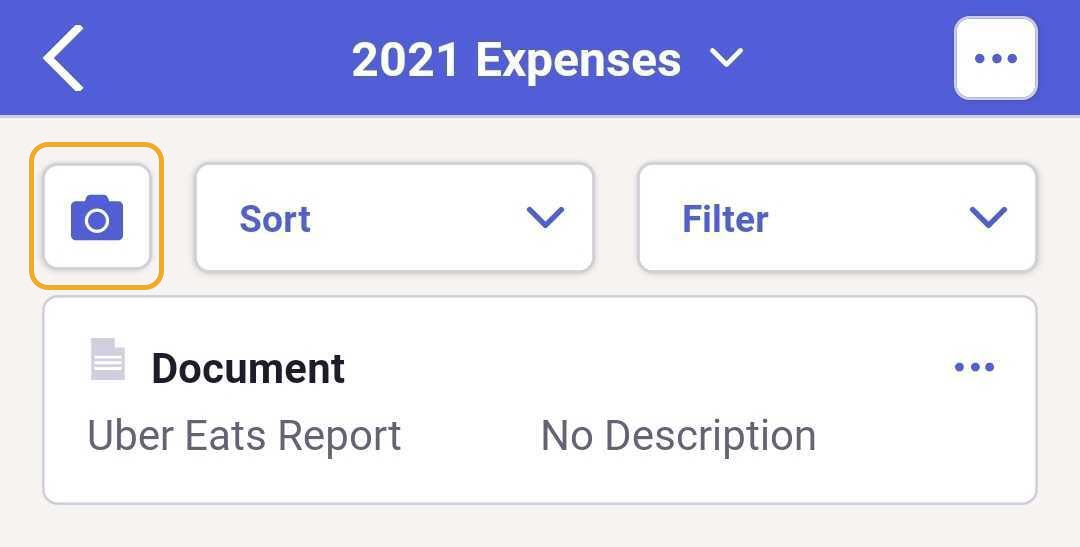
In the Mobile App, open your file cabinet and browse to the folder you want to send your item to. Open the folder, and click the Camera Icon to capture an item to the folder you have open.
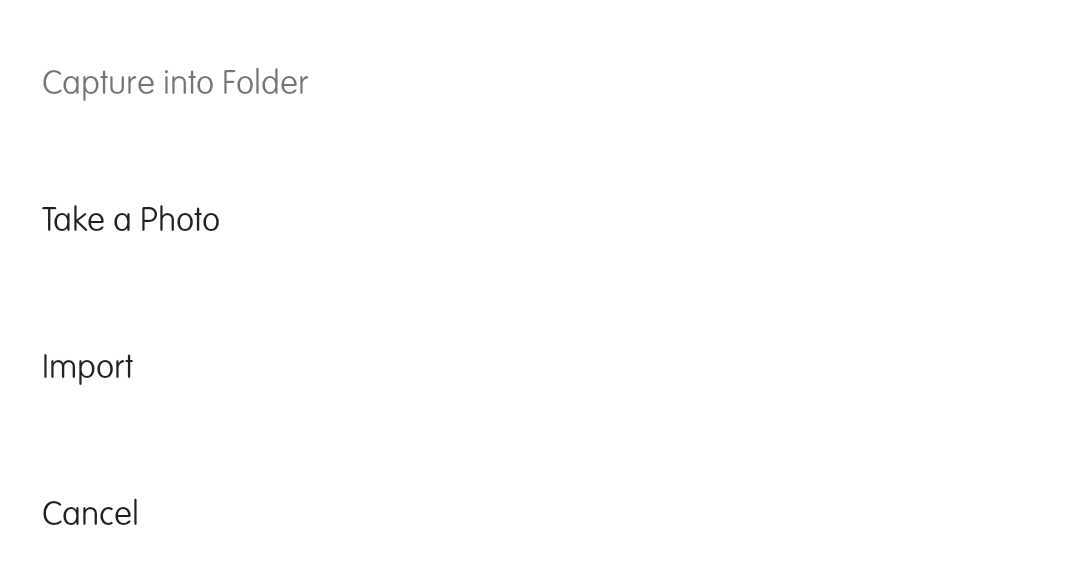
A window will open at the bottom of the screen. Select Take a Photo to capture an item or Import to add an item directly to this folder.
Follow the steps for importing or capturing an item. When you click Save, the item will be uploaded to the folder you had selected.
Import an Item
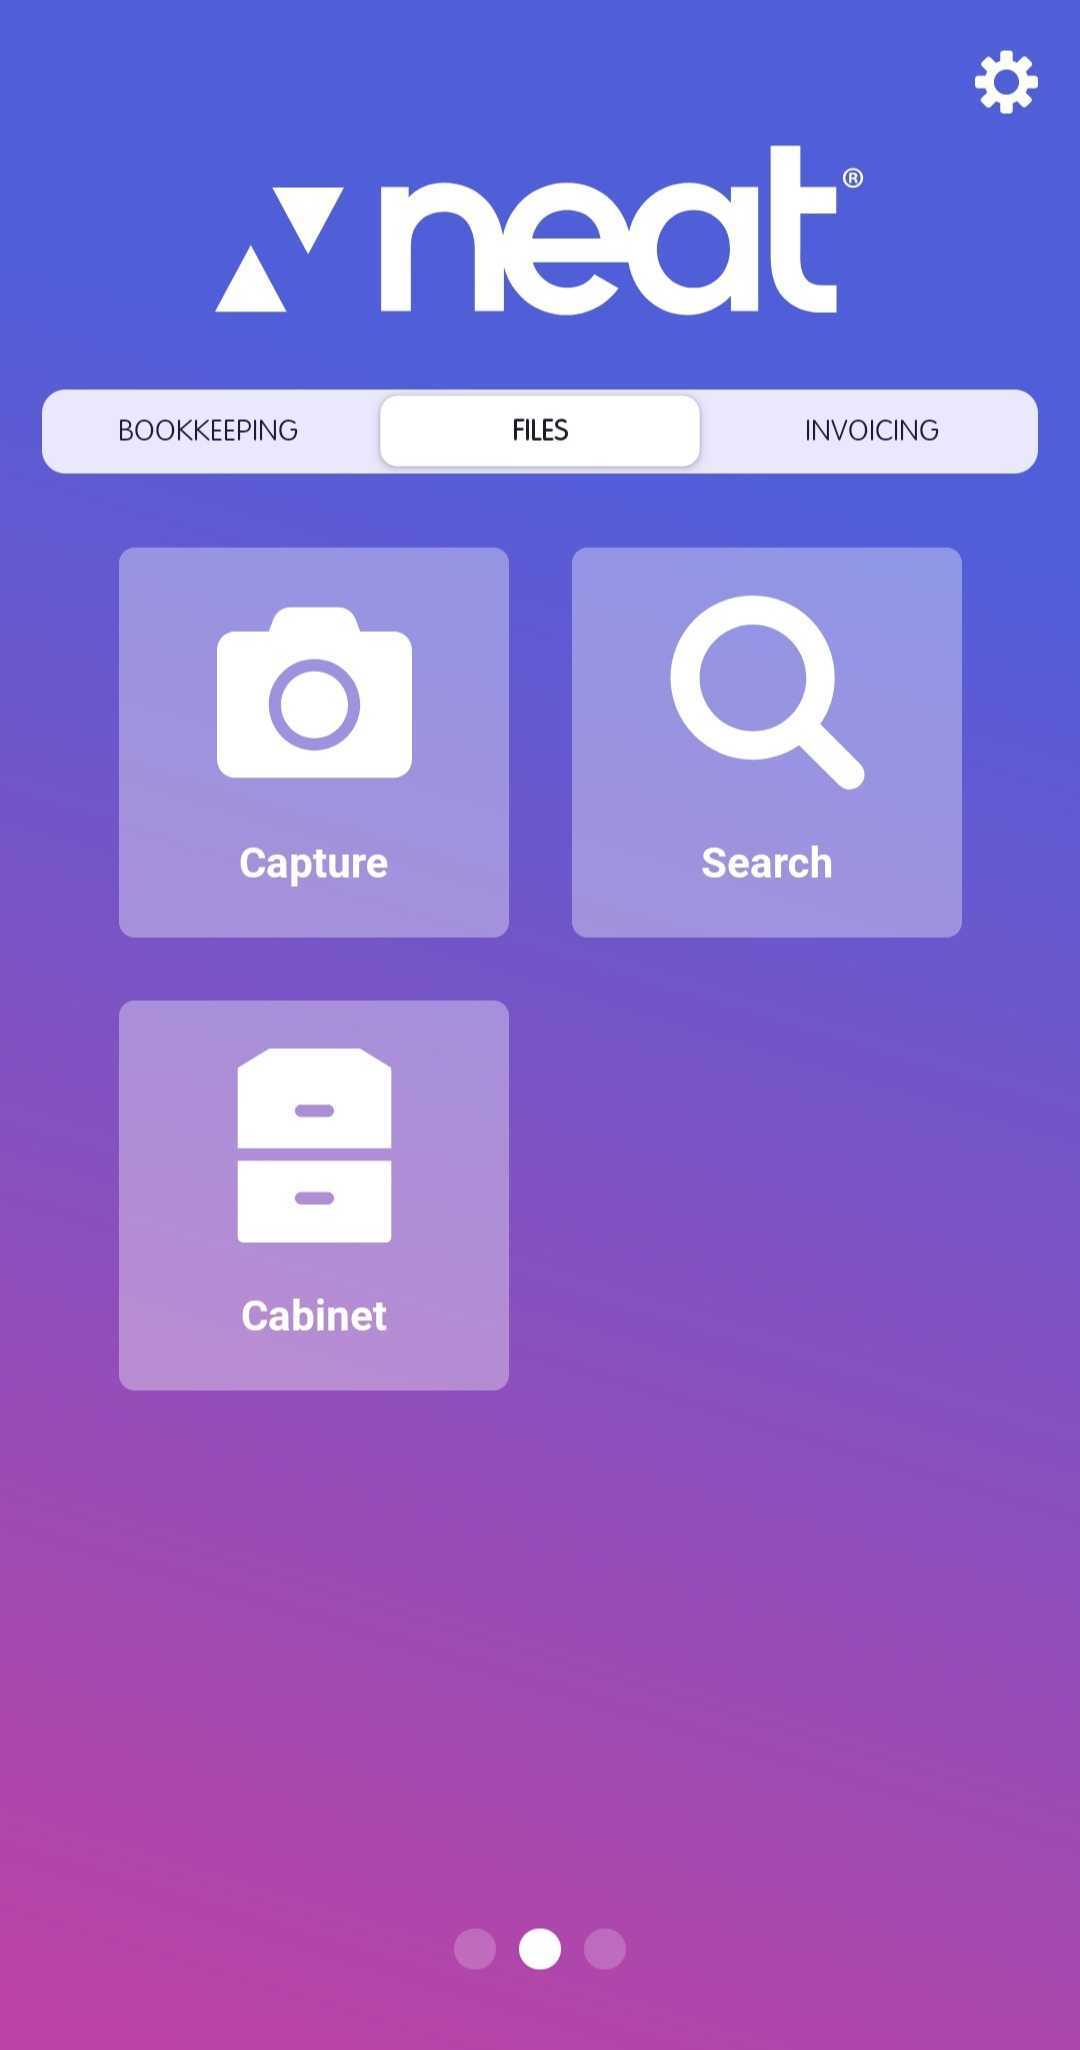
On the home screen, toggle to Files and select Capture.
In the Capture Window, choose IMPORT.
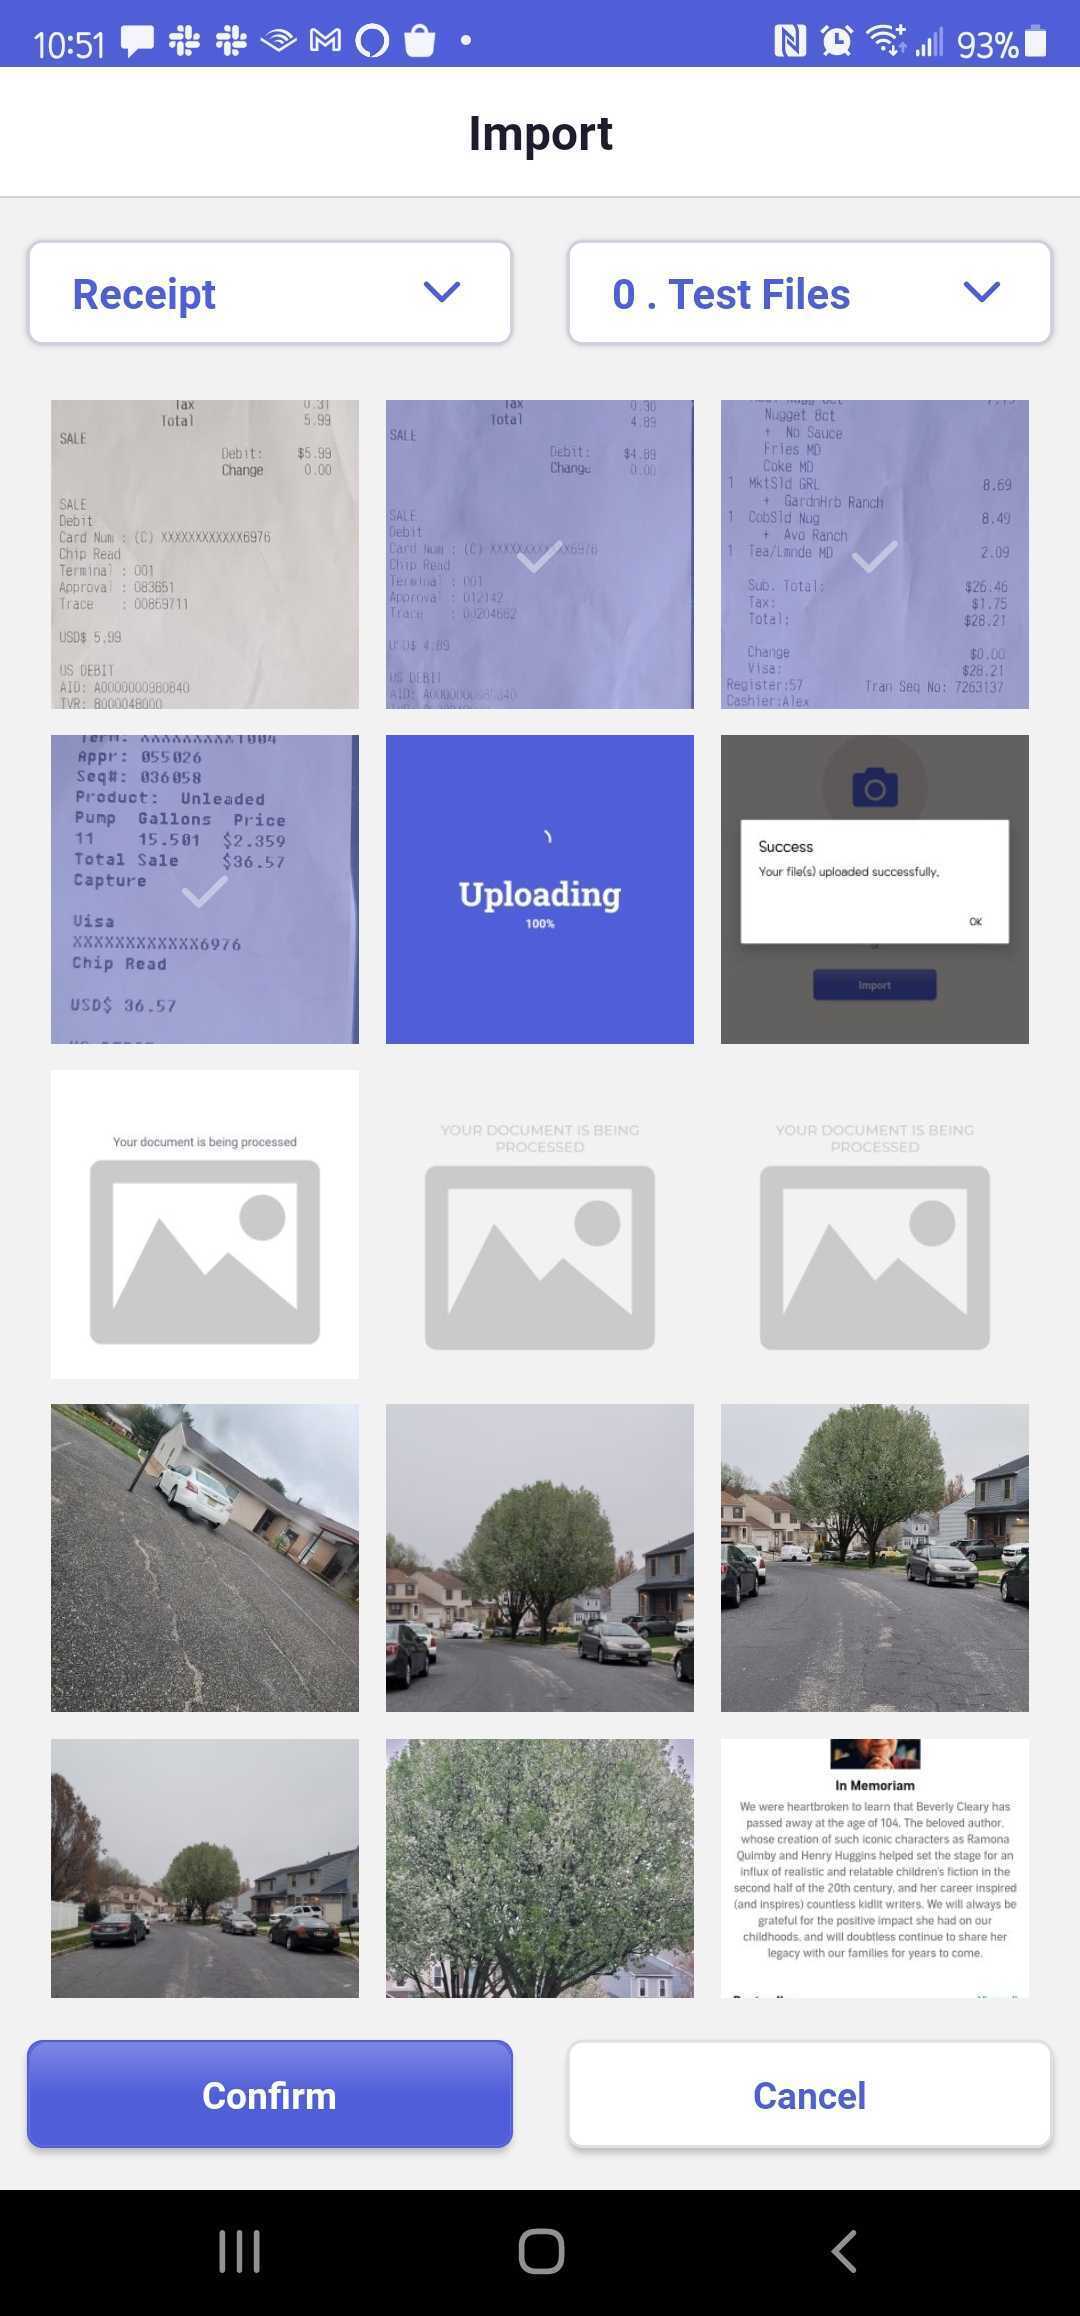
Browse and select one or multiple items from your mobile device's photo gallery to import to Neat. Then select Confirm.
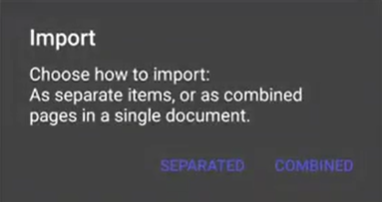
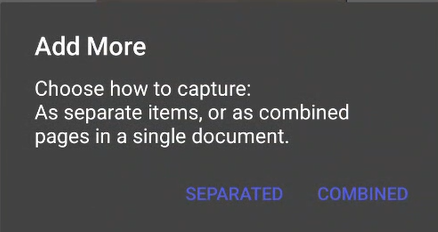
Neat Pro Tip: When importing multiple images, you can select Add More if you have separate images to upload at the same time or if you have many images to be combined into one item. Simply choose Separated or Combined.
Separated allows you to continue capturing images of individual items and quickly upload them all at once after you've finished capturing them. Each image will be a separate item in Neat.
Combined allows you to capture multiple pages for the same item to upload as one single item with many pages.
Your item will be uploaded to Neat. You will see a Success message once it's complete.
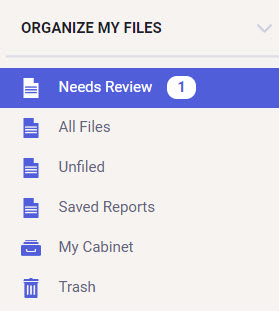
By default, your items will be uploaded to the Needs Review section in the Neat Dashboard.
 Click the pencil icon to edit your item's date, vendor, amount, category, and even add notes to your item all before sending it to Neat!
 Click to drag the edges of the image to crop it. You can also Rotate your image here.
 Click to discard the image and start over.
 Neat Pro Tip: When importing multiple images, you can select Add More if you have separate images to upload at the same time or if you have many images to be combined into one item. Simply choose Separated or Combined.