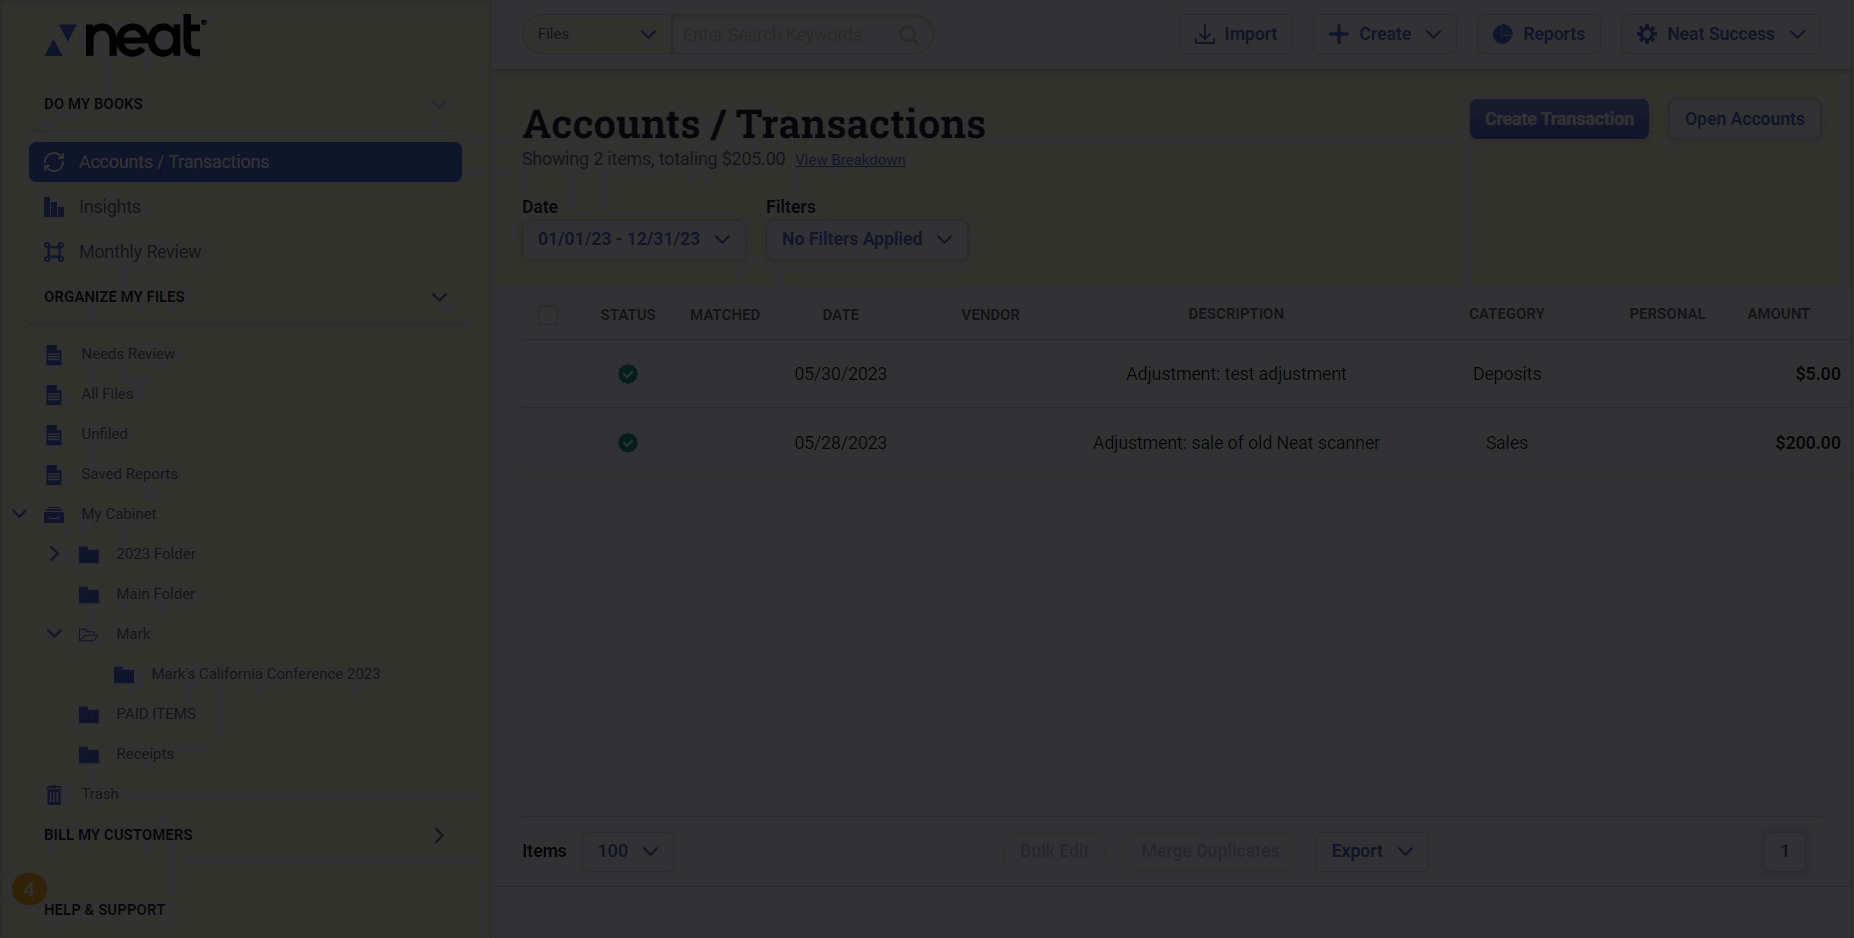
Neat makes organizing effortless with vendor mapping.
Please Note: You must have an active Neat subscription with the Automated Insights add-on in order to take advantage of the features in this article.
Vendor mapping lets you assign default categories to specific vendors in the Transactions section. Once a vendor is mapped, Neat will automatically apply the correct category to any transactions with the same vendor—saving you time and keeping your records consistent.
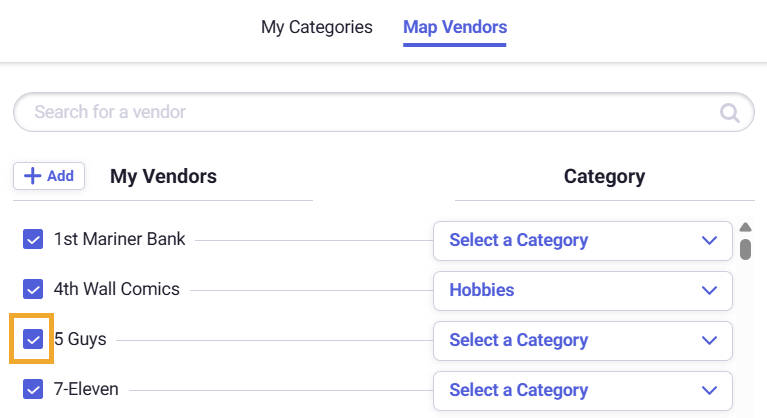
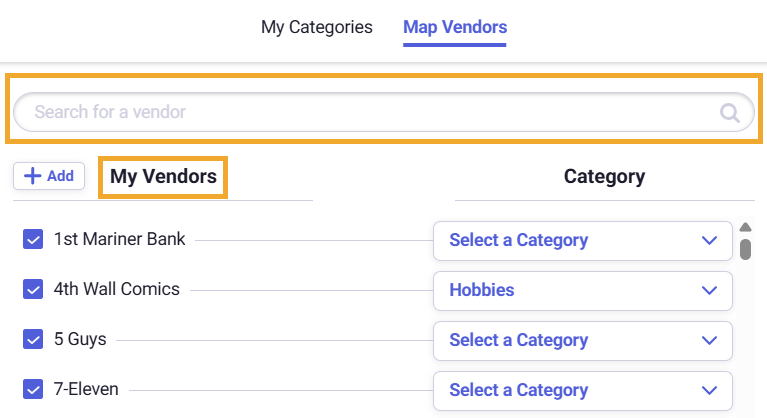
Find the vendor you want to map in the Vendors column. You can also search for the vendor by typing the vendor into the search bar.
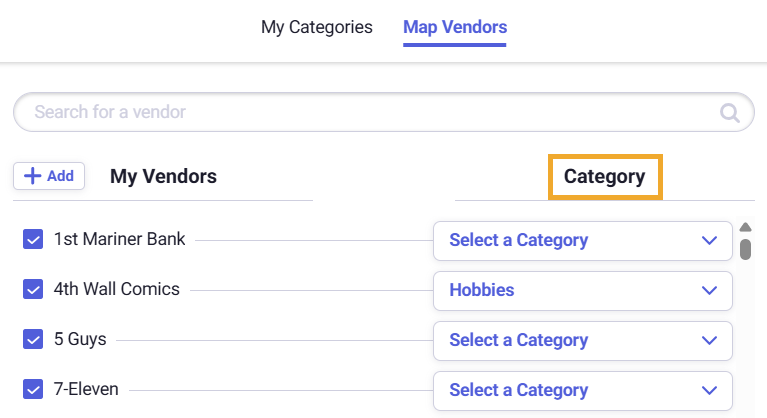
In the Category column, click the Select a Category drop-down to see your available Vendor categories. Select the category you want to map to your vendor.
Please Note: You can easily add and edit your categories in the Chart of Accounts while mapping your vendors.
Your changes are saved automatically! When you're done, click the 'X' in the top right corner of the window to close vendor mapping.
Vendors are automatically enabled when created. The check box to the left of the vendor name indicates if it is enabled (check) or disabled (no check).
To enable a vendor:
If a vendor is disabled, the box immediately to the left of the vendor will be empty. Click the box to place a check mark in it to re-enable the vendor.
To disable a vendor:
Click the box immediately to the left of the vendor to remove the check mark and disable that vendor.
The category to the right of the vendor name will turn gray, indicating the vendor is now disabled.
Please Note: If you attempt to disable a vendor that is already in use in your transactions, you will receive the following message:
"This vendor is currently assigned to one or more transactions and cannot be disabled."
Deleting vendors:
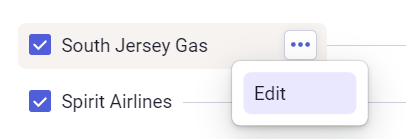
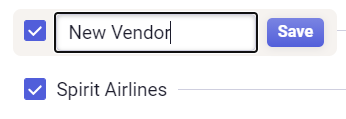
You cannot delete vendors but you can disable or edit them to change the name as needed.

 Please Note: You can easily add and edit your categories in the Chart of Accounts while mapping your vendors.