Windows: Export to PDF Guide
Please Note: The information provided on this page is related to products and/or services which are no longer supported and agent support is no longer available. This information is provided as a courtesy for users who may still need information on end-of-life products.
- To export your files to PDF, select the folder or the individual files you wish to export. (To select multiple files within a folder, hold the CTRL key & click on your desired files. OR to select all the files in a folder hold the CTRL key and ‘A” at the same time.)
- Once your files have been selected, click Export at the top of the screen.

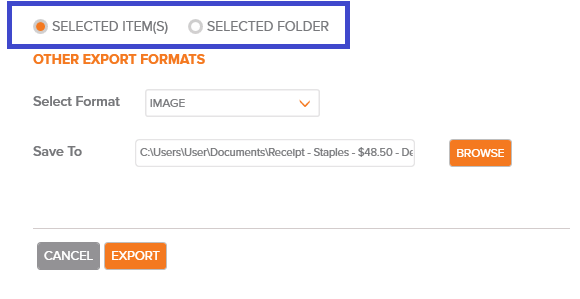
- Then click the list for Select Format to choose PDF.

- Choose the radio button for SELECTED ITEM(S) or SELECTED FOLDER depending on whether you wish to export only specific items you already selected or if you wish to export the entire folder and all items contained directly within it. Sub-folders will not be included when exporting to PDF so must be exported separately.
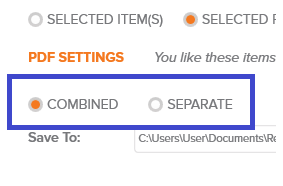
Please Note: If you are migrating your database over to the Neat cloud-powered software make sure you choose SELECTED FOLDER when exporting so all items directly in that folder will be exported (excluding sub-folders). - If you have more than one item selected in the previous step then you have the option to have all the files in the folder combined into a single PDF with a page for each image or keep each item in the folder separated resulting in a PDF file for each item.
- Click the BROWSE button to open the window where you can select the location on your computer where you will save the PDF file. Then click Save.
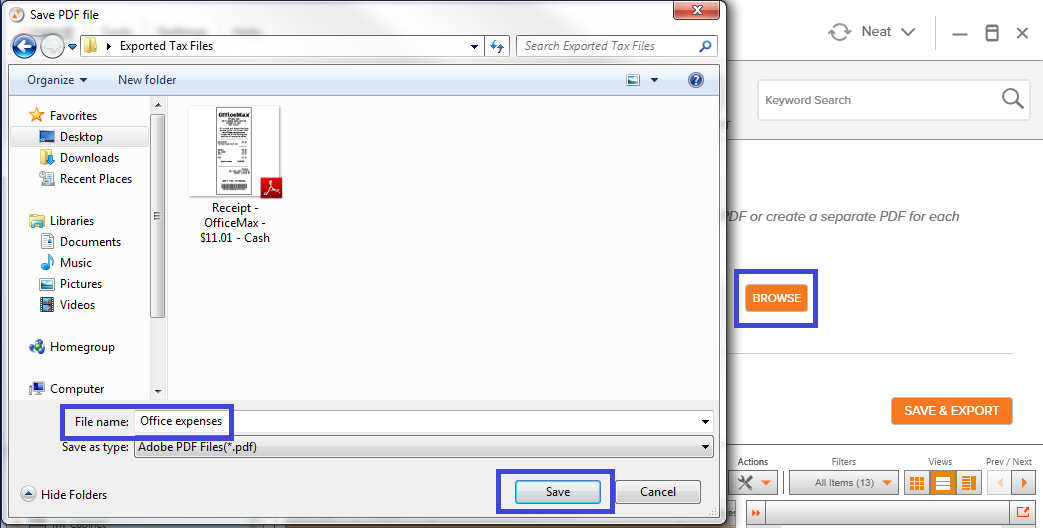
Please Note: Make sure you browse to the folder (that you created earlier) that matches the Neat folder you are exporting from, to keep your database organized. - Click EXPORT to begin exporting to PDF.
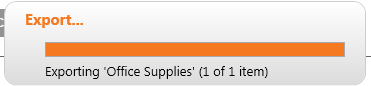
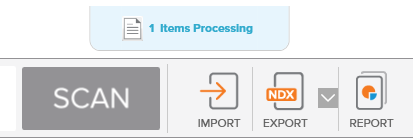
- You will see a notification at the top of the screen as the items are processing.
Once complete, your exported file will automatically be created in the location on your local computer


