NeatReceipts: Clean Your Scanner
Please Note: The information provided on this page is related to products and/or services which are no longer supported and agent support is no longer available. This information is provided as a courtesy for users who may still need troubleshooting or FAQ information on end-of-life products.
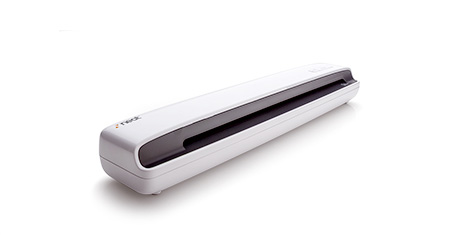
Learn how to clean your Neat mobile scanner. Keeping your scanner clean is an important part of scanner maintenance. Dust and other obstructions on the scanner lens can cause streaks on scanned images and potentially impact the accuracy of the scanned images. The cleaning process will remove flecks of dust or small pieces of paper that have been caught in the scanner, which will in turn improve the quality of your scans.
Clean your Neat mobile scanner
- Locate the two types of cleaning paper that are included in the Welcome Kit: one dry and one wet. The dry cleaning paper is a small, white, ‘cottony’ piece of paper that resembles a dryer sheet. Always try this dry cleaning paper first. The wet (alcohol-based) cleaning paper is especially useful for scanners that are producing very streaky images as it will help remove particularly stubborn dust and paper particles. Only use the wet cleaning paper if you’ve already tried cleaning with the dry cleaning paper and have not had optimal results.
- Feed the dry cleaning paper into the scanner, just as you would a receipt.
- In the Neat Desktop App or Neat Scan Utility, Click Scan then Clean.
- During the cleaning process, the cleaning paper will move back and forth through the scanner for approximately 25 seconds before being pulled through all the way.
- When cleaning is complete discard the used cleaning paper.