Neat Smart Organization System - Delete Any Page in a Scan Before Processing
Please Note: Neat Web App now has ALL of the desktop features, and so much more! You can continue to use this desktop application, however, all new features, improvements, and updates will occur in our Neat web application. Click here to learn more!
Learn how to delete a page scanned with the Neat Smart Organization System. Neat allows you to scan individual or multiple page documents and, if needed, remove unwanted pages before processing them. Below we'll explain how to delete a page scanned into Neat.
Please Note: At this time deleting pages from a multi-page scan can ONLY be done before processing the item. Once the item has been fully processed alterations cannot be made to the item. We understand the importance of this feature will be available in the Neat Web App.
Delete a Page Before Processing
- Click the Scan button.

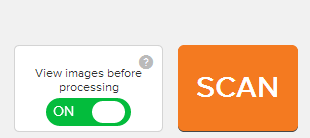
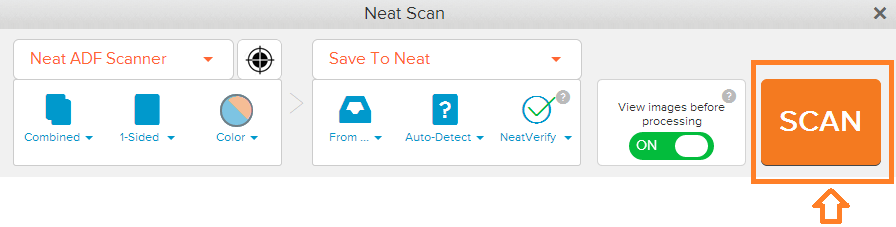
- A Neat Scan window will open. Make sure the View Images Before Processing indicator is On.
- Click Scan.
- A preview of the images will appear when the scan has completed. Make note of the numbers that have been attributed to each scanned page.

- Use your mouse to hover over the page you want to delete. You'll notice a small red Trash Can icon will appear in the bottom right corner of the preview window.

- Click on the Trash Can icon. A screen will appear to confirm that you want to delete the selected page. Click Yes.
