Mac: Export to PDF Guide
Please Note: The information provided on this page is related to products and/or services which are no longer supported and agent support is no longer available. This information is provided as a courtesy for users who may still need information on end-of-life products.
There are 2 ways to get your data out of Neat Legacy for Mac:
- Recover/access data from the Neat Library folder on your computer hard drive
This method allows you to recover data from the Legacy for Mac software even if the software is corrupt, broken, or cannot be opened. However, this method will not allow you to retain your Neat folder structure or file naming convention.
- Export your files to PDFs from Neat Legacy for Mac
This method is more time consuming and requires functioning Legacy software. However, it allows you to recreate your Neat folder structure during the export process and will allow you to retain some of your file naming convention.
Note: Any metadata (customized categories, notes & etc) will not export to your files. Only the image will be exported.
Recover/access data from the Neat Library folder on your computer hard drive
- Search for your Neat Library on your computer desktop. The Neat Library has a file extension of Neat Library.nrmlib and an icon that looks like an orange filing cabinet. By default the Library is stored in your Documents, but could be in another location if you've moved it.

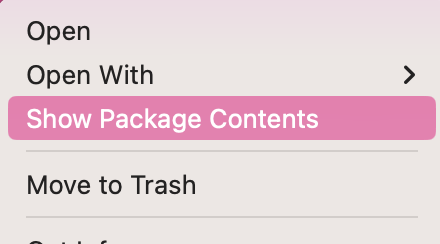
- Right click or command+click your Neat Library, then click Show Package Contents.
Here you can see all the files in your Neat Library as PDF files.
- Copy the files to another location on your computer to save them.
Export your files to PDFs from Neat Legacy for Mac
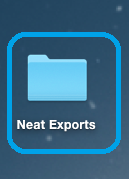
- Before starting the export process, create a folder on your Desktop, called Neat Exports. This will help in keeping your data organized.
- The easiest way to export to PDF is to simply drag and drop a folder or specific item(s) from Neat onto your desktop or directly into a folder of your choice (the Neat Exports folder)
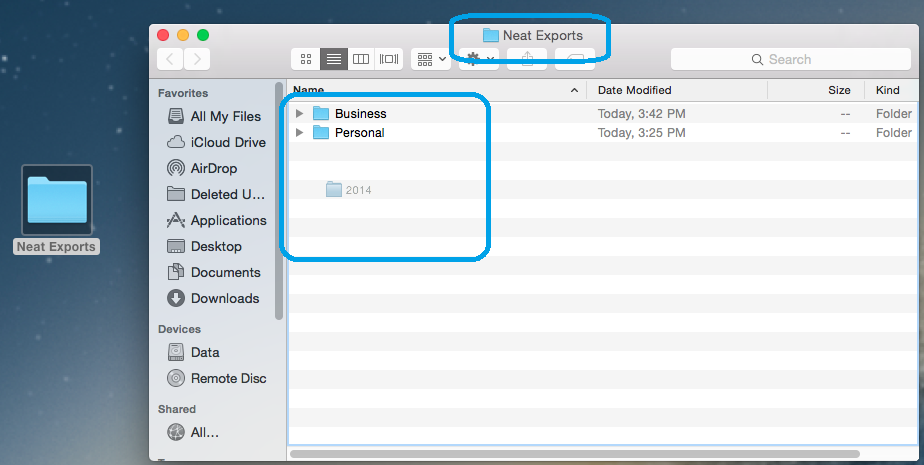
- It will create a folder on your desktop with all of the items in the folder as PDFs. Any sub-folders will be included, along with the files in the sub-folders. Do that for each of your parent folders until all of your data has been exported.


