ScanSnap iX1500
Setting up the ScanSnap iX1500 to Scan to Neat
- Close Neat and disconnect your ScanSnap iX1500 if it is connected.
- If you haven't done so already, you will need to install the ScanSnap iX1500 driver and ScanSnap Home software.
- Once the driver and ScanSnap Home is installed, restart your computer.
- Then launch the Neat Desktop App and ScanSnap Home.
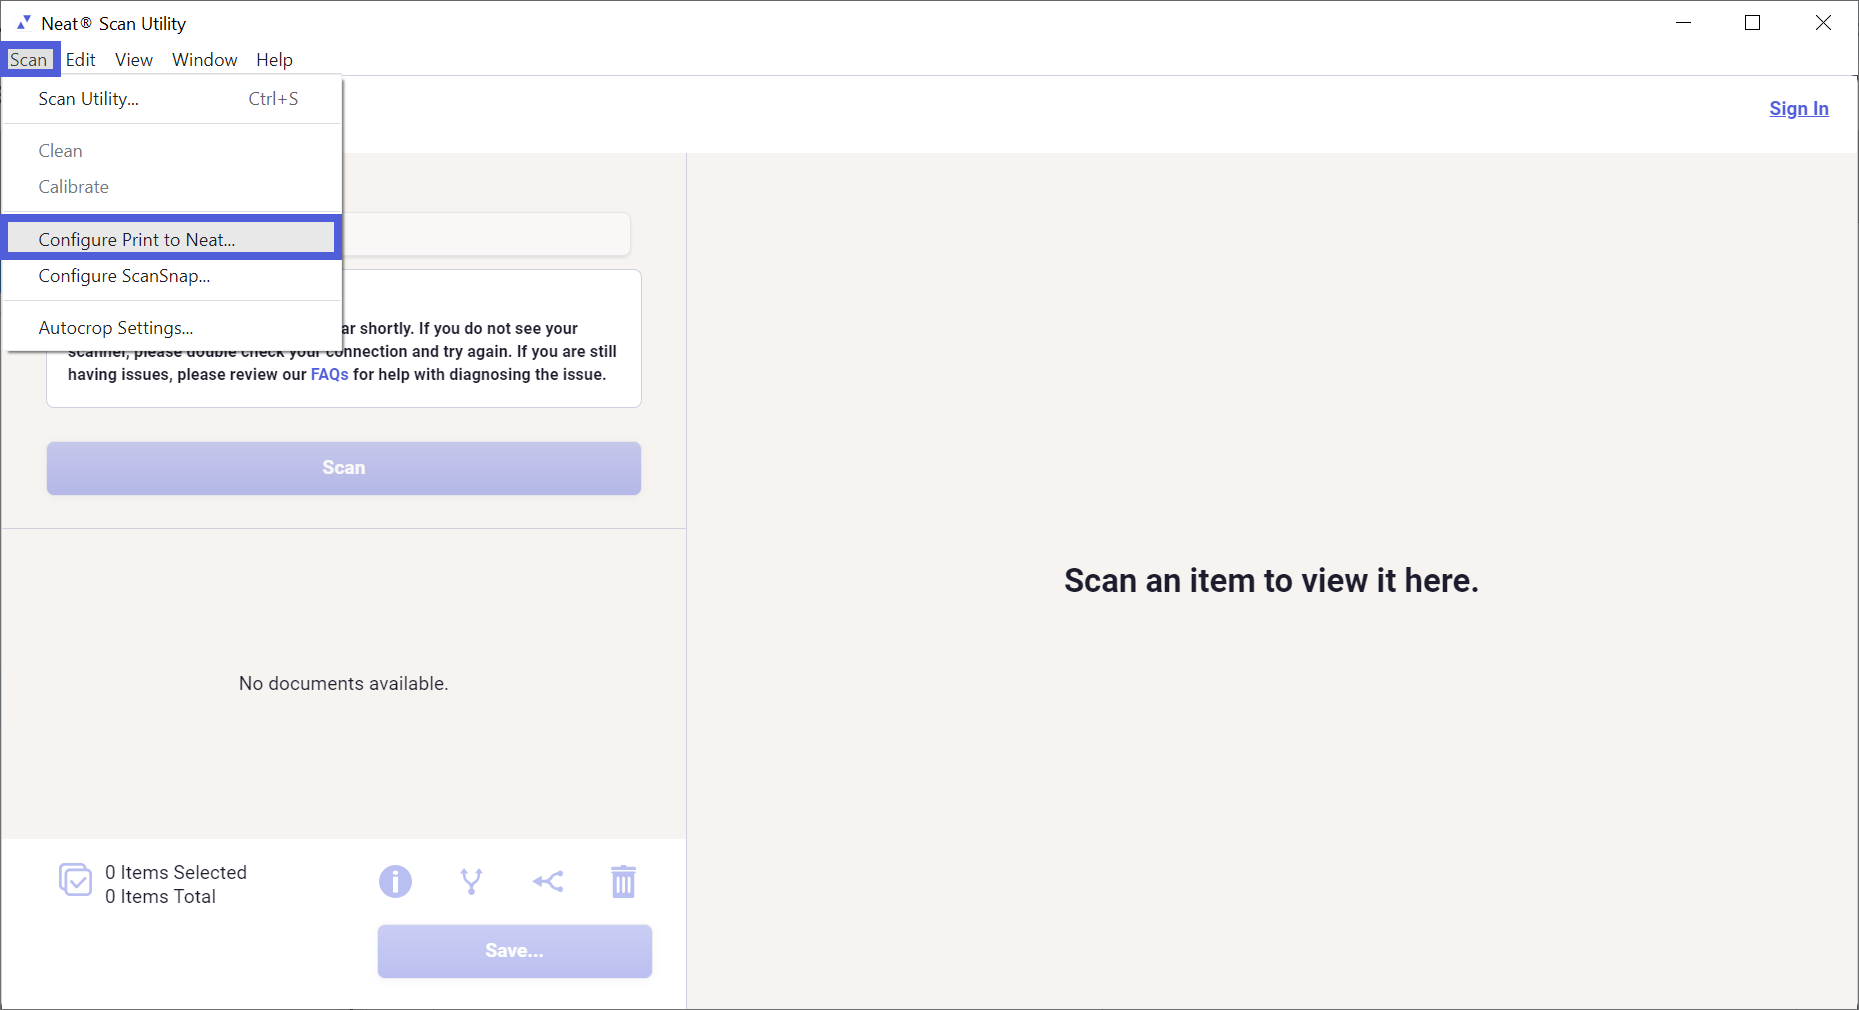
- In the Neat Desktop App, click Scan and then select Configure ScanSnap...
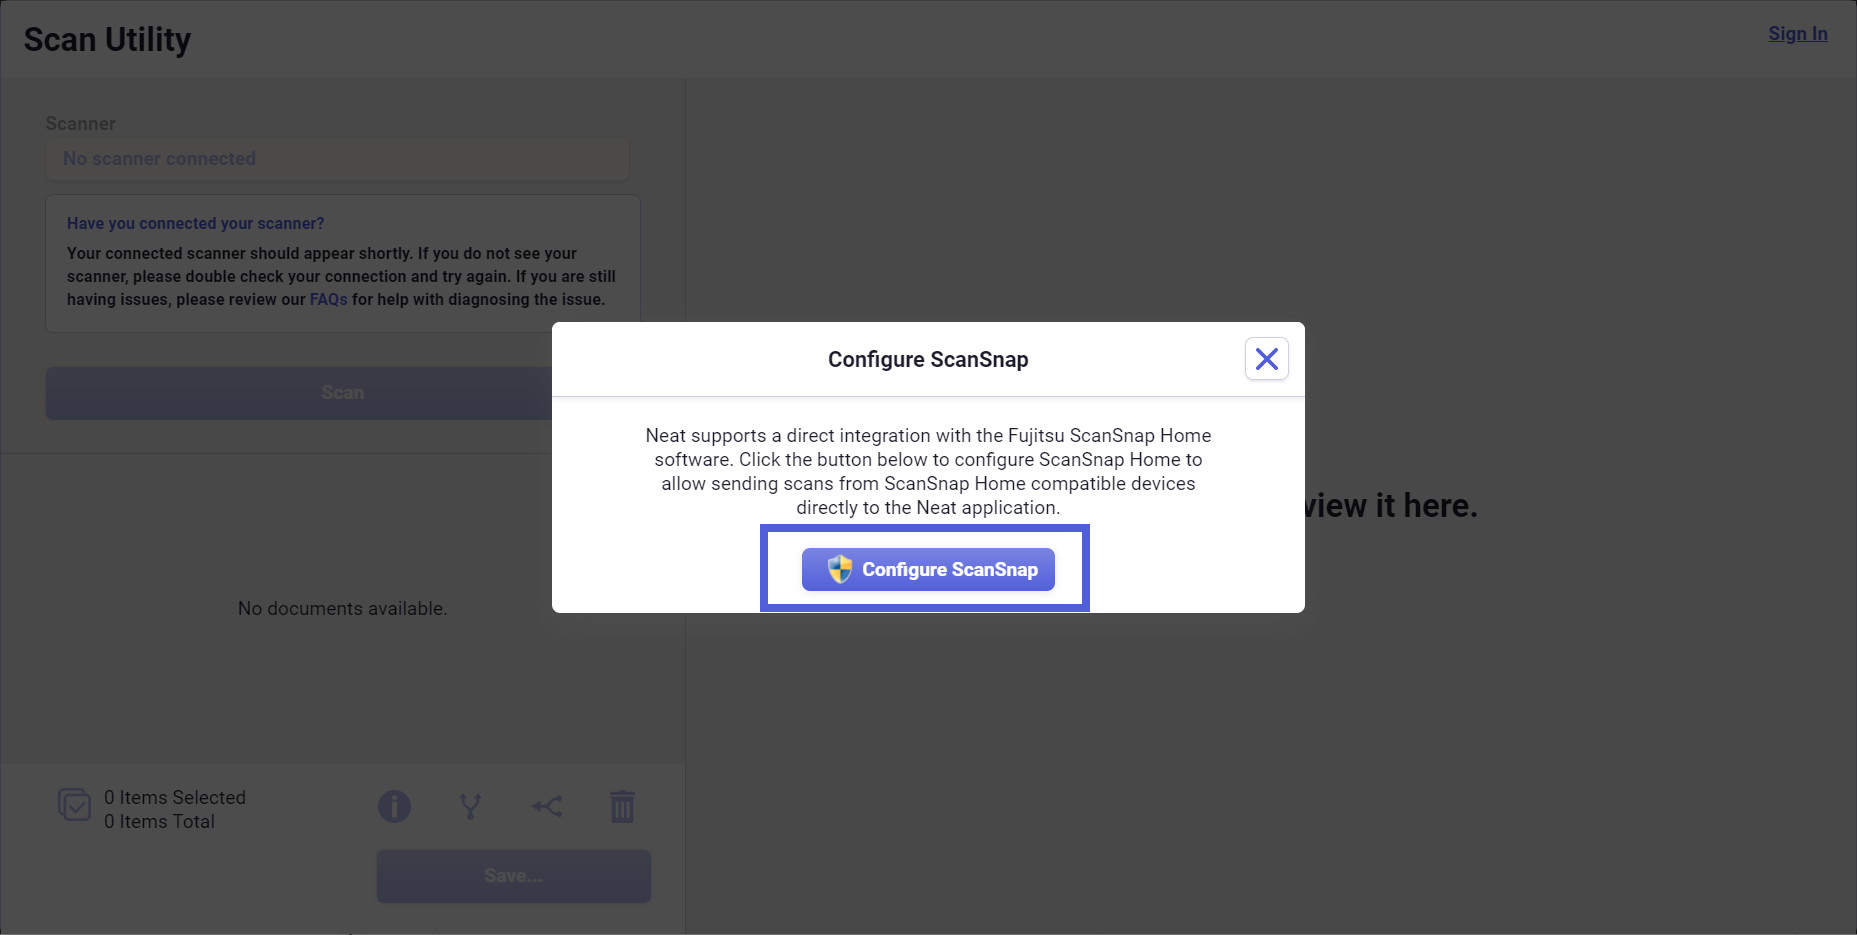
- In the popup window, click CONFIGURE SCANSNAP to create a scan option in ScanSnap Home for Neat.
- Click Yes to continue. You will get the following confirmation that the profile was set up.

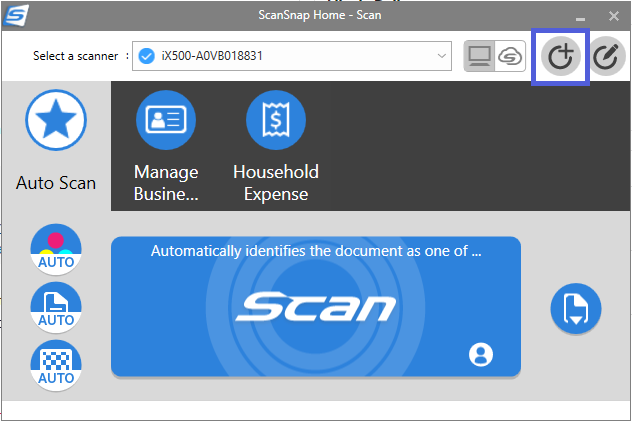
- Go to ScanSnap Home, and click the Add Profiles button in the upper right to complete setting up the Neat profile.
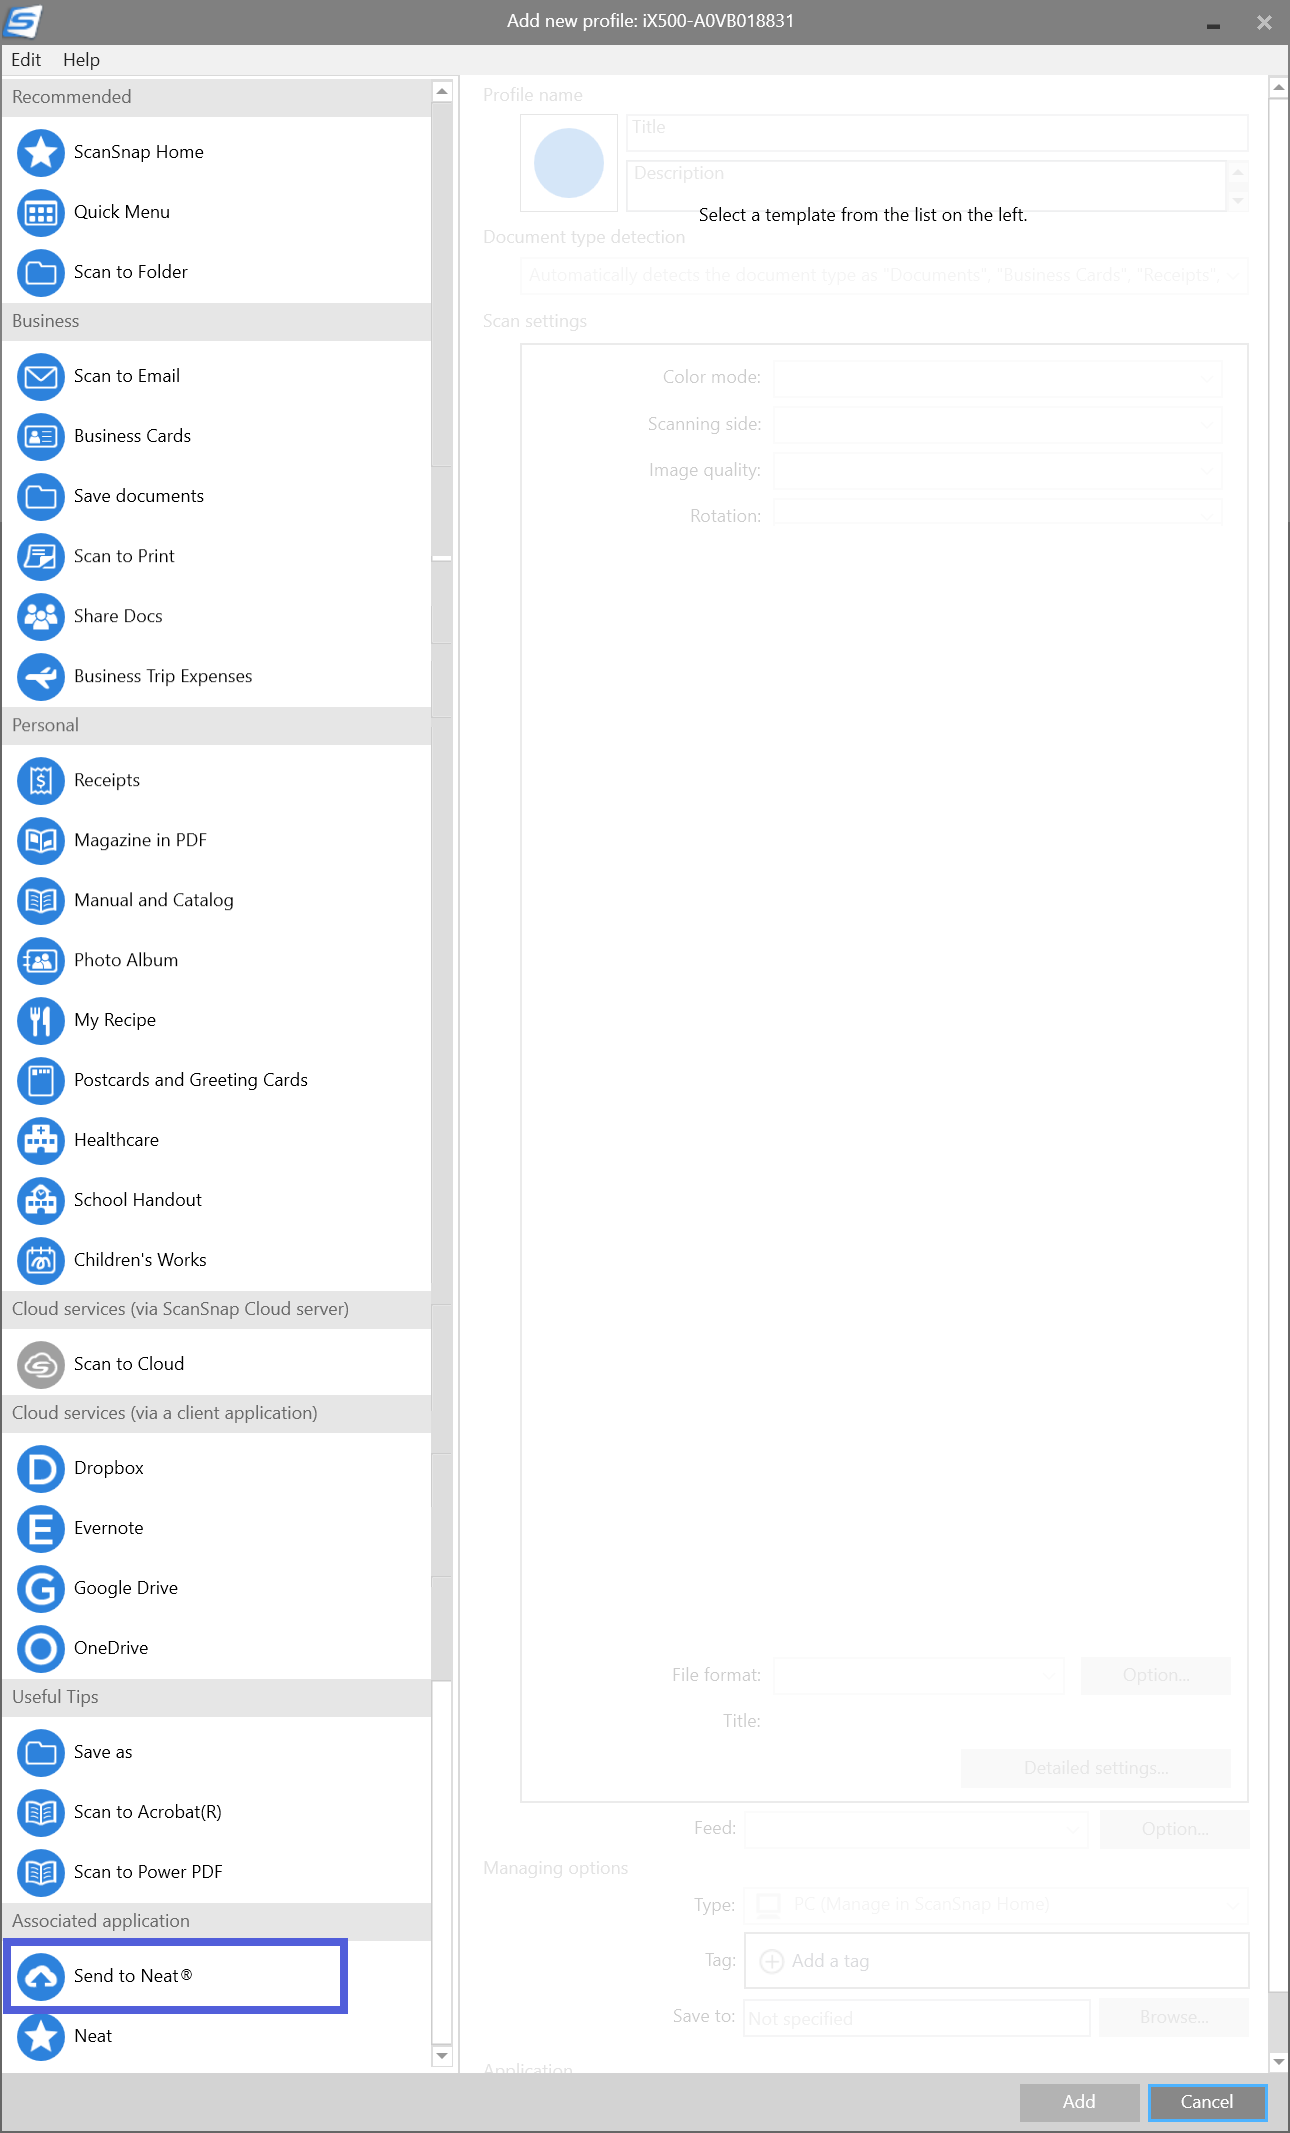
- Scroll to the bottom of the list to select Send to Neat and then click Add to finish setting up the Neat scan profile.
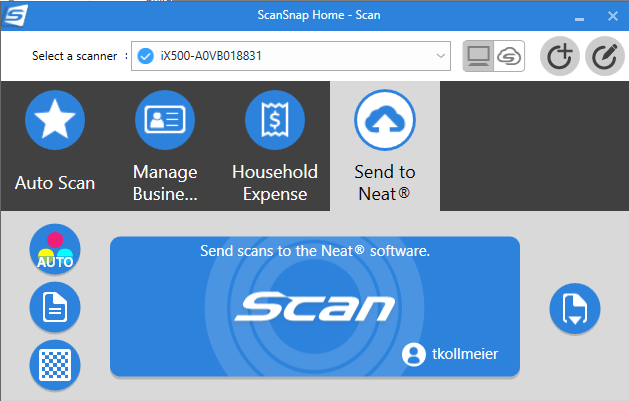
- Now you're ready to scan. Be sure to select the Send to Neat profile. Load your documents in the scanner and click Scan in ScanSnap Home.
- Once scanned, your items will appear in the Neat Desktop App and you will have the option to edit (rotate, crop, delete) your item and send it to Neat or save it on your computer.