Multi-Account User Access
Learn all about Neat's multi-account user access feature by reviewing our most frequently asked questions below.
FAQs
- What is multi-account user access?
- What are some benefits to using this feature?
- What is my Primary account?
- How do I switch between my multi-accounts?
What is multi-account user access?
- Multi-account user access allows Neat users to be invited to more than 1 Neat account at a time.
- These users can switch between the Neat accounts they were invited to whenever they'd like.
- Users will have full access to the Neat accounts they are invited to.
- There is no limit to the amount of Neat accounts a user can be invited to.
What are some benefits to using this feature?
- You can access your clients' Neat accounts from your own environment.
- You can access your clients' Neat accounts using your own credentials.
- You can access all of your clients' and/or employees' files from a single sign-on.
What is my Primary account?
Your Primary Account is the account that determines what account you log in to when you access Neat with your mobile app or your Cloud Powered software. Additionally, the primary account is the account that determines where items go when they are sent from the NeatConnect scanner and from email.
Please Note: To change your primary account you will need to contact support.
How do I switch between my multi-accounts?
Please Note: The steps below are for the Neat Web App . If you need to change the account on your Neat Mobile App, then you will need to contact support to change your primary account.
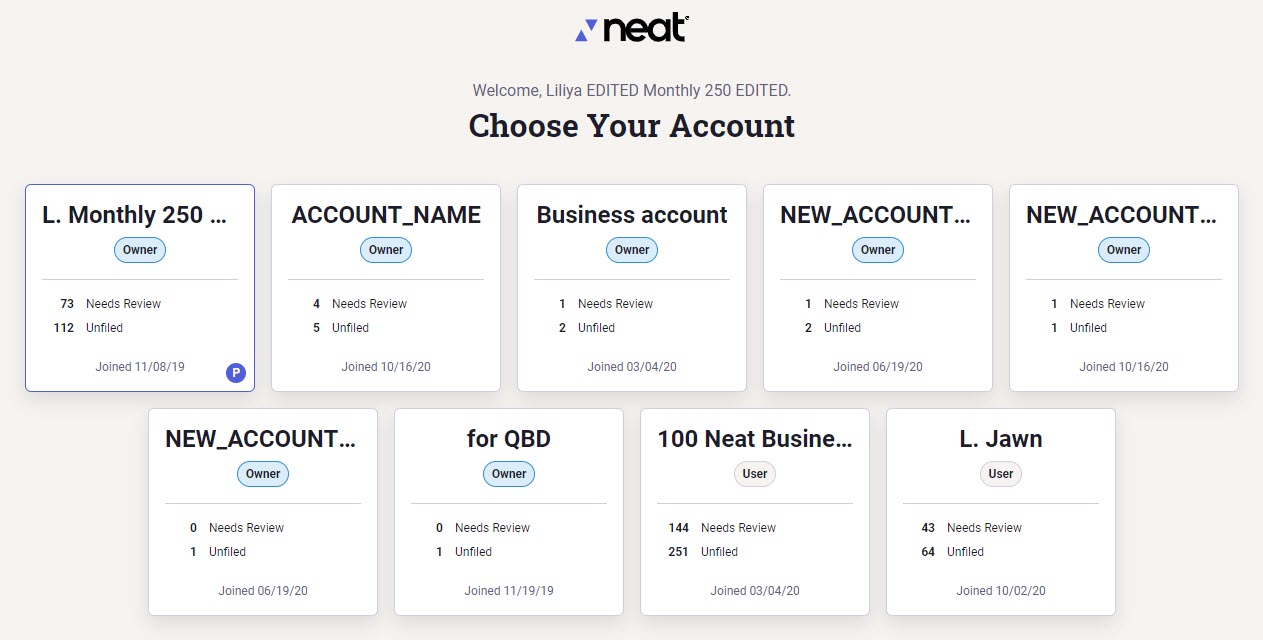
Selecting an Account When Logging In
- Log in to app.neat.com.
- If you have access to more than one account, then you will be brought to the account selection dashboard. Here you can choose the account you would like to access.
Switching to Another Account Once Logged In
- Click on your name at the top right-hand corner of your window.
- Click Change Account.
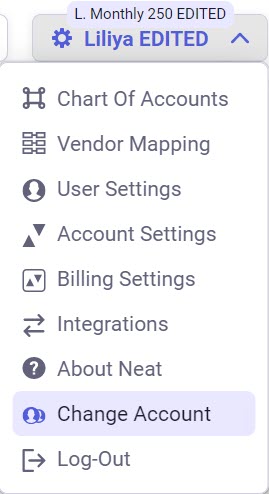
- You will then be brought back to the account selection dashboard.
- Click on the account you want to switch to.
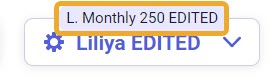
- Neat will re-open in the account you chose to access. You can verify that by checking the account name in the top right-hand corner, as shown here.