Neat Scan Utility - Sending Multiple Items to Neat
When using the Neat Scan Utility for desktop, there is no need to send items to the cloud one by one. Read on to learn how to send multiple items to Neat’s cloud service at one time.
FAQs
- How do I choose my file destination?
- How do I select multiple items to send to Neat?
- How do I change the item type?
How do I choose my file destination?
In order to select the destination that your items will be going to, you will select the drop down box labeled File Destination. Then click on Neat so that your items will be sent to your Neat account.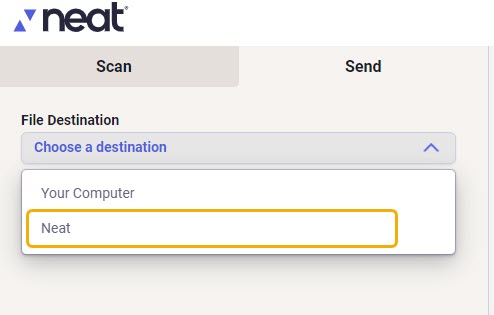
How do I select multiple items to send to Neat?
If you wish to select all available items simultaneously, click the Select All icon (highlighted in the image below). Otherwise, if you wish to select only some of the available items, hold down the Ctrl button on your computer as you click each item to be included in the upload to Neat. Don’t release the Ctrl button until all items have been selected. You will see a blue outline around the selected pages indicating they have been selected.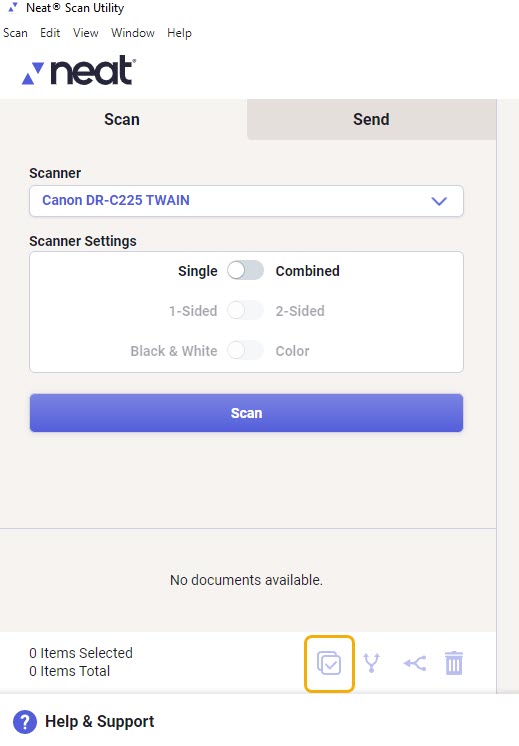
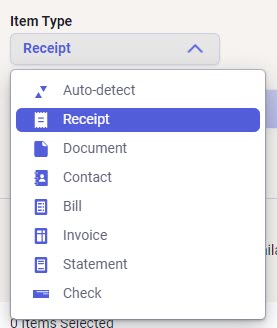
How do I change the item type?
In order to select the type of item you will be sending, you will select the drop down box labeled Item Type. Here you will see multiple items that you can choose from.