NeatConnect: Calibration
Please note that the information provided on this page is related to products and/or services which are no longer supported and agent support is no longer available. Because the NeatConnect scanner has received no firmware updates in over 10 years, some features no longer work correctly. This is largely because many scan destinations have updated their login and security processes, rendering the NeatConnect incompatible with those updated standards. In some cases (i.e. Dropbox), established connections may continue to work, but adding a new connection to that service is no longer possible. This information is provided as a courtesy for users who may still need troubleshooting or FAQ information on end-of-life products.
Learn how to calibrate your NeatConnect scanner. The calibration process helps the scanner “see” correctly and therefore provide crisp accurate scans by differentiating between black, white, shades of gray and other colors.Calibrating your scanner is simple and quick. You may occasionally need to recalibrate if scans appear faint or off-balance. Follow the steps below for instructions on cleaning and calibrating your NeatConnect scanner.
Before You Begin
The calibration steps in this article only impact the image quality when scanning directly to the Neat Cloud.Calibrate the NeatConnect scanner
- Locate your calibration paper, if you have misplaced your calibration sheet, you can use a blank white 8.5″ x 11″ sheet of paper to calibrate.
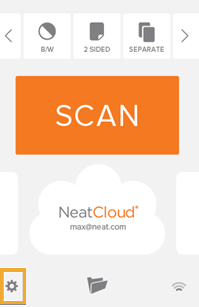
- On the NeatConnect scanner, click the settings button.
- Scroll down through the settings and locate the Maintenance section. Click Calibrate
- Load the calibration sheet into the scanner as shown in the Calibrate Your Scanner dialog box.
- Click Next.
An alert box will let you know when calibration is complete.