Tax Categories in Neat
Please Note: For the following you will need to be logged in to the Neat web app or the Neat Desktop App (NDA).
How do I set my tax categories?
Neat provides a long list of US and Canadian tax categories you can use to classify your financial files in the tax category field for better expense tracking. In Account Settings, you can set which tax categories you prefer to see.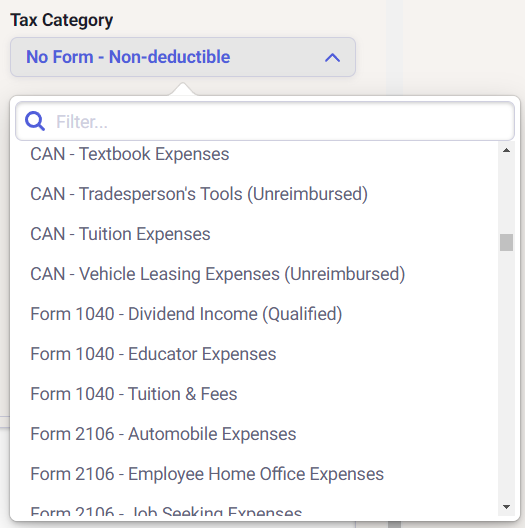
- Click your name in the top right-hand corner of Neat.
- Click Account Settings in the drop-down.
- Scroll down in Account Settings to the System Defaults section.
- Click Tax Categories, then select the tax categories you want to track in Neat.
- US Only - All US tax categories will be available in your Tax Categories drop-down. No Canadian tax categories will appear.
- Canadian Only - All Canadian tax categories will be available in your Tax Categories drop-down. No US tax categories will appear.
- US & Canadian - All US & Canadian tax categories available in Neat will appear in your Tax Categories drop-down.
- Click Set to finalize your changes.