Integrate QuickBooks Online
- What is the benefit of integrating QuickBooks Online with Neat?
- Is the QuickBooks Online connection included in my Neat plan?
- What versions of QuickBooks are supported with Neat?
- Are there any system requirements for using the QuickBooks Online integration?
- How do I connect Neat with QuickBooks Online?
- How do I send items to QuickBooks Online?
- How do I map my data in Neat with QuickBooks Online?
- Is on-the-go mapping available in Neat?
- How do my Neat items appear in QuickBooks?
- Can I disconnect Neat from QuickBooks Online?
- How many Company Files can I connect to Neat?
- Can I send items from Neat to QuickBooks multiple times?
Please Note: For the following you will need to be logged in to the Neat web app.
FAQs
- What is the benefit of integrating QuickBooks Online with Neat?
- Is the QuickBooks Online connection included in my Neat plan?
- What version of QuickBooks is supported with Neat?
- Are there any system requirements for using the QuickBooks Online integration?
- How do I connect Neat with QuickBooks Online?
- How do I send items to QuickBooks Online?
- How do I map my data in Neat with QuickBooks Online?
- Is on-the-go mapping available in Neat?
- How do my Neat items appear in QuickBooks?
- Can I disconnect Neat from QuickBooks Online?
- How many Company Files can I connect to Neat?
- Can I send items from Neat to QuickBooks multiple times?
What is the benefit of integrating QuickBooks Online with Neat?
Is the QuickBooks Online connection included in my Neat plan?
The QuickBooks Online connection feature is included in Neat Yearly & Neat Yearly + AI plans.What versions of QuickBooks are supported with Neat?
QuickBooks Online Simple Start, Essentials, and Plus are all supported.The Self Employed version of QuickBooks Online does not support integrations with other applications such as Neat.
Please Note: The Simple Start plan only allows you to send receipts to QuickBooks Online, not bills.
Are there any system requirements for using the QuickBooks Online integration?
Neat can be accessed from a web browser when you have an active internet connection. It’s recommended to keep your browser up to date. You’ll also need your own QuickBooks Online account in order to complete the connection.How do I connect Neat with QuickBooks Online?
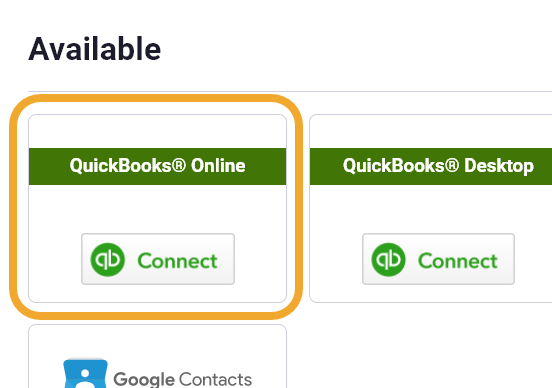
Follow the steps below to connect your Neat account with QuickBooks online:- First, log into app.neat.com and click your name in the top right. Select Integrations.

- Select QuickBooks Online from the options.
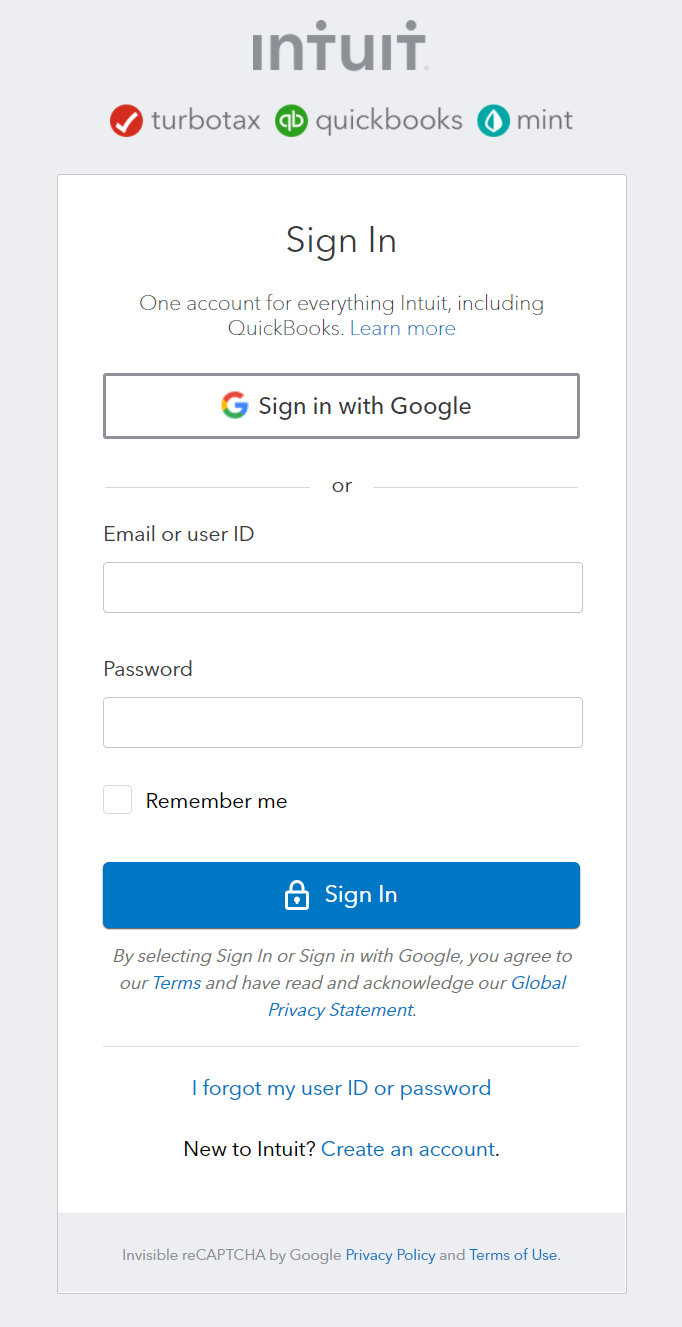
- Log into your QuickBooks Online account.
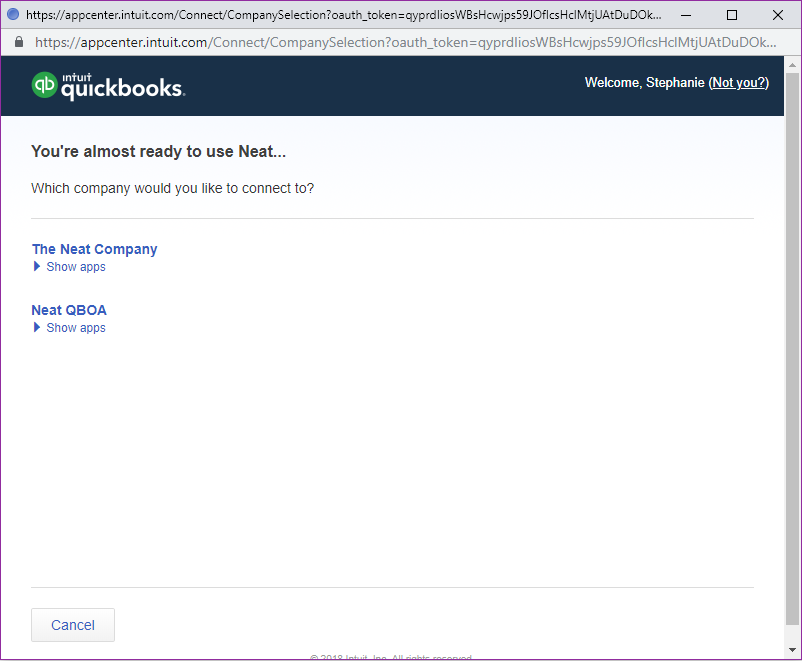
- If you have more than one Company File, select the Company File to which you wish to connect.
- To continue, click Connect to grant Neat access to your QuickBooks Online account in order to send data from Neat to QuickBooks.
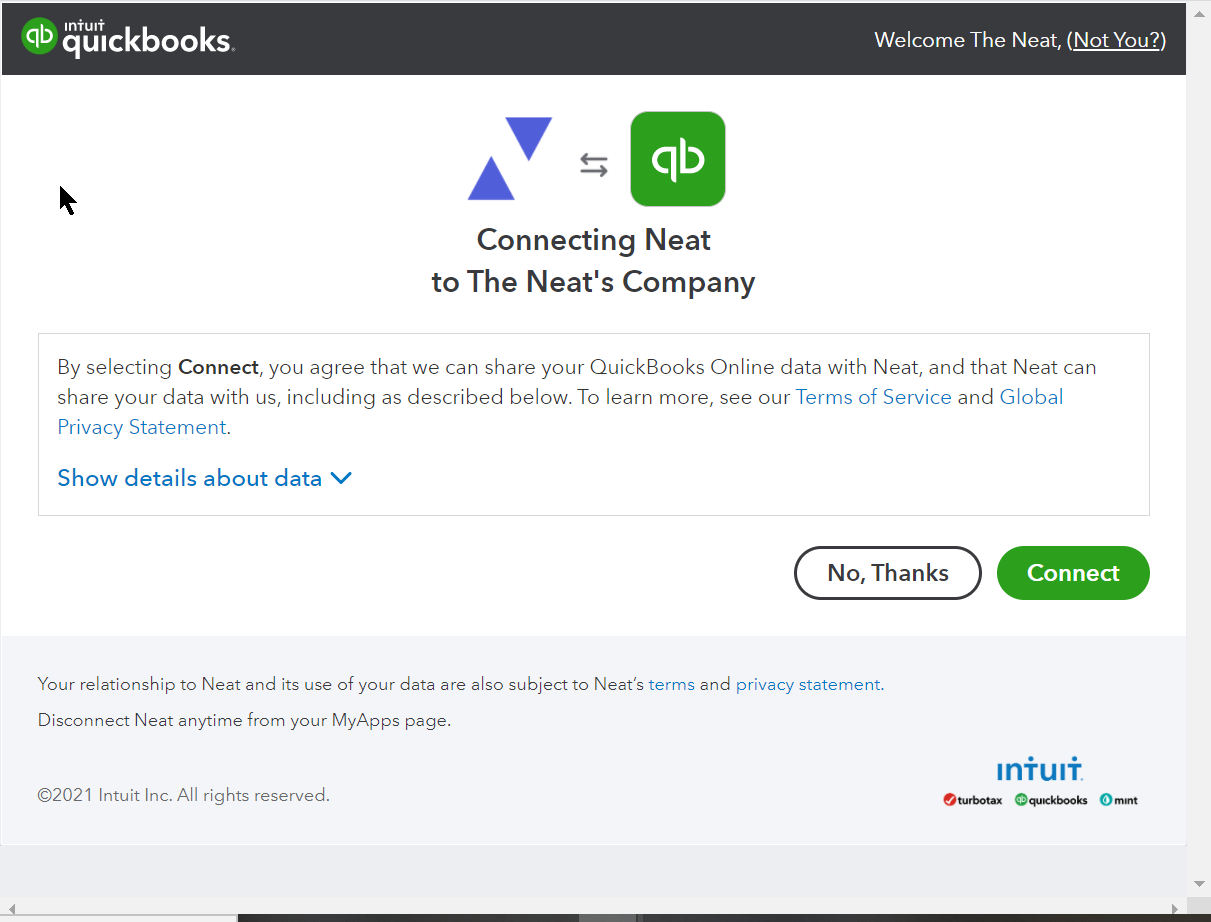
- You are now connected and have the option to configure Additional Settings.
How do I send items to QuickBooks Online?
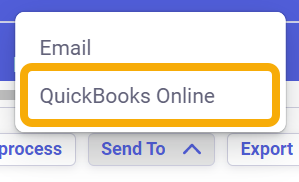
Only items classified as a Receipt or Bill are available to send to QuickBooks Online from Neat. You can send items one at a time or in batches.When viewing details for an individual receipt or bill you can send it to QuickBooks Online by clicking Send to from the lower right and then selecting QuickBooks Online.
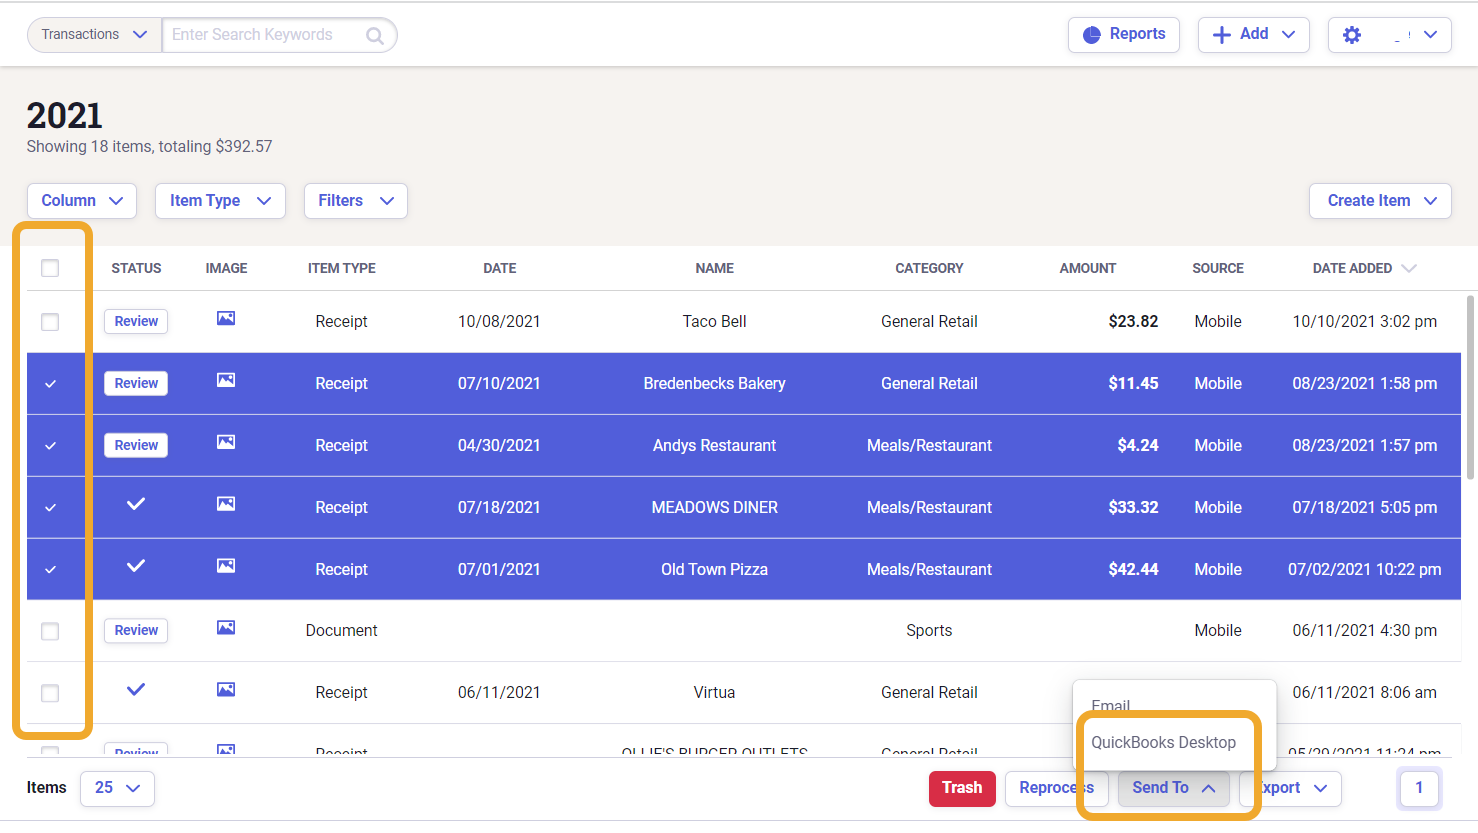
You can send several items at one time from a folder by either clicking the check box at the top left of the grid to select all items in view or by clicking the check box next to the specific items you wish to send. Then click Send to and choose QuickBooks Online to export your items. If you have not fully mapped the items you are sending, you can map them as they are being sent.
How do I map my data in Neat with QuickBooks Online?
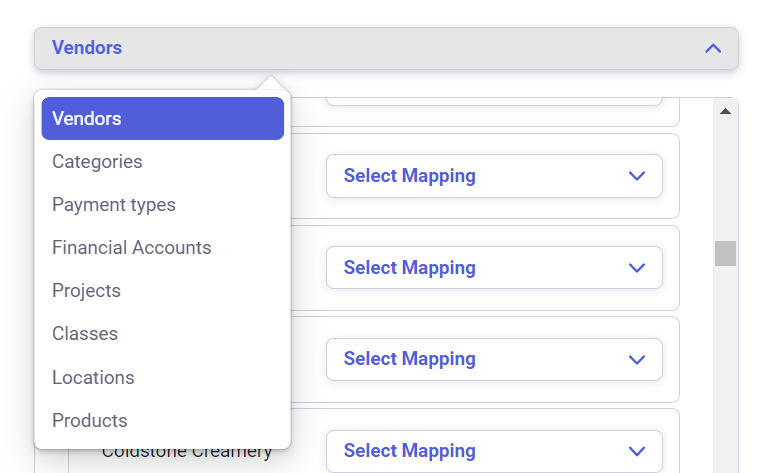
To prepare your items to be sent to QuickBooks Online from Neat, you can map your fields from Neat to the fields in QuickBooks Online where you wish them to appear. These fields in Neat appear as:- Vendors
- Expense Categories
- Payment Types
- Projects
- Classes
- Locations
- Products
- Click your name in the top right and select Integrations from the dropdown list.
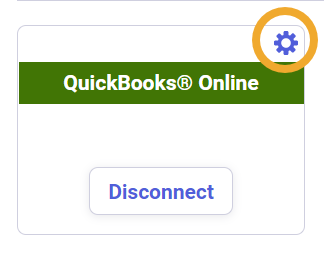
- Look for your connected QuickBooks Online integration and click the gear icon to access your mapping options.
- This will open the mapping window beginning with Vendors.
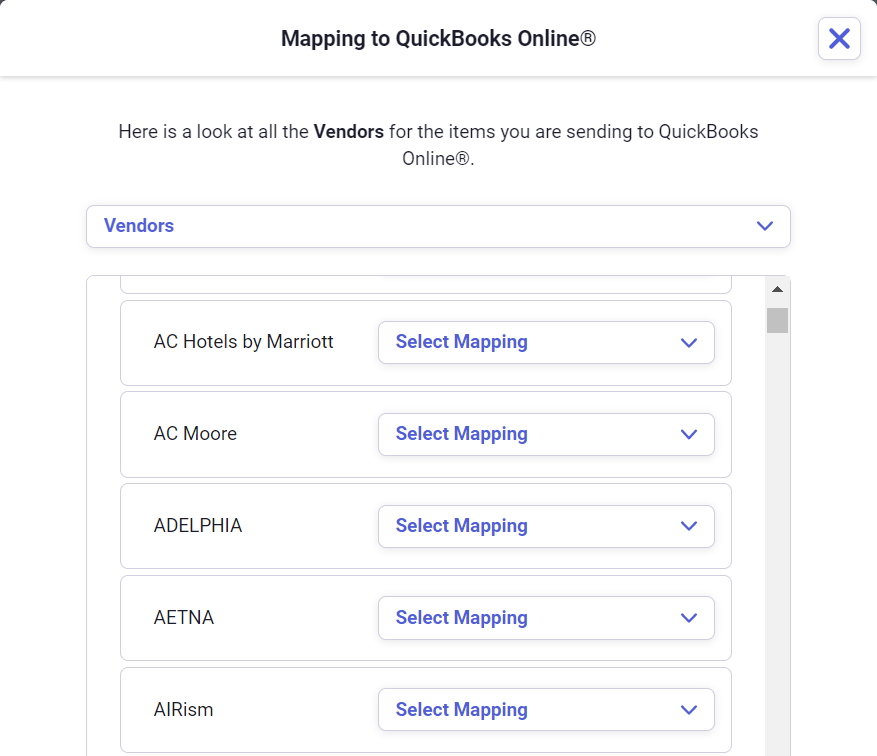
- For each Neat Vendor you need mapped to QuickBooks Online, click Select Mapping and choose the corresponding QuickBooks Vendor you wish to use. If you know you are not sending items to QuickBooks Online for a particular vendor, you do not need to set mapping for that vendor.
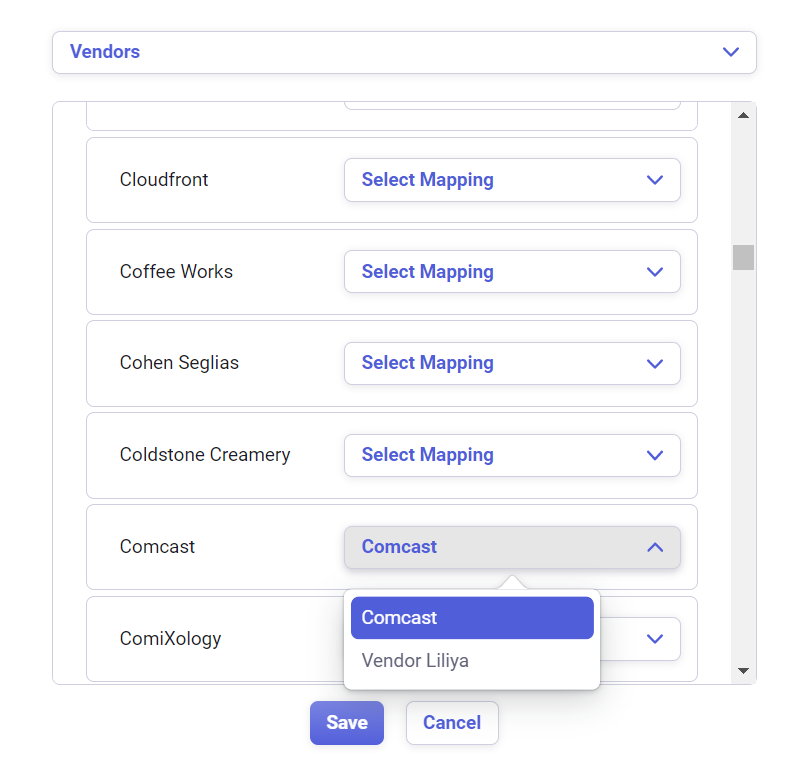
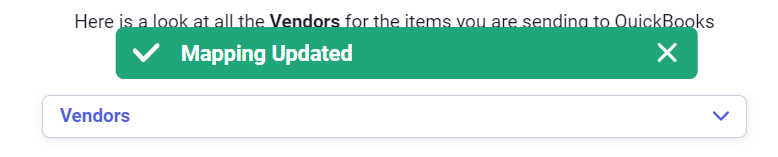
- When you are finished mapping Vendors click Save before you proceed to map Expense categories, Payment types, etc. in the same manner. You will see Mapping Updated to confirm your selections have been saved.
Is on-the-go mapping available in Neat?
This feature is now available in Neat and allows you to map any unmapped fields in the items you are sending to QuickBooks without having to stop and map them before going back to export them. You can simply map them as you send the items to QuickBooks by following these steps:
- To send items to QuickBooks Online, click Send to from the lower right and choose QuickBooks Online. This option is available for bills or receipts selected in Neat.
- If there are any unmapped categories in your items, a pop-up window will open to inform you that items need review and will provide the unmapped items with an option to Select Mapping for each.
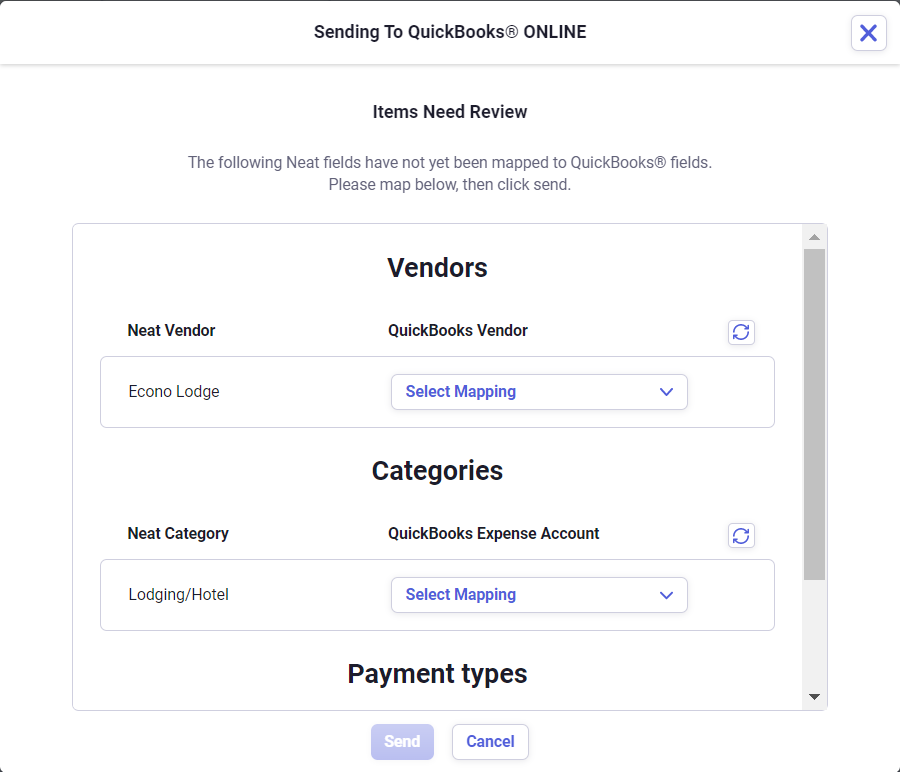
- Click Select Mapping and choose from the available QuickBooks options presented. When you are finished mapping, click Send. You’ll get the Send to QuickBooks Online window which will display Loading… briefly before informing you the items have been sent.

How do my Neat items appear in QuickBooks?
Some of the terminology used between Neat and QuickBooks will vary but we have compiled some charts to reference how Neat items appear in QuickBooks. Please check it out here: QuickBooks Categories & Neat.Can I disconnect Neat from QuickBooks Online?
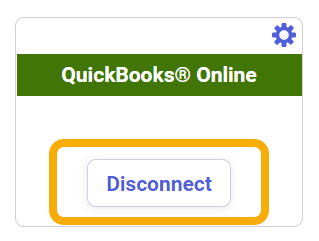
Yes! Follow the steps below to disconnect Neat from your QuickBooks Online account:- Log into Neat and click on your name in the top right. Select Integrations.
- Go to QuickBooks Online and simply click Disconnect to remove the connection between Neat and QuickBooks Online.
How many Company Files can I connect to Neat?
With QuickBooks Online, connect as many company files to Neat as needed. However, you can only be connected to one company file at a time. You’ll need to disconnect one company file in order to connect to a different company file as described above.Can I send items from Neat to QuickBooks multiple times?
No, once an item has been sent from Neat to QuickBooks it will then be locked so it doesn’t create duplicates in QuickBooks. A locked item in Neat cannot be edited. Any changes or additional information you want to add to the item fields within Neat should be completed before sending to QuickBooks.