Onboarding Checklist
Onboarding Checklist
Step 1: Take the Neat Tour
Take the Neat tour and watch our Getting Started videos!- Getting started with the Neat Base Plan in 10 minutes
- Getting started with the Neat + Automated Insights Plan in 6 minutes
Here are some other great getting started videos to watch:
- Beginner's Guide to File Organization
- Using Neat to Declutter and Get Organized
- File Management in Neat
Step 2: Connect your first account to Neat!
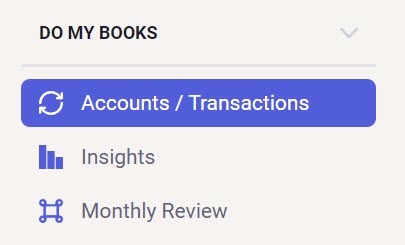
Connect your first financial account to Neat. Click Accounts/Transactions tab underneath of Do My Books and follow the on-screen instructions to connect your first account. For detailed instructions click here.
For more information on connecting accounts and a demonstration of the Automated Insights plan, watch this video on Automating Expense Management with accounts & transactions.
Step 3: Check your Settings
Check your User Settings and Account Settings to make sure your account is configured to your specifications.- To access these settings, click your name (top right hand corner), then select User Settings or Account Settings from the dropdown list.
Step 4: Download the NeatMobile App for Android or iOS
Scan, manage, and access all your data with the NeatMobile app.

Watch this Neat Mobile Application video to see the Neat Mobile application in action and learn all about it!
Step 5: Take Note of your Neat Cloud Email Address
All subscriptions for the Neat Cloud Service come with a personalized Neat Cloud email address in the following format: @neatcloud.com. This email address makes it easy to forward emails such as e-receipts and other digital documents directly to your Neat account.Click here for more information about finding your Neat Cloud email address.
Learn how to utilize your Neat Cloud Email-In address to add digital files to Neat + more in this video snippet: Using your Neat Cloud Email-In Address
Step 6: Set up your Integrations
Neat can integrate with a variety of other software tools to extend and enhance the Neat experience.Click here to get a full list of possible integrations.
- Click your name (top right hand corner), then select Integrations.
Step 7: Start Adding Items to Neat
There are many ways to get items into Neat such as:- Snap a picture of your items with the Neat Mobile App.
- Email items directly to your Neat account using Neat’s Neat Cloud email address feature.
- Import items from your computer directly to Neat.
- Scan items to Neat using the Neat Desktop App.
