Neat Smart Organization System - Select Tax Category for Export to Turbo Tax
Please Note: Neat Web App now has ALL of the desktop features, and so much more! You can continue to use this desktop application, however, all new features, improvements, and updates will occur in our Neat web application. Click here to learn more!
Learn how to select tax categories for items and then export them to TurboTax using the Neat Smart Organization System. Before you export a receipt to TurboTax, Neat allows you to add the appropriate tax category. This helps to make sure your data lines up with tax categories represented in the TurboTax software. Follow the steps below to select tax categories.
Export to TurboTax - Select Tax Categories
- Open your Neat Smart Organization System. (orange logo)
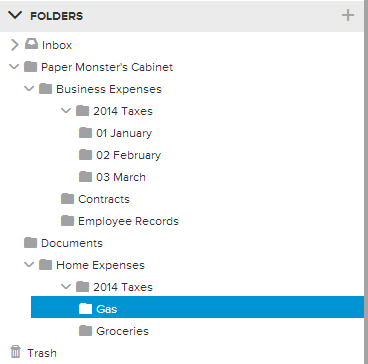
- In the Folders pane, click on the folder that contains the files you want to export.
- In the Details View pane, click on the item you want to add a tax category to, then click the Pencil icon to edit.

- Click the small down arrow under Tax Category to reveal the full list of categories available.
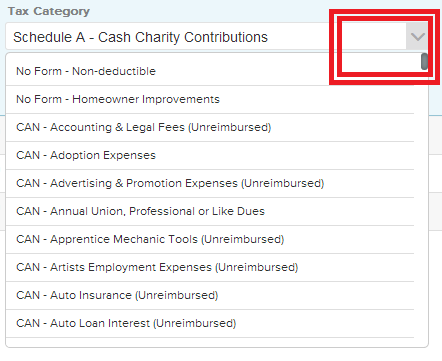
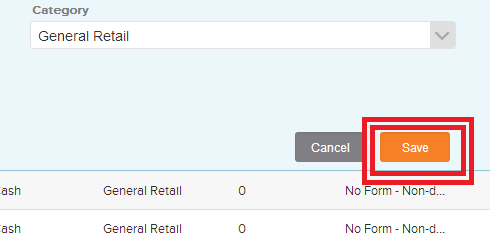
- Select the appropriate tax category, then click Save. Repeat steps 2-4 to add tax categories to other receipts.
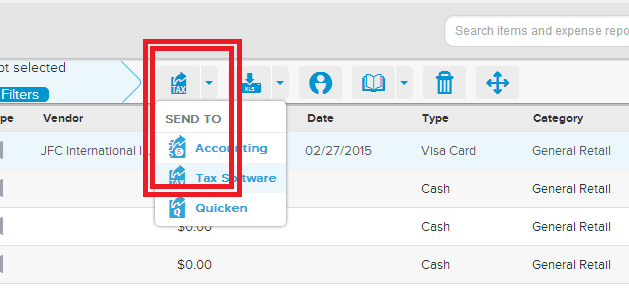
- When you are done, in the menu above the Details View pane, click the small down arrow next to the Send To icon. Select Tax Software in the drop-down menu.
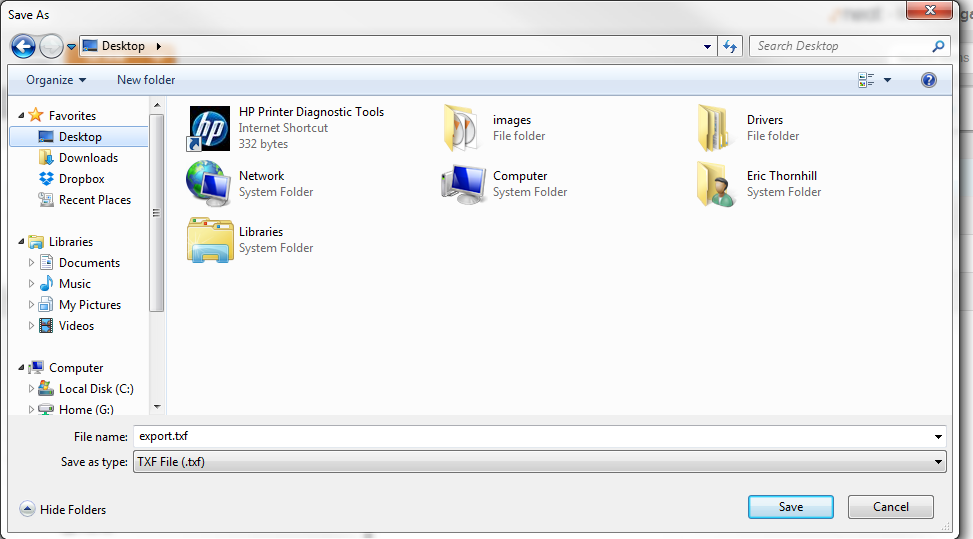
- A Save As window will open. Browse to the location you want the exported files to be saved to, enter a File Name, then click Save.
- The exported .TXF TurboTax compatible files will appear in the location you selected in Step 7. You can then import these files to your TurboTax software.