Transactions in Neat
- What is account transaction streaming?
- How does account transaction streaming work?
- How secure is account transaction streaming?
- What types of accounts can I connect?
- Is there a limit to how many accounts I can connect?
- How many of my past transactions are pulled into Neat with my initial account connection?
- How long will it take to sync my account transactions after the initial account connection?
- How often do my account transactions refresh?
- Can I edit or delete my account transactions?
- Can I edit my pending account transactions?
- What do the different status icons mean?
- Why does my account ending balance, not match Neat's ending balance?
- Why do my transaction post date and transaction date not match?
- Can I run reports with my account transactions?
- Can I edit my transaction account names to make them easier to tell apart?
- How do I add an account?
- How do I delete an account?
- How do I archive my accounts?
- Restore or delete an archived account
- How do I filter my transactions?
- How do I merge my transactions?
- How do I search for my transactions?
- How do I resolve errors connecting my accounts?
- How do I manually refresh my transactions?
- What can I do if transactions are not updating in Neat?
- How do I bulk edit my transactions?
- How do I see a breakdown of the sum of my total transactions?
- How do I see more details about my connected account from the transactions tile?
- How do I export my transactions out of Neat?
- How do I mark a transaction as personal?
Please Note: You must be on an active Automated Insights add-on plan in order to take advantage of the features in this article.
We recommend logging into your Neat account twice a month at minimum to ensure a smooth streaming experience.
We recommend logging into your Neat account twice a month at minimum to ensure a smooth streaming experience.
Accounts/Transactions FAQs
- What is account transaction streaming?
- How does account transaction streaming work?
- How secure is account transaction streaming?
- What types of accounts can I connect?
- Is there a limit to how many accounts I can connect?
- How many of my past transactions are pulled into Neat with my initial account connection?
- How long will it take to sync my account transactions after the initial account connection?
- How often do my account transactions refresh?
- Can I edit or delete my account transactions?
- Can I edit my pending account transactions?
- What do the different status icons mean?
- Why does my bank ending balance, not match Neat's ending balance?
- Why do my transaction post date and transaction date not match?
- Can I run reports with my account transactions?
- Can I edit my transaction account names to make them easier to tell apart?
Accounts/Transactions How-Tos
- How do I add an account?
- How do I delete an account?
- How do I archive an account?
- How do I filter my transactions?
- How do I merge my transactions?
- How do I search for my transactions?
- How do I resolve errors connecting my accounts?
- How do I manually refresh my transactions?
- What can I do if transactions are not updating in Neat?
- How do I bulk edit my transactions?
- How do I see a breakdown of the sum of my total transactions?
- How do I see more details about my connected account from the transactions tile?
- How do I export my transactions out of Neat?
- How do I mark a transaction as personal?
What is account transaction streaming?
Connect to over 10,000 financial institutions and stream transactions into Neat realtime using transaction streaming! Your financial transactions will stream to Neat allowing you to manage all your financial data in one place.How does account transaction streaming work?
With transaction streaming, you connect your financial accounts (like your bank, credit card, or loan accounts) by logging into those accounts in Neat. Once connected, all your recent transactions will be visible within Neat and can be matched with receipts, invoices, bills, and statements in your cabinet. You can connect as many financial institutions to Neat as you'd like!How secure is account transaction streaming?
Neat conforms to leading financial industry practices to offer bank-level security for all data in your Neat account and all financial institutions you connect to Neat. We use the 256-bit Advanced Encryption Standard (AES-256) to encrypt your data and Secure Socket Layer (SSL) for data transmission. Transaction streaming only imports information about past transactions for the purpose of tracking and reviewing expenses. No one can make purchases or withdrawals or make changes to your bank account through transaction streaming. Click here for more information.What types of accounts can I connect?
You can connect most bank, credit card, or loan accounts to Neat as long as the institution offers online account management. Only institutions in the US and Canada are supported at this time, with no immediate plans to expand to other countries.Within Neat, you can connect the following types of accounts only:
- Bank Accounts (including Checking & Savings)
- Credit Card Accounts
- Loan Accounts
Is there a limit to how many accounts I can connect?
There is no limit to the number of accounts you can add to Neat for transaction streaming.How many of my past transactions are pulled into Neat with my initial account connection?
Once you connect an account, transaction history from that account up to the past 365 days can be visible in Neat, plus all new transactions moving forward.Please Note: Each financial institution has distinct limits regarding the amount of financial history that you can seamlessly integrate with Neat. Some of your institutions may allow you to stream the past 365 days' worth of transaction history, while others may limit you to as little as the last 30 days of transaction history. Most institutions typically limit transaction history to the last 30-90 days. Once connected to Neat, all new transactions will be streamed into Neat.
How long will it take to sync my account transactions after the initial account connection?
It will take about 15 minutes to sync your account transactions after connecting an account.How often do my account transactions refresh?
Neat will automatically attempt to refresh transactions when you log into your Neat account. Some financial institutions will only be refreshed weekly but you can manually refresh your account transactions. While the refresh is in progress, each account tile will reflect a refreshing state as seen below.Please Note:
Financial institutions and streaming services may introduce new security features or require periodical account verification. By logging into Neat frequently, you are refreshing your streaming connection, re-authenticating your accounts, and ensuring that you maintain a smooth streaming experience. We recommend logging into your Neat account twice a month at minimum to ensure a smooth streaming experience.
When you refresh your account data you may also need to complete Multi-Factor Authentication from your financial institution in order to fully refresh transaction data.
When you refresh your account data you may also need to complete Multi-Factor Authentication from your financial institution in order to fully refresh transaction data.
Can I edit or delete my account transactions?
Yes, you can edit your transactions, however, Amount, Date, & Currency cannot be edited or deleted. You can also edit your transactions in bulk.You can also delete transactions by disconnecting your financial institution from Neat. However, if you disconnect an account, all the transactions associated with that account will be deleted.
Can I edit my pending account transactions?
At this time, you can only edit and manage posted transactions. This is because pending transactions may change as the receipt becomes posted.What do the different status icons mean?
The pending status icon lets you know that the transaction is currently still pending and may not be edited.
The reviewed status icon tells you that the item has already been reviewed.
Why does my account ending balance, not match Neat's ending balance?
Ending balances may differ for a couple of reasons:- Your account needs to be refreshed. You can manually refresh your transactions to check.
- The Neat ending balance does not account for any pending transactions. Therefore, pending transactions will not be included in the total.
- The Neat ending balance will always show the accounts daily beginning balance. Any transactions made throughout the day will not be counted until the following day.
Why do my transaction post date and transaction date not match?
It is quite possible that these dates will not match depending on your specific bank. Your bank may post a transaction to your account on a different day than the transaction took place.Can I run reports with my account transactions?
Yes! Check out our transactions reporting article for more details.Can I edit my transaction account names to make them easier to tell apart?
Yes. You can now set a new account specific name for each of your connected accounts. This custom name will allow you to easily identify accounts that may have similar names. To edit an account name, follow the steps below:- Select the account tile for that account.
- Open Settings by clicking the gear icon.
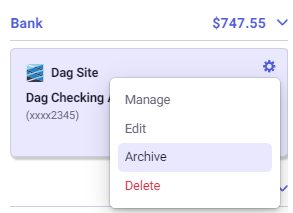
- You will see 4 options. Choose Edit.
- Enter the name of your choice.
- Click Save.

- The account tile in transactions.
- The account dropdown in the report wizard.
- In our upcoming Insights and Monthly Review features.
How do I add an account?
Please Note: Financial institutions and streaming services may introduce new security features or require periodical account verification. By logging into Neat frequently, you are refreshing your streaming connection, re-authenticating your accounts, and ensuring that you maintain a smooth streaming experience. We recommend logging into your Neat account twice a month at minimum to ensure a smooth streaming experience.
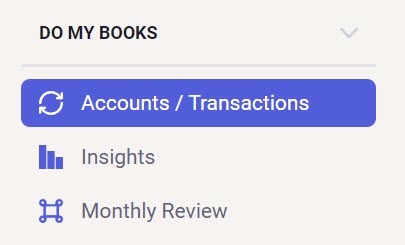
- Open the transactions tab underneath of Do My Books.
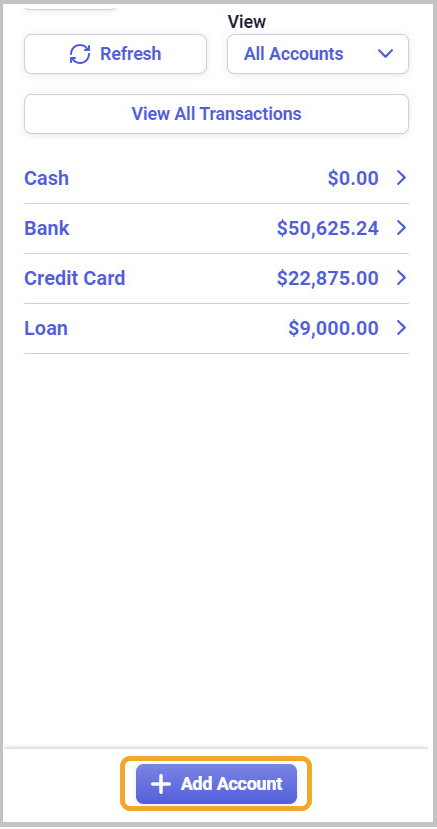
- If this is your first connection, then click Connect Account.
If you are connecting to another account, then open your account manager and choose Add Account.
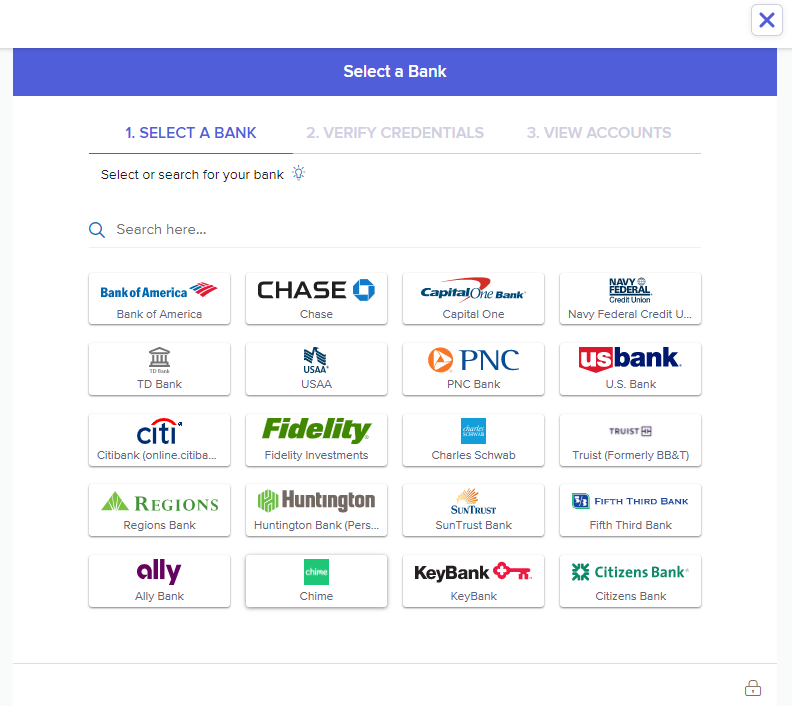
- Next, select the site of the institution you want to connect to Neat.
By default, the most popular institutions are presented to you but, if you don't see your site listed then click Don't see your institution? Search Here.
Use the keyword search to search through over 10,000 other available institutions to connect with.
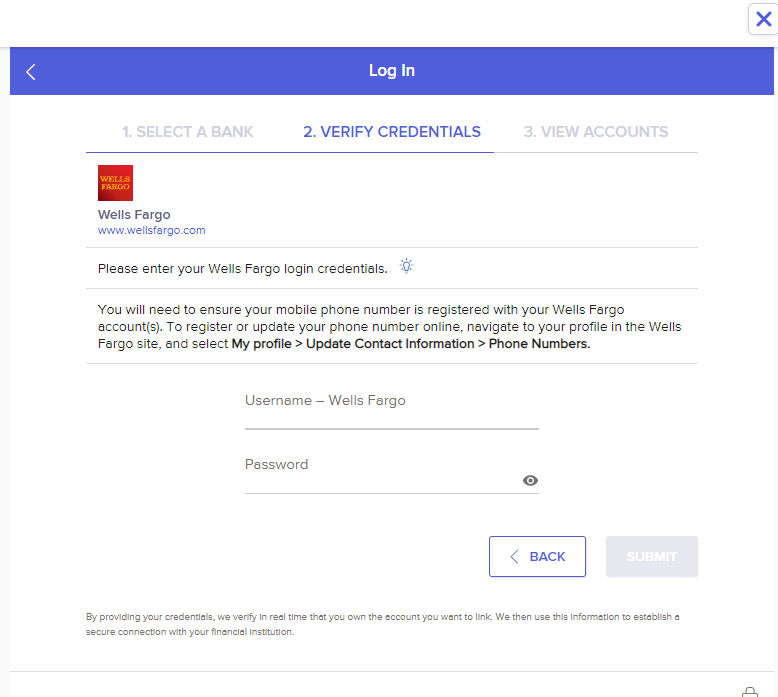
- Once a site is selected, you need to verify your account credentials. Enter your account credentials as if you were logging into your financial institution, then click Submit.
Please Note: Some institutions require 2-step authentication. They may require that you enter a pin code from an email or text message to ensure your account is being accessed securely.
Additionally, if you have multiple phone numbers registered to your financial account, you may be asked to select which phone will receive a PIN. In the first step shown here, you will simply enter the last 4 digits of the phone you wish to use.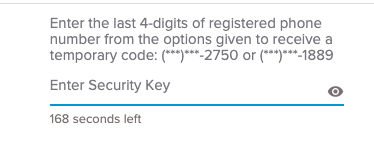
- After a few moments, your account and credentials will be verified and you will see a green confirmation message.

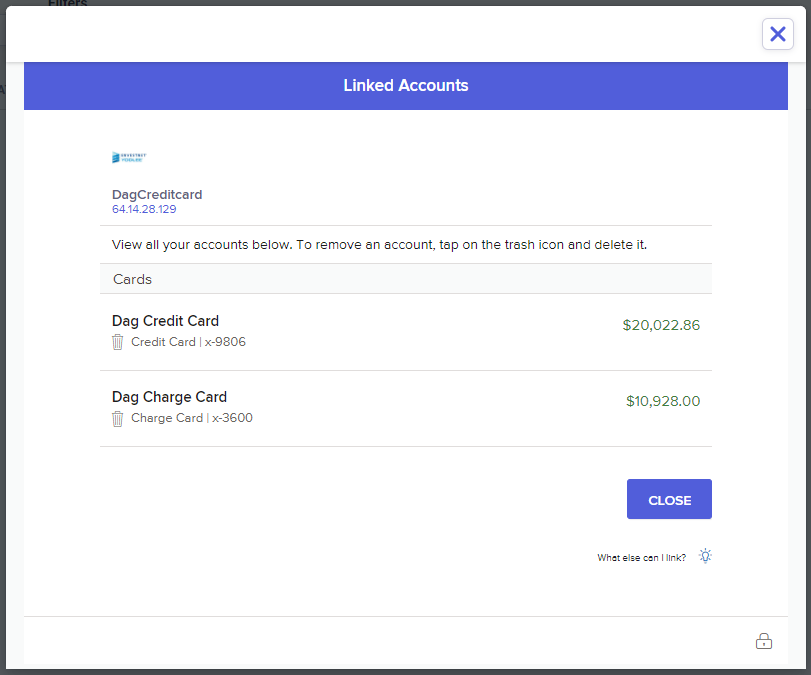
- In the 'View Accounts' window, you can link another site to Neat, or you can click Close to view the account and transactions you just linked to Neat.
- Occasionally, there may be a temporary connection problem with a particular bank. If this occurs, it is best to allow some time and try again later. Typically, these issues are resolved within 24 hours or less. For other errors, please see this article:
https://support.neat.com/neatapp/transaction-streaming-connection-errors
How do I delete an account?
Please Note: Once you delete an account ALL your transactions, matches, line items, and metadata will be deleted for that account.
- To delete an account, click the gear icon in the account you want to manage, then click Delete.
- To delete the account you will need to enter the word DELETE (in CAPS) and click Delete.
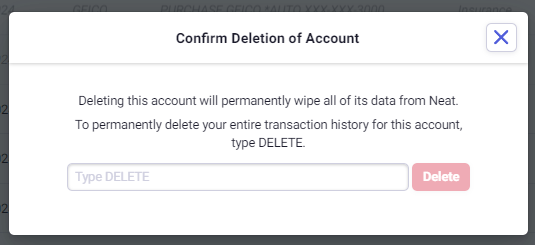 Please Note: The delete button will be grayed out until you type DELETE. All account-related data will be deleted permanently.
How do I archive my accounts?
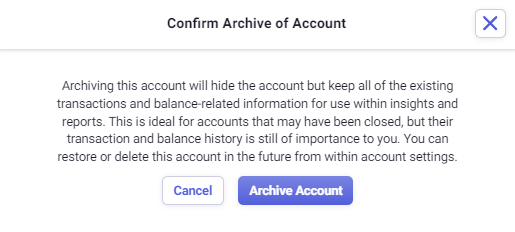
Please Note: Archiving an account will hide the account but keep all of the existing transactions and balance-related information for use within insights and reports. This is ideal for accounts that may have been closed, but their transaction and balance history is still of importance to you. You can restore or delete this account in the future from within account settings.
- To archive an account, click the gear icon in the account you want to manage, then click Archive.
- Click Archive Account.
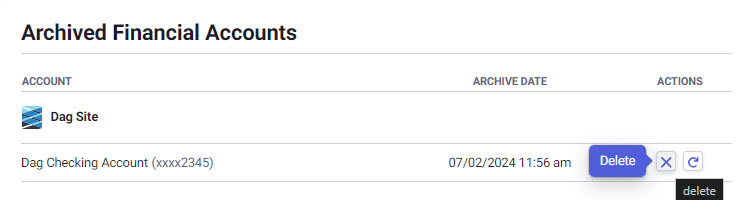
Restore or delete an archived account
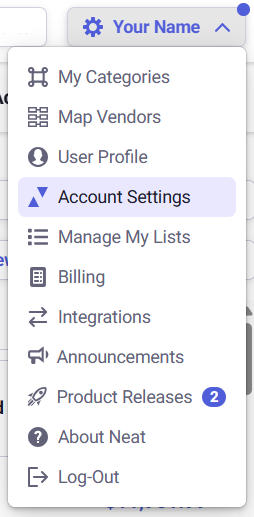
- To Restore or Delete an archived account, click on your name, and go to your Account Settings.
- Click the Restore Button to restore the archived account to your list of active accounts.

- Click the X to delete the archived account and ALL data and transactions associated with the account.
How do I filter my transactions?
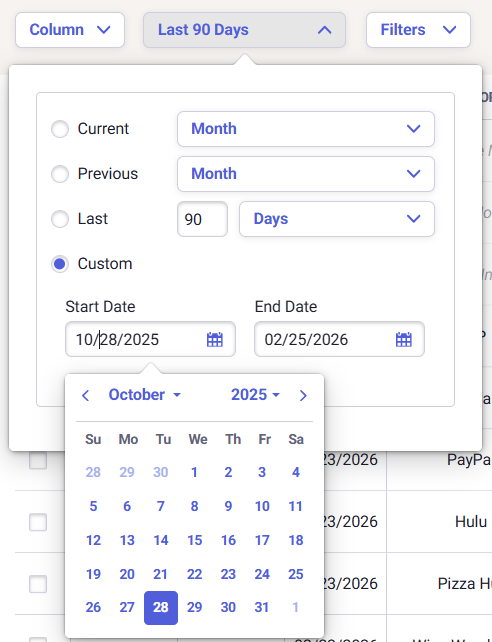
You have 3 options to filter your displayed transactions in Neat: Date, Vendor, Category, Keyword search and Monthly Review status.- By default, you'll start with a date range showing the last 90 days of transactions.
You can change the date filter by:- Using the Current, Previous, or Last buttons along with the dropdown options.
- Using the Custom option to click on Start Date and End Date to select dates from the calendar. Alternately, you can manually type the Start Date and End Date you wish to use.
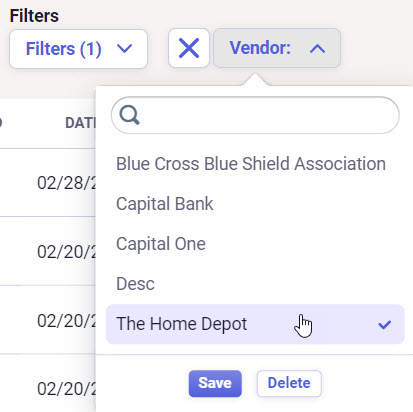
- Click Vendor to select all the vendors you wish to display. A checkmark will appear on the right for each one that is currently selected to be displayed. Click Save to finalize your selections.
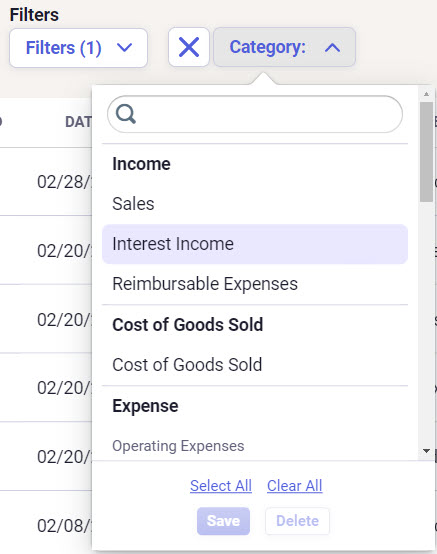
- Click Category to filter by any parent and/or enabled child categories, as well as the manual asset or liability accounts. This option also supports the ability to select or deselect all categories. Click Save to finalize your selections.
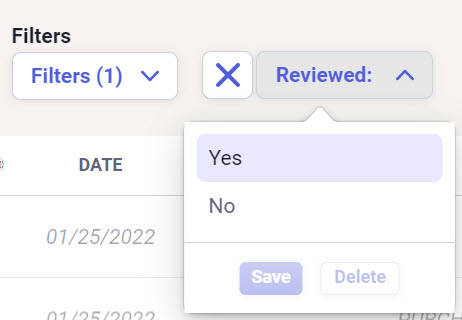
- Click Reviewed to show only reviewed or unreviewed items. To sort by items that have already been reviewed choose Yes or click No to view only unreviewed items. Click Save to make your changes.
- Click Keyword Search to filter by any keyword of your choice. Click Save to finalize your selections.

How do I merge my transactions?
If you find duplicate transactions streamed from your financial institution, you can merge them into one transaction provided they have identical values for all of the following:- Date
- Amount
- Vendor
- Category
- Type (Debit/Credit)
To merge duplicate transactions, click on the box in the left column to place a check in each of the identical transactions and then click the Merge Duplicates button that will become available at the bottom.
If the items do not match for all values listed above then you will receive an error message stating "The selected transactions are not duplicates and can not be merged."
How do I search for my transactions?
When logging into the Neat web app, you will see a search bar at the top towards the left. Click the search dropdown to the left of the search bar to filter the types of files you are searching for. Select Transactions to search for transactions streamed from your bank account.How do I resolve errors connecting my accounts?
We've created an article just for this topic. Please see Transaction Streaming Connection Errors for further details.How do I manually refresh my transactions?
- Open the Accounts/Transactions tab under Do My Books.
- On the right hand side, select the Refresh button. Once selected, Neat will pull in the most recent transactions available since the last refresh.
What can I do if transactions are not updating in Neat?
If transactions are missing after refreshing, find that account in your Active Accounts. There may be a red bar with an error message above the account name. Follow the steps below to re-verify your credentials and update transactions, even if no error message appears.Important: Do not delete the account to reconnect it—this permanently removes all transaction history. Reconnecting after deletion only imports recent transactions (usually the last 90 days at most).
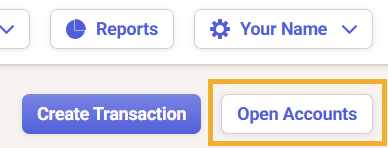
- Click Open Accounts if you don't see Active Accounts on the left.
- Under Active Accounts, find the specific account.

- If you see a message in red above the account name, simply select Click Here.

- If not, hover your cursor over the account tile and then click the gear icon that appears in the upper right.
- Follow the instructions in the pop up window. You may need to enter your credentials and complete multi-factor authentication, such as entering a PIN you receive by email or text.
- Once that is completed, your transactions will begin to load.
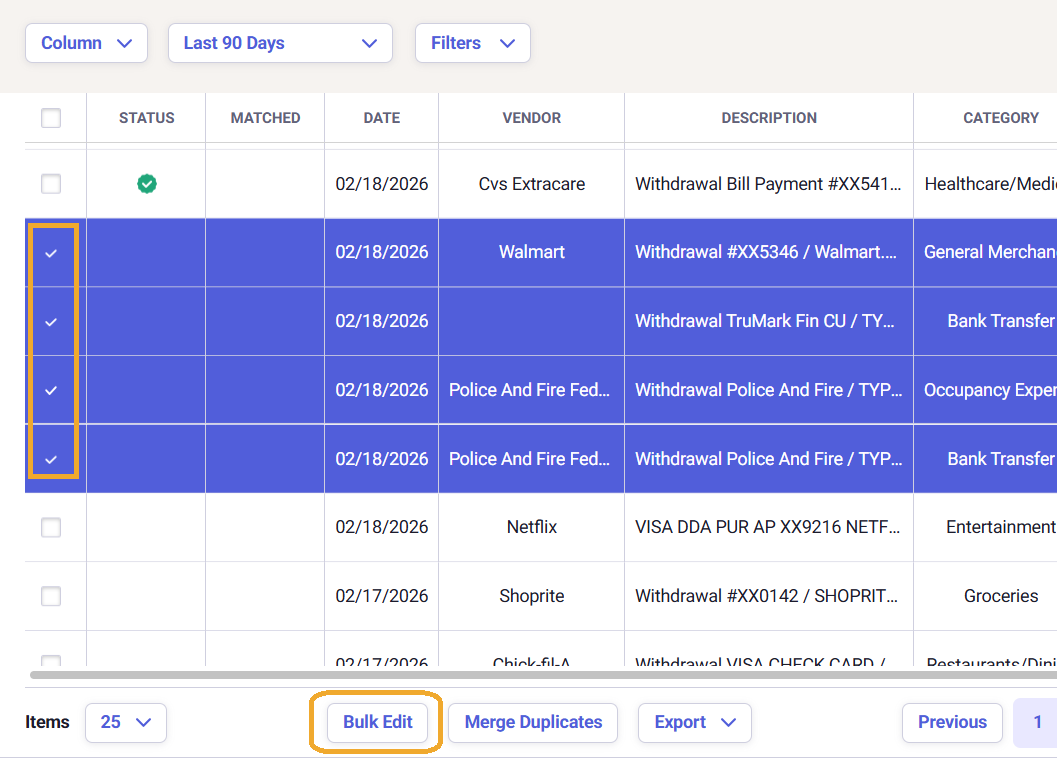
How do I bulk edit my transactions?
- Select the transactions you want to bulk edit, then click Bulk Edit at the bottom of the transactions grid.
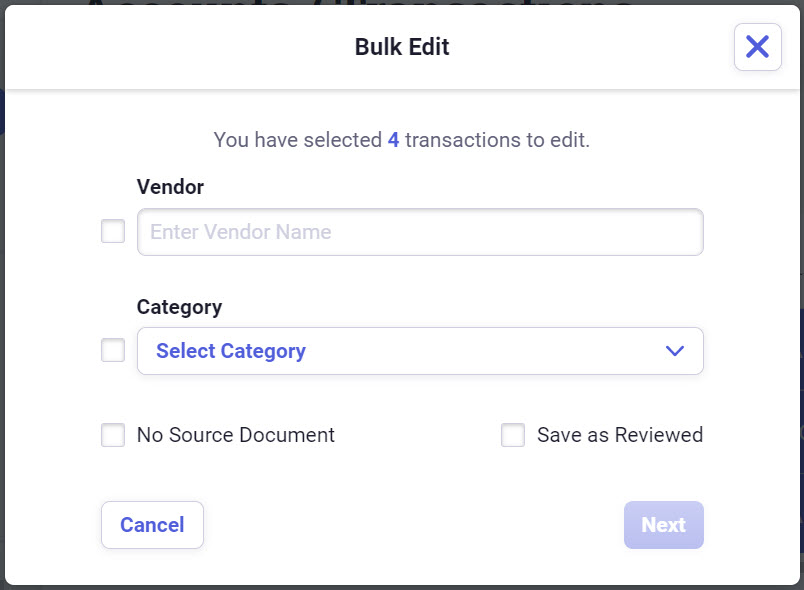
- At this time, the only categories you can bulk edit are:
- Vendor
- Category
- No Source Document
- Save as Reviewed
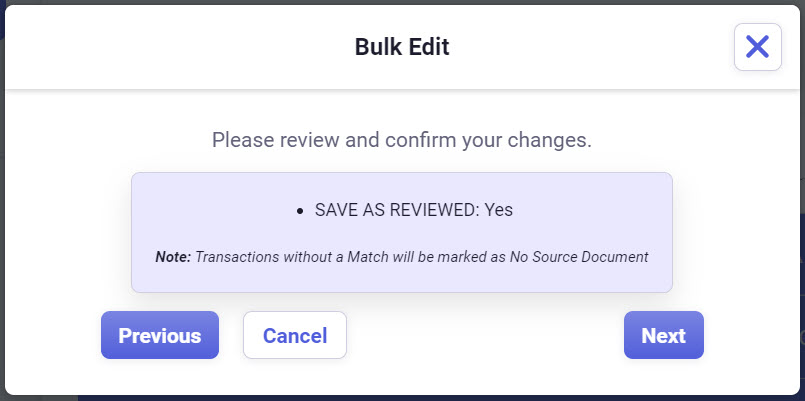
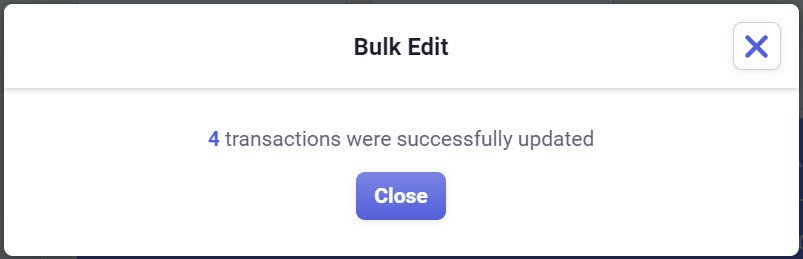
- In the next window, review and confirm your changes, then click Next to continue.
Please Note: If you choose Save as Reviewed then any transaction that doesn't have a match will automatically be updated to No Source Document. This is because a source document is required in order to mark a transaction as reviewed.
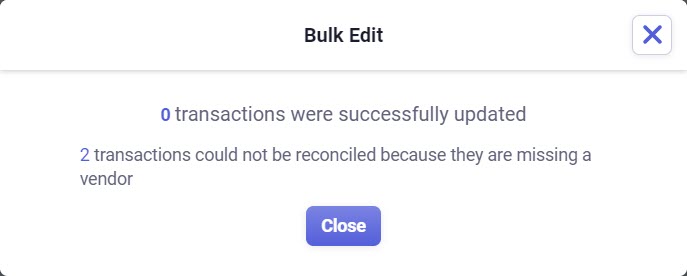
- You will be presented with a confirmation window once the changes have been made.
 Please Note: In order to mark a transaction as recviewed, the transaction must have a:
- Vendor
- Category
- Source Document
How do I see a breakdown of the sum of my total transactions?
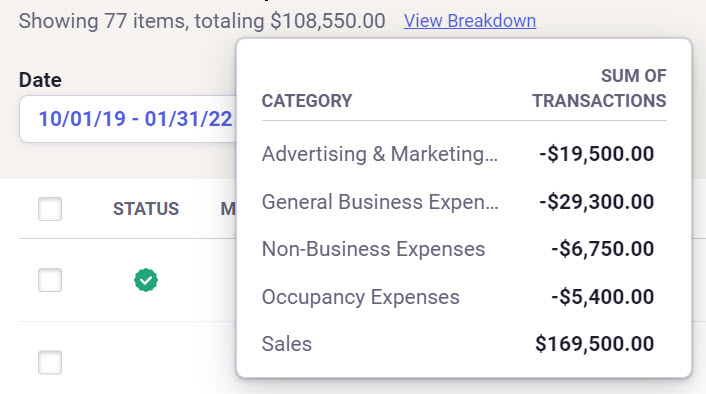
- Click on View Breakdown at the top of the Accounts/Tranctions Grid.

- Once selected, the sum of all transactions will be displayed. The transaction Total equals to the net sum of all transactions across all pages. When filters are applied, the total amount will refresh to reflect the sum of the filtered list of transactions. As transactions are filtered, the list of categories and the amounts are refreshed as well.
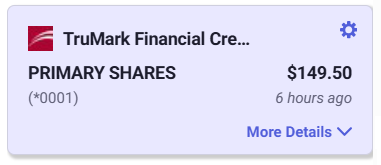
How do I see more details about my connected account from the transactions tile?
When viewing your connected accounts on the right, you will see an option to view More Details. This area will show you an available balance and an interest rate if it applies to the connected account.For Loan and Credit Card accounts, you may also see an Amount Due, Due Date and Available Credit for the account.
For Asset and Liability accounts, you will be able to see a Starting Balance and a Starting Balance Date for the account.
Please Note: Cash on Hand accounts will not show the More Details view.
How do I export my transactions out of Neat?
Need to export your transactions out of Neat? No problem! You can export all your transactions or a specific set of transactions out of Neat including any itemized transactions you have to a CSV file!- Filter to the set of transactions you need to export or if you need to export all transactions click the export button at the bottom of the Accounts/Transactions of Neat.
- Select Current page as CSV to export the current page with your filtered transactions. OR select All pages as CSV to export all your transactions to a CSV file.
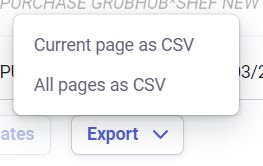
- Your transactions will be exported to a CSV file including any itemized transactions.
How do I mark a transaction as personal?
Need to separate your business and personal transactions? No problem, Neat's got you covered.Please Note: In order to keep personal transactions from showing in the Profit and Loss statement you will need to set the category as Other Expense or Non-Business Expense or a sub-category under either to exclude those transactions.
To mark a transaction as personal, place a checkmark in the personal checkbox for the transaction. This will mark the entire transaction as personal, including any split line items.
You can also mark a transaction as personal it the transaction view. Open the transaction and place a checkmark in the personal checkbox for the transaction. This will mark the entire transaction as personal, including any split line items.
Does only part of the transaction need to be marked as personal? No problem, you can also mark individual split line items as personal without marking the entire transaction as personal.
To mark a split line item as personal, open the transaction and click Split Transaction. Place a checkmark in the personal checkbox for the split line item you want to mark as personal.
If only part of the transaction is marked as personal, then the personal checkbox in the transactions grid will be filled in with a purple line indicating only part of the transaction is marked as personal.