Neat Smart Organization System - Scan with a Neat Scanner
Please Note: Neat Web App now has ALL of the desktop features, and so much more! You can continue to use this desktop application, however, all new features, improvements, and updates will occur in our Neat web application. Click here to learn more!
Learn how to scan with various Neat scanners with the Neat Smart Organization System. The Smart Organization System allows you to connect multiple scanners and choose the scanner you want to use for each scan. Follow the steps below to choose your Neat scanner.
Scan with a Neat Scanner
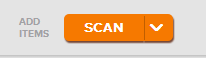
- Click Scan.
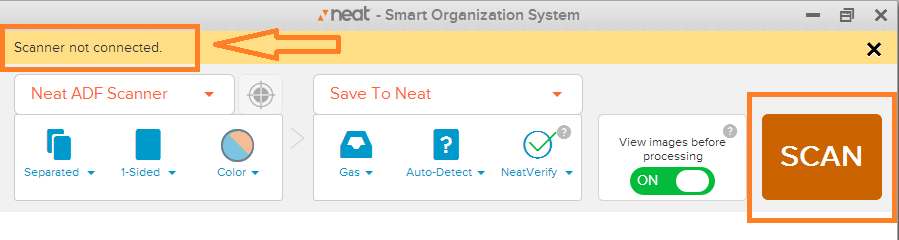
- A Neat Scan window will appear. If you click Scan in the Neat Scan window, and you do not have a scanner connected, you will see a notification message in the upper left corner of the window.
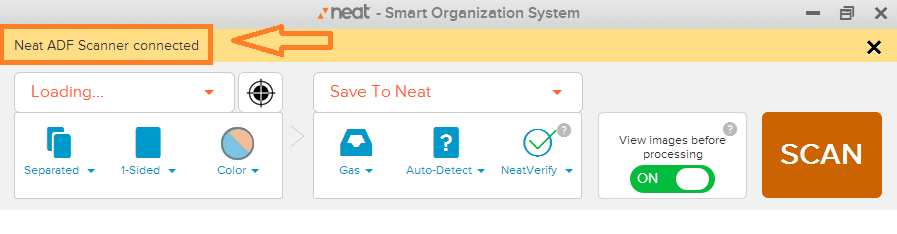
- Turn your Neat scanner On. A new message will appear in the upper left corner, listing the name of the scanner that is connected to your computer. In the example below, a NeatDesk (Neat ADF) Scanner is being used.
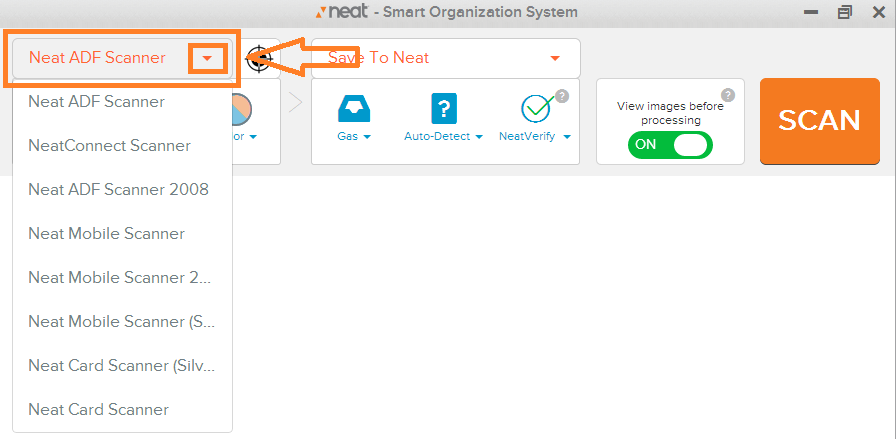
- If you have multiple scanners connected, click on the small down arrow next to the scanner name to choose the scanner you want to use.
- Once you have selected your scanner, load a piece of paper into the scanner and click scan in the Neat Scan window or on your scanner.