Transactions in the Neat Mobile App
You can now view and work with streamed transactions in the Neat Mobile App. A Neat plan with Automated Insights is required to access streaming transactions from your bank, credit card, or financial institution.Mobile Transaction FAQs
- Accessing Transactions in the Neat Mobile App
- Connect an Account for Transaction Streaming in the Neat Mobile App
- Refreshing Transactions in the Neat Mobile App
- Filtering Transactions in the Neat Mobile App
- Editing Transactions in the Neat Mobile App
- Rename your Accounts in the Neat Mobile App
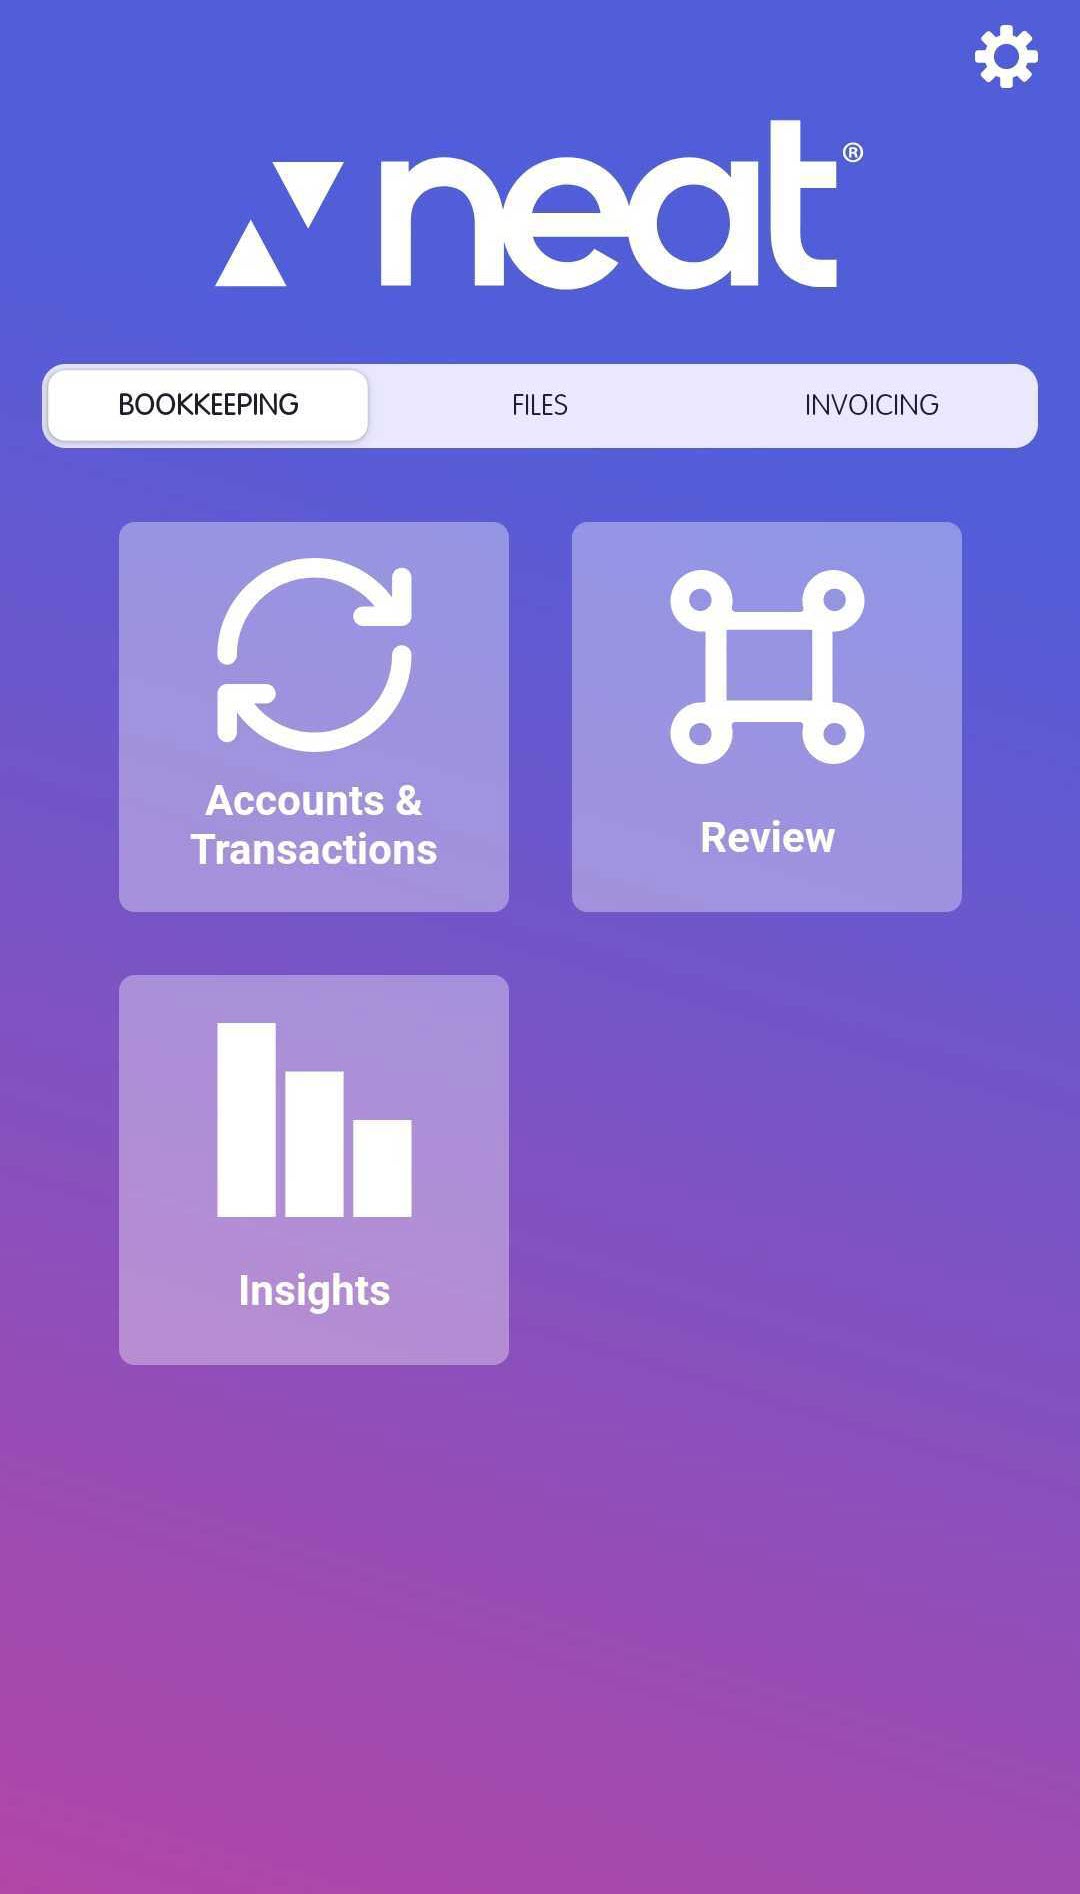
Accessing Transactions in the Neat Mobile App
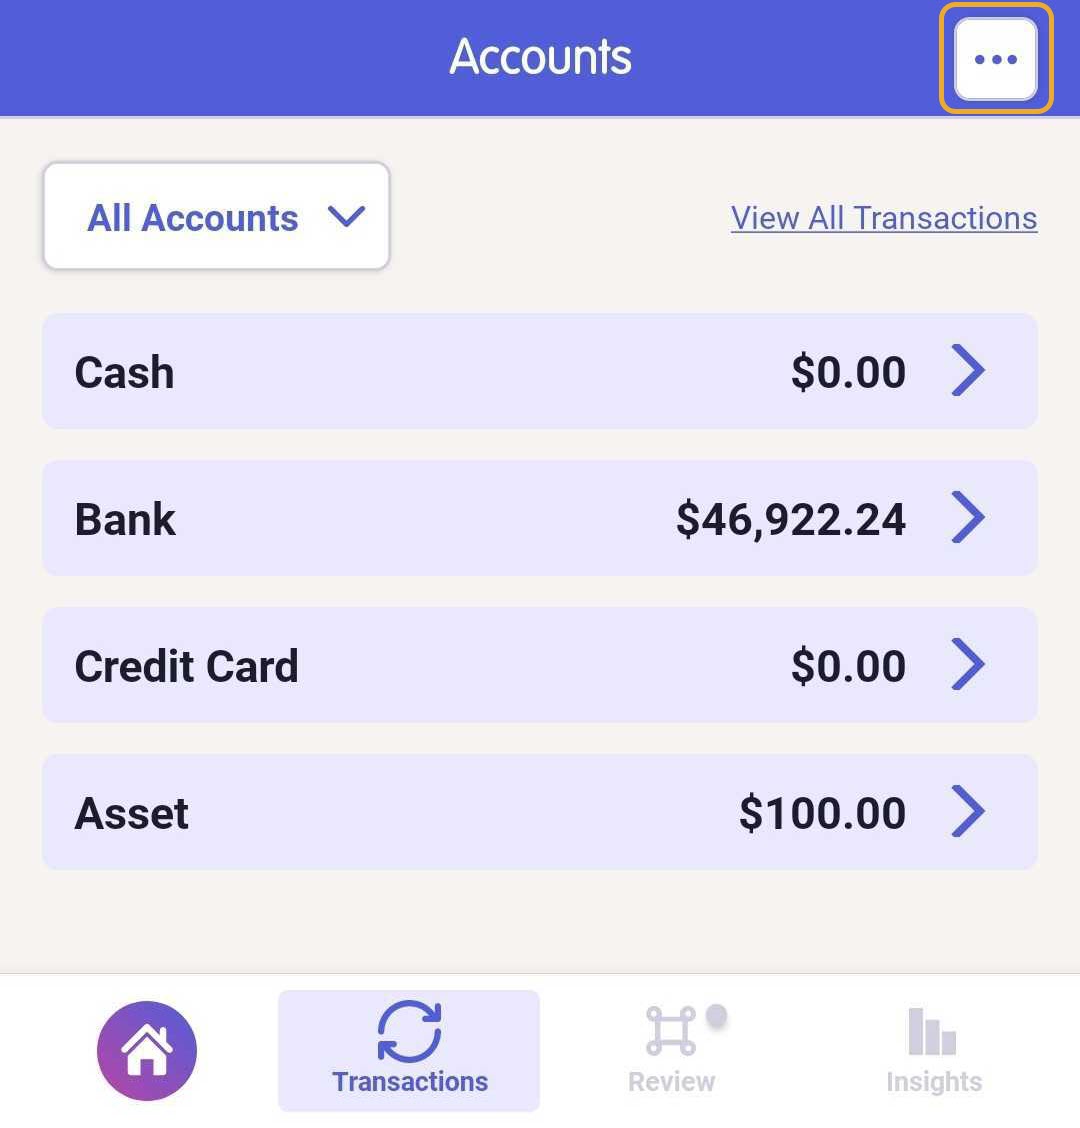
- From the Home Screen toggle to Bookkeeping and select Accounts & Transactions.
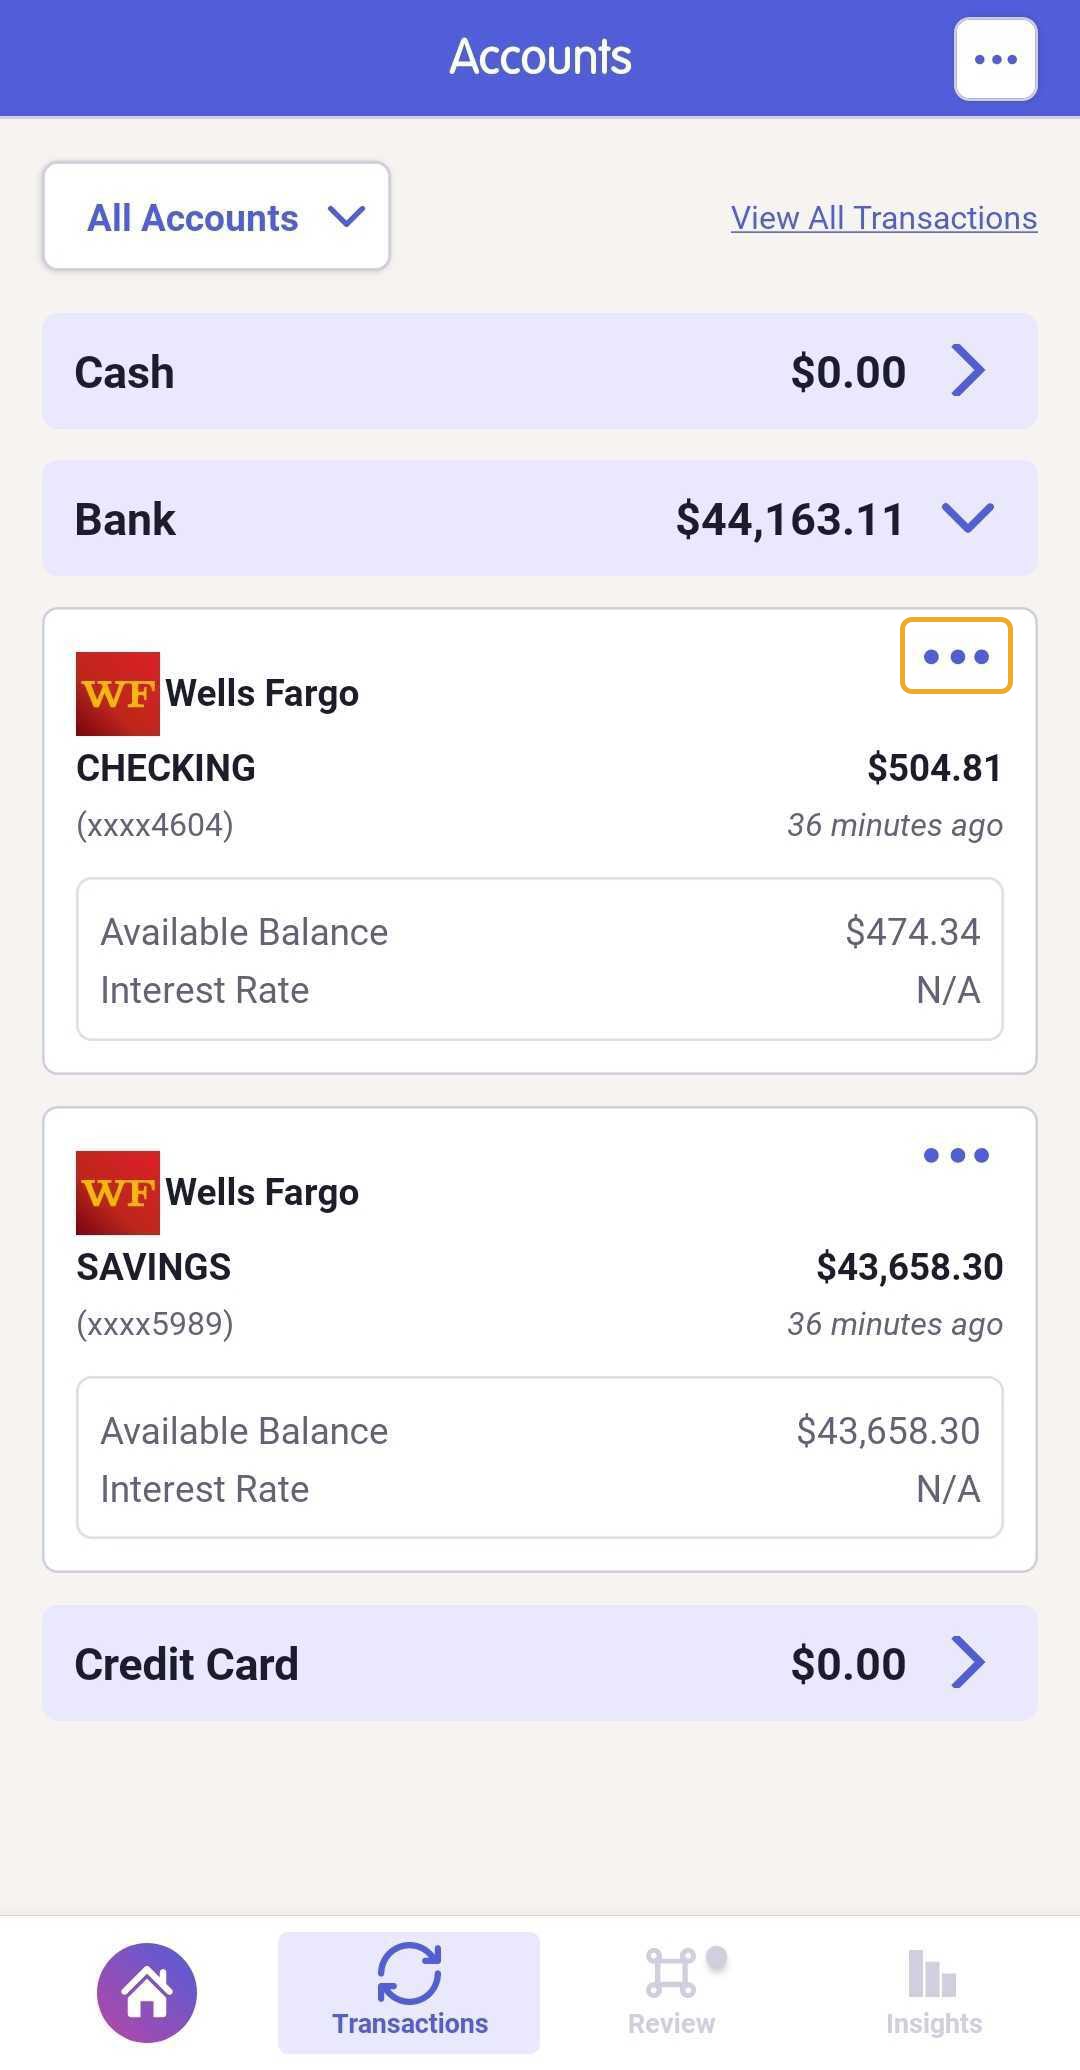
- Neat provides you with several ways to filter and view your transations.
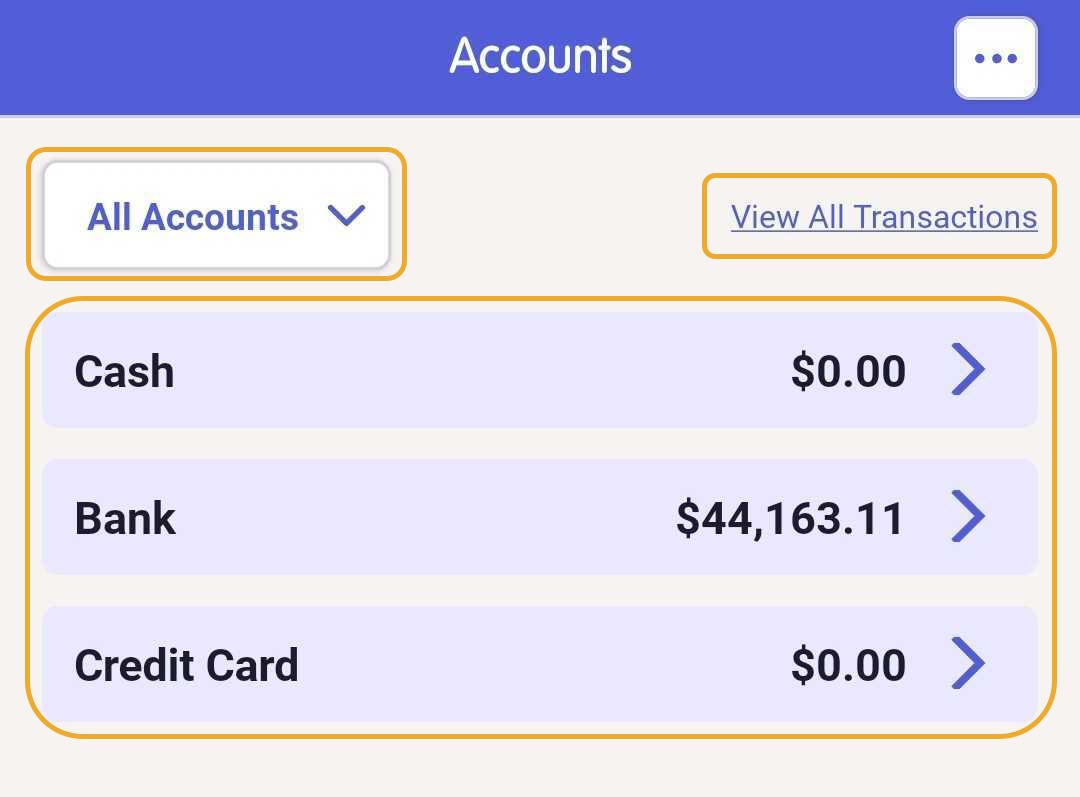
- Click View All Transactions to view all transactions from all connected accounts.
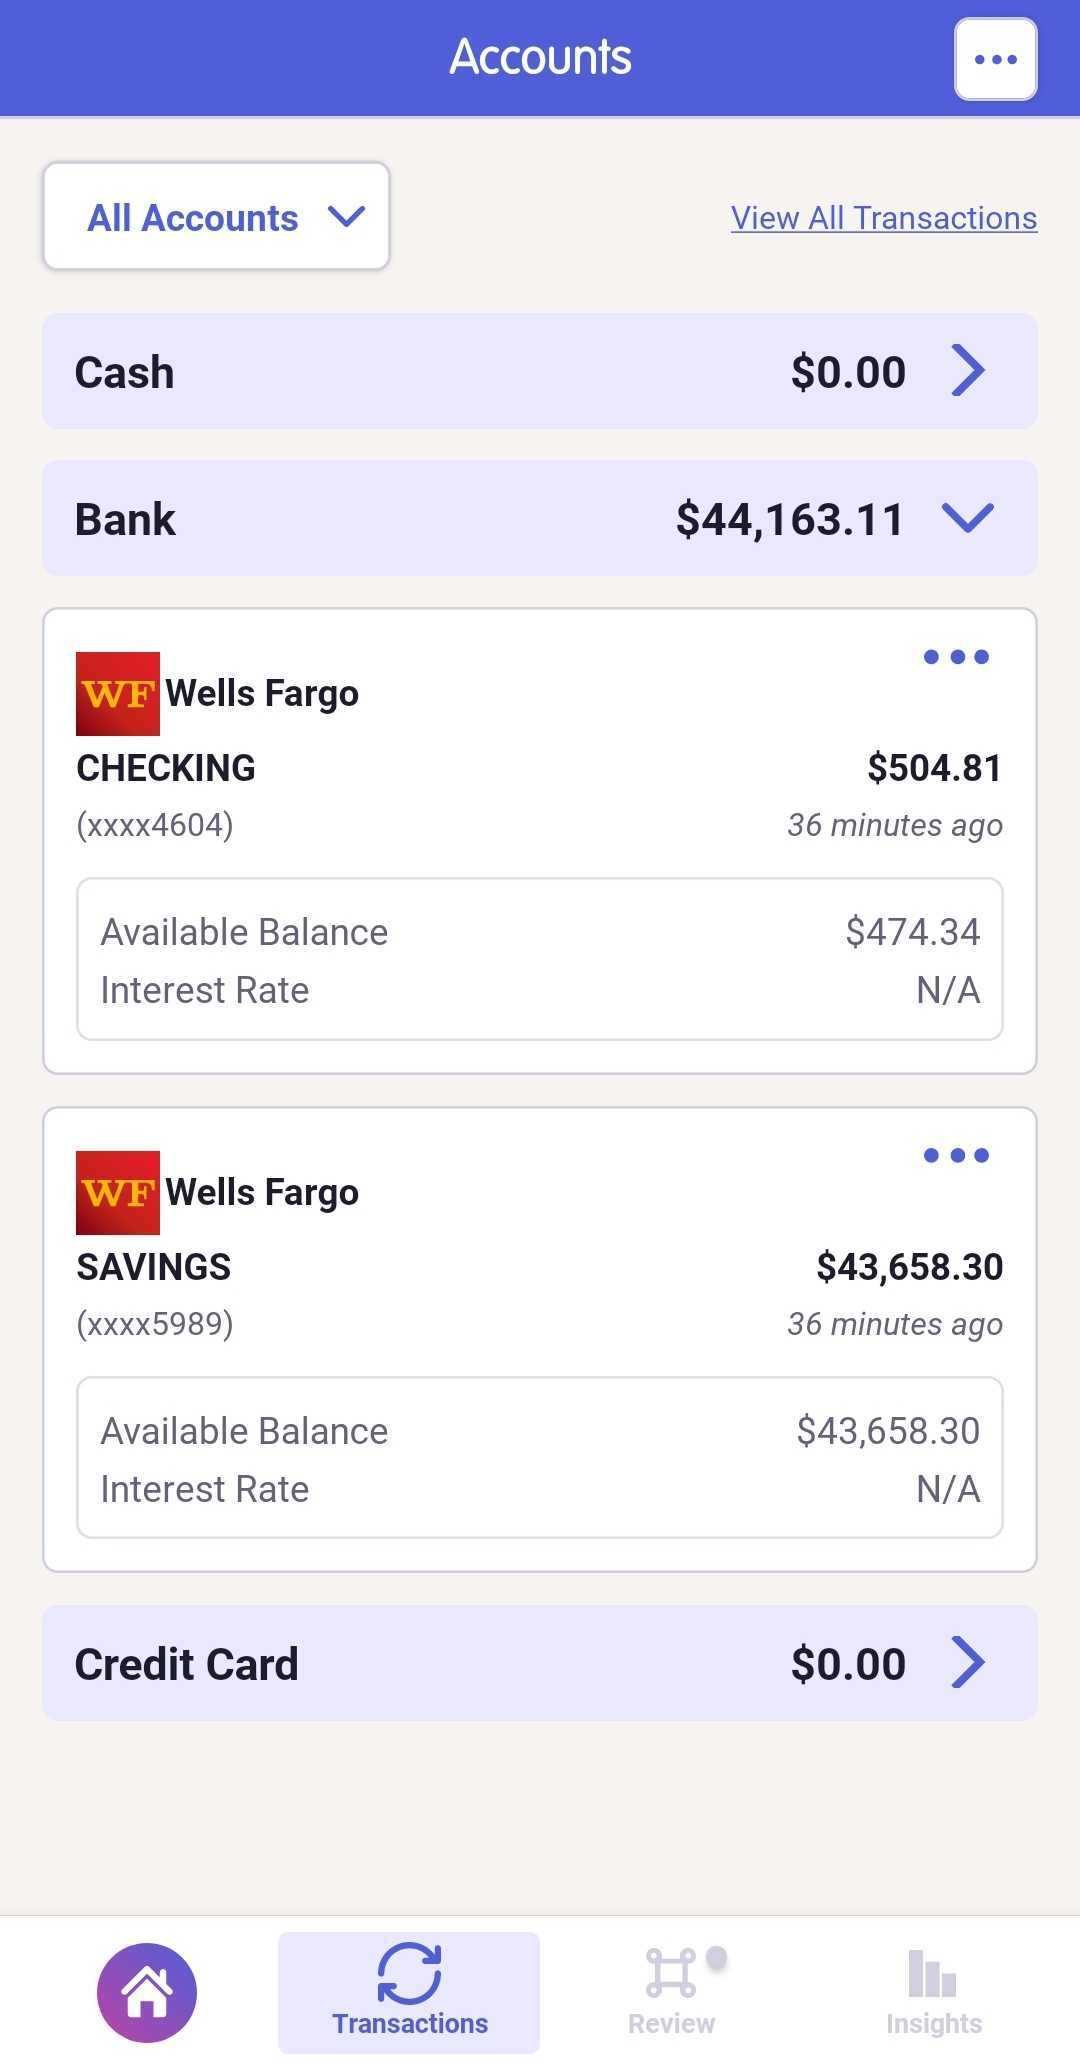
- Use the All Accounts dropdown to filter to a specifc type of connected account.
- Click on any of the types of accounts in the middle to see your details about your connected account.
Connect an Account for Transaction Streaming in the Neat Mobile App
- From the Home Screen toggle to Bookkeeping and select Accounts & Transactions.
- Click the dots [...] at the top right of the accounts screen.
- Then click Add Account.

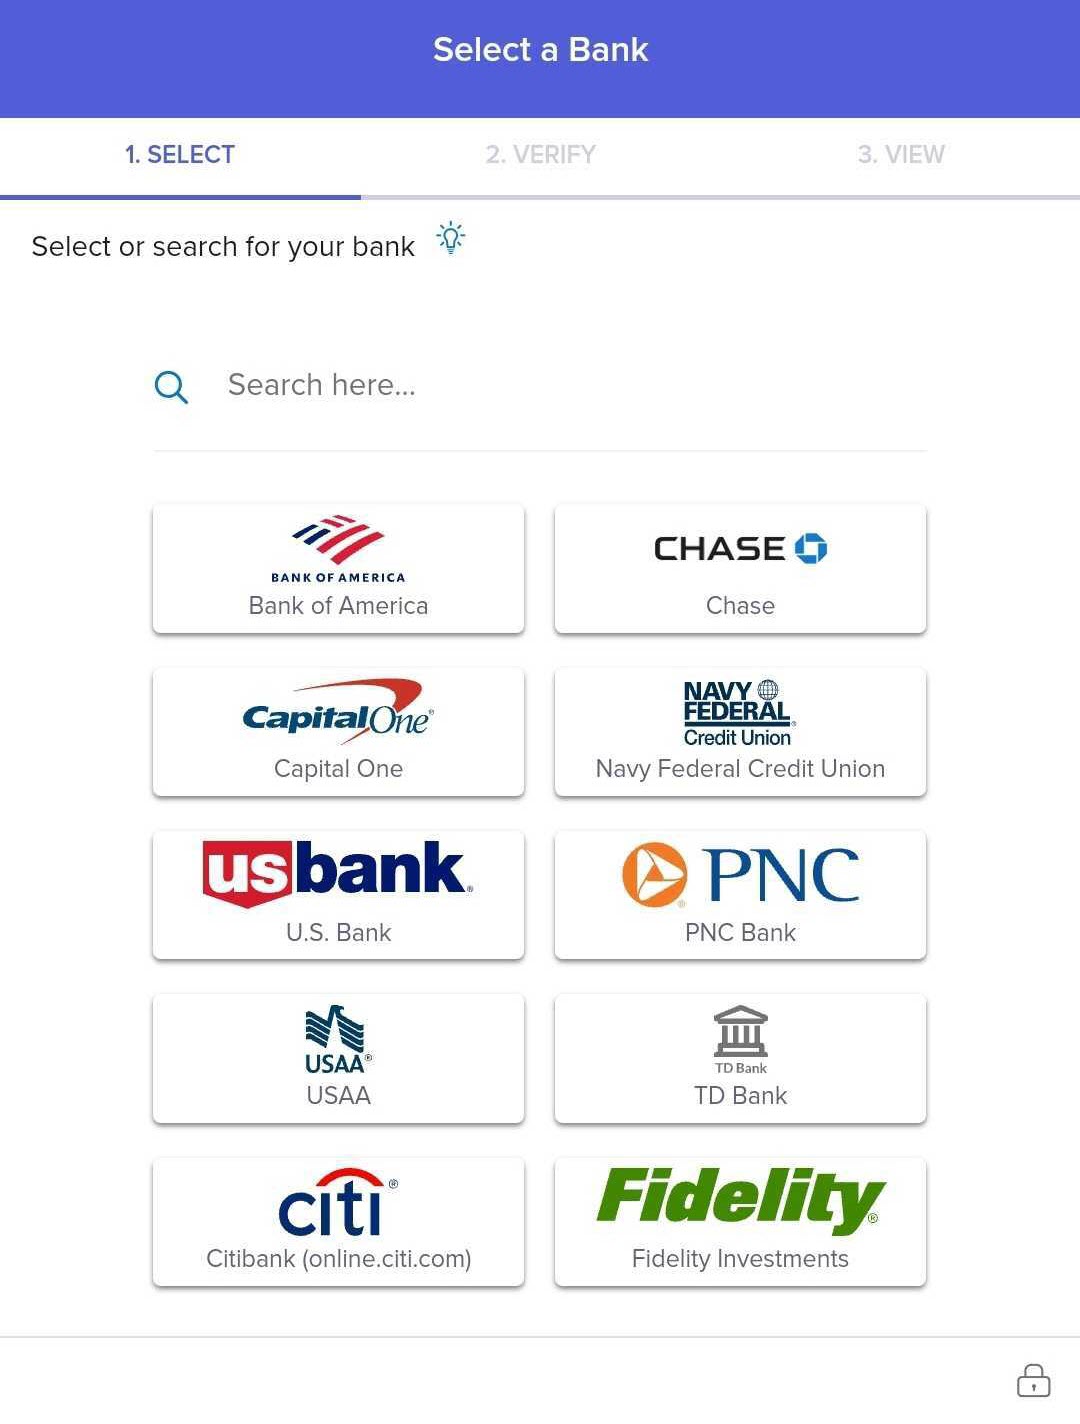
- In the connection modal select the financial institute you want to connect. If you don't see your institute in the list, then use the search bar.
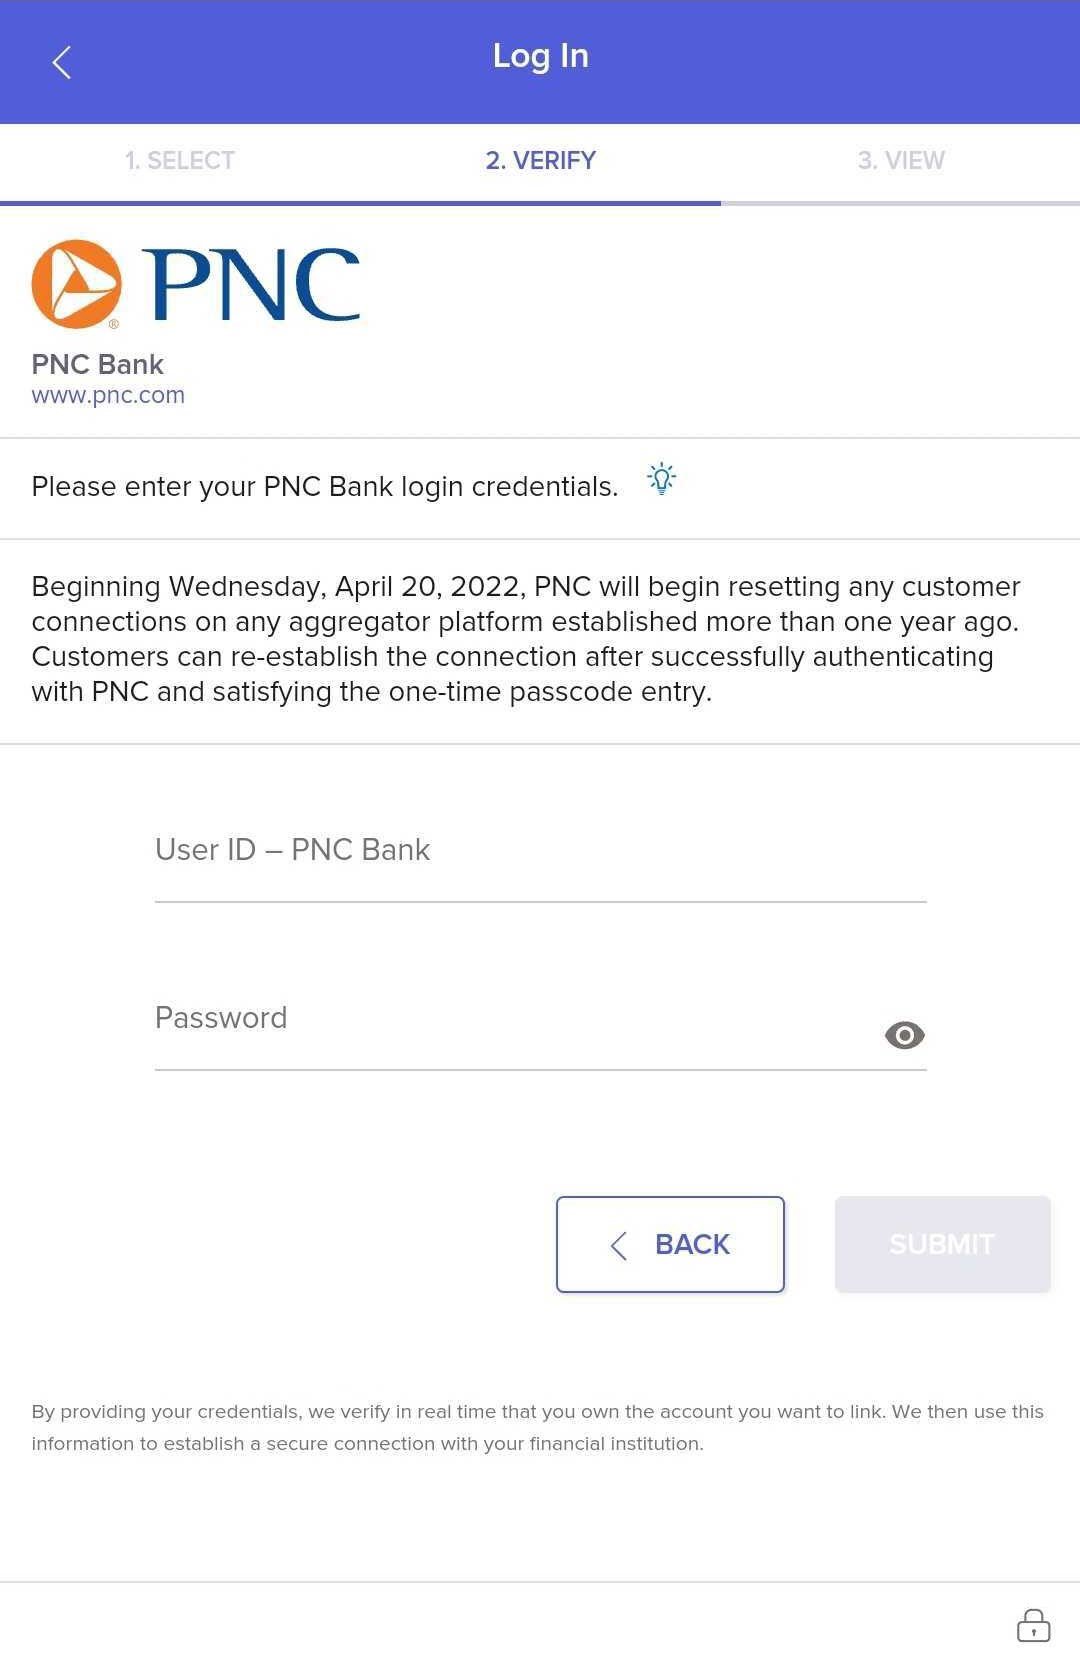
- Follow the prompts to log into your financial institution. Each institution has it's own authentication requirements. Some sites may require you to complete multi-factor authentication to successfully connect your account.
 Once successfully connected, it will take about 15 minutes to sync your account transactions. Any financial account you connect to the Neat Mobile App will also populate in your account when you log in to the web application at app.neat.com.
Refreshing Transactions in the Neat Mobile App
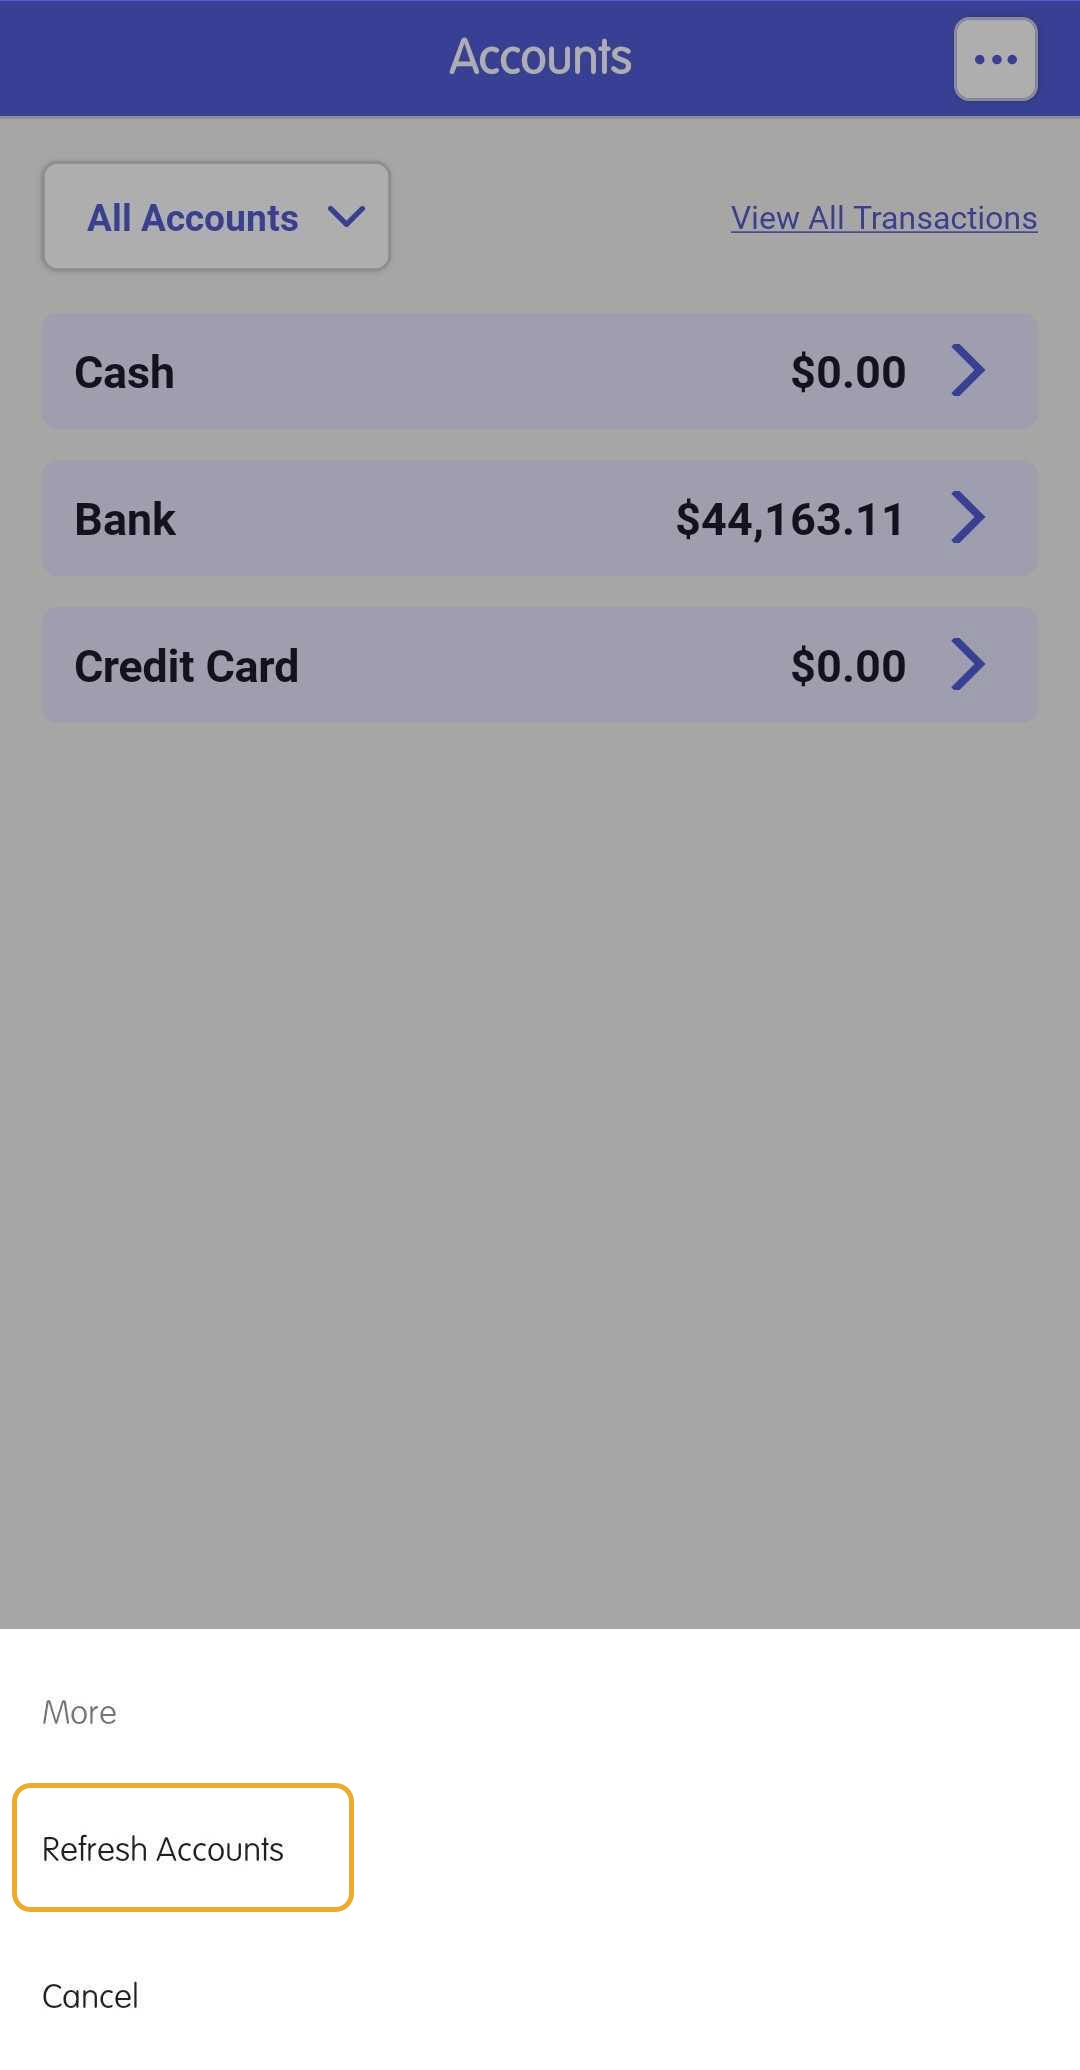
- You can refresh your connected account transactions simply by pulling down the screen to refresh your tranactions or click on the three dots [...] in the top right corner of the accounts page.

- Click Refresh Accounts.
Filtering Transactions by Date
Tip: When viewing transactions, make sure the date range covers the transactions streamed to your Neat account. If you don't see any data, check your filters and the date range selected.
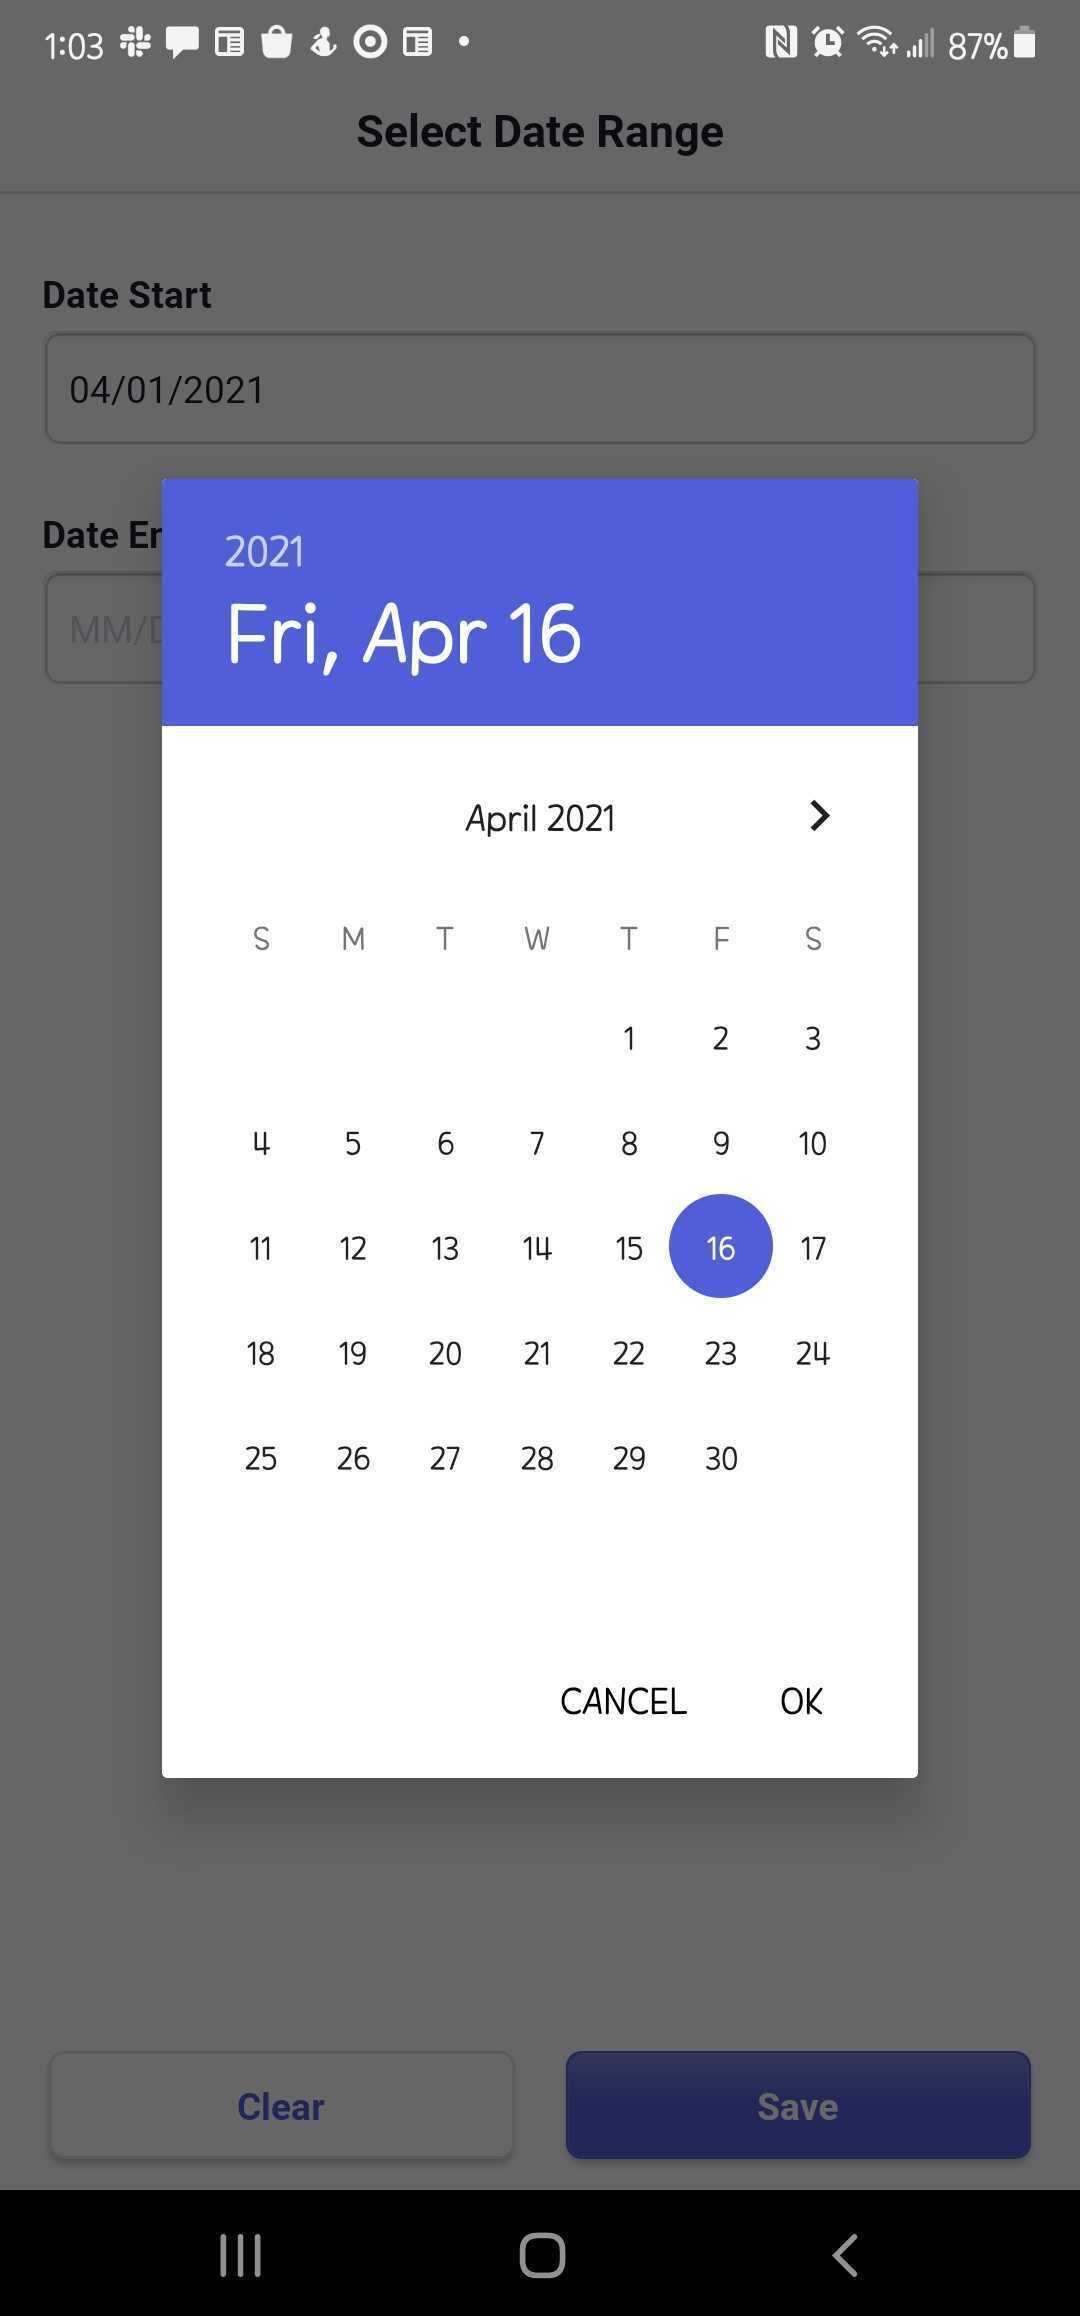
- You can select a pre-set date range from the list or tap the Start Date or End Date to customize a new date range.
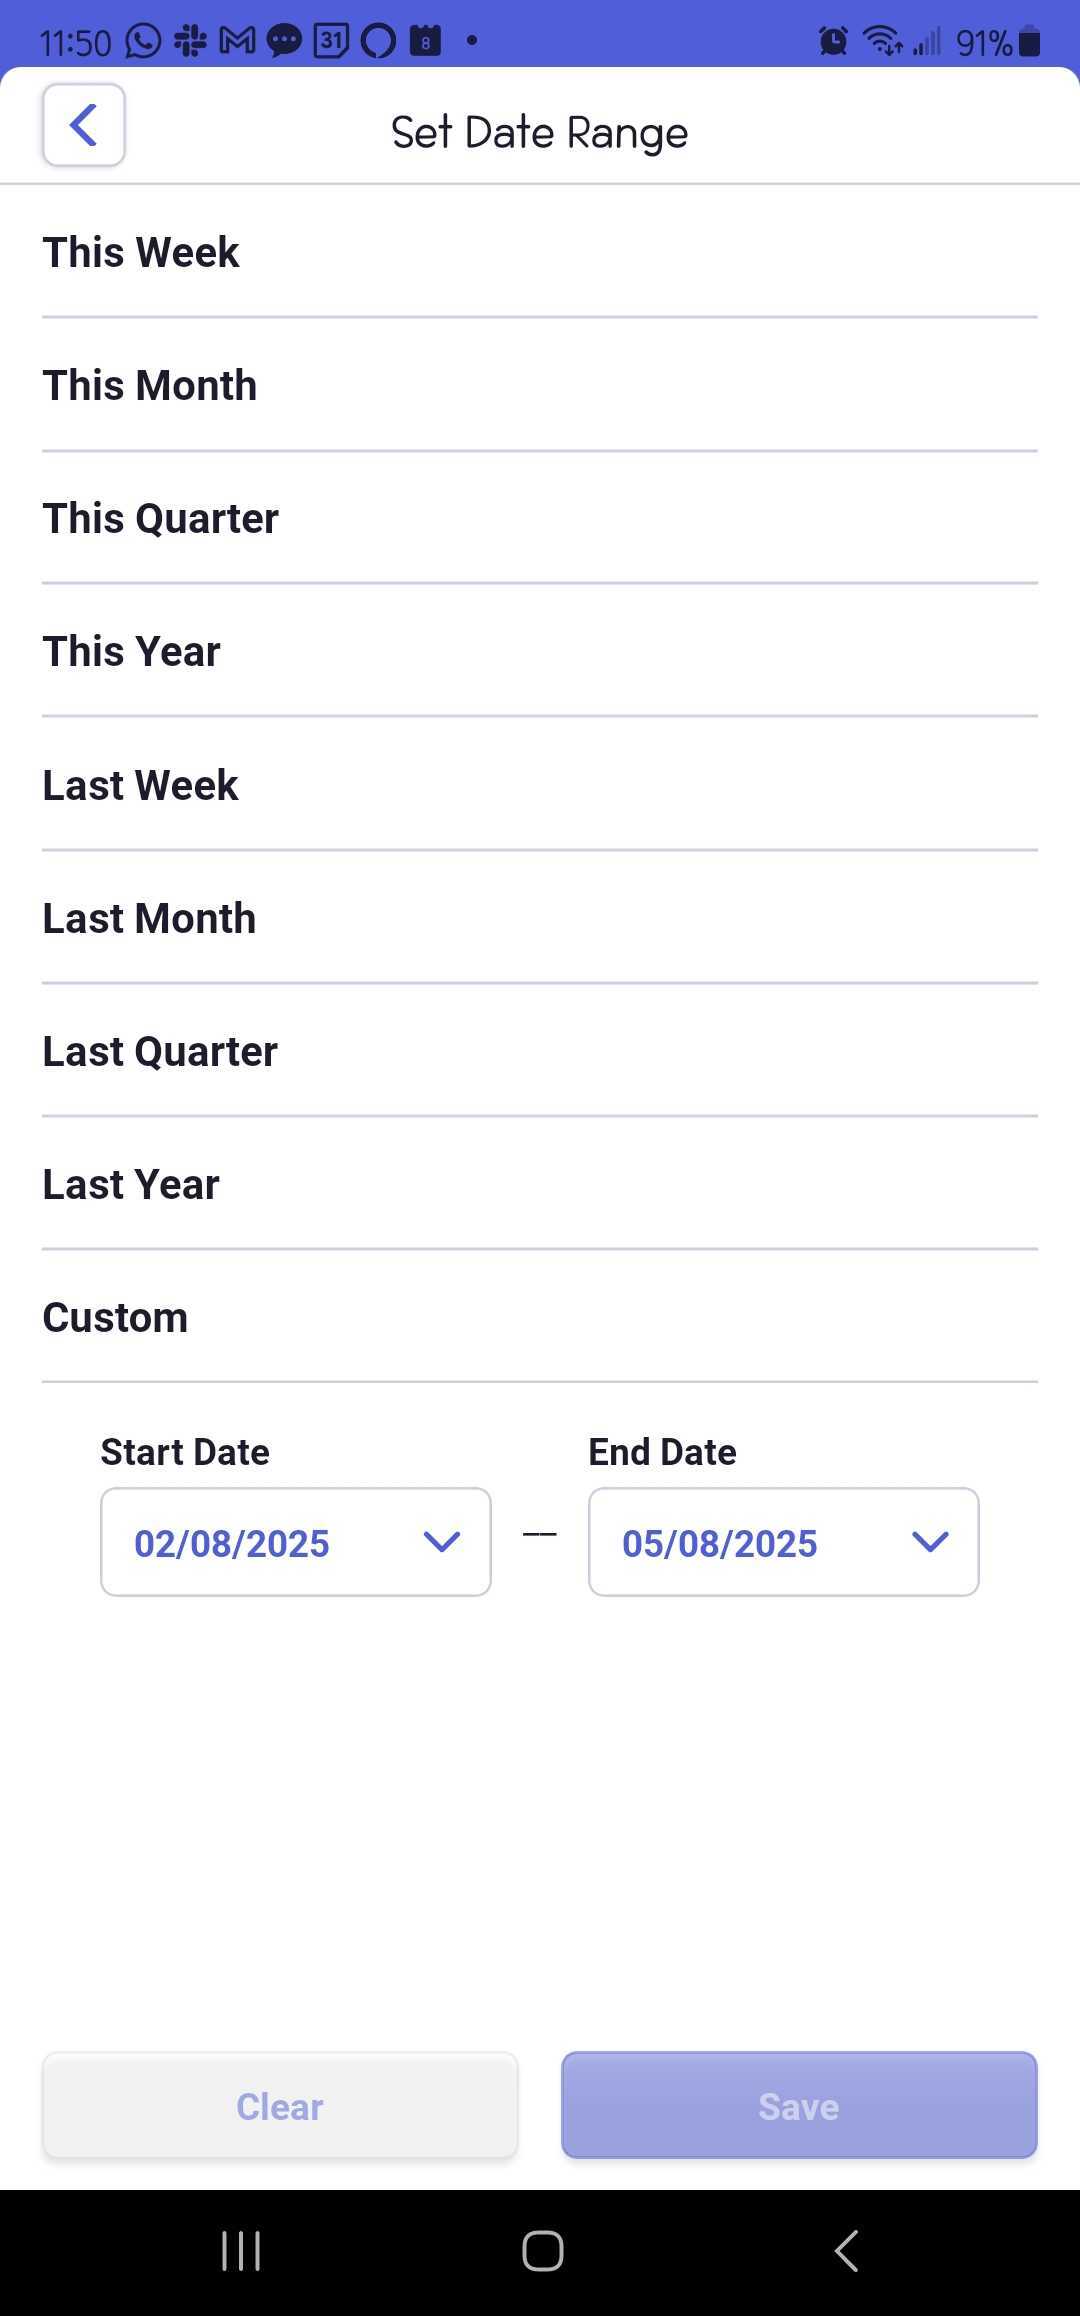
- For a new custom date range, set your new start and end date in the calendar window, press OK, then press Save. Your transactions will be refreshed to reflect the new date range.
Filtering Transactions by Categories
Tap the Filter dropdown to narrow the results further by Reviewed, Vendor, or Category.Vendor allows you to select one or multiple vendors to view. A check mark will appear on the right for each vendor you select. Press X to set your selection.
Category allows you to filter your transactions by your chart of accounts cateogries.
Editing Transactions in the Neat Mobile App
To edit details for a specific transaction, tap the transaction and then press the pencil icon on top left.You can edit the vendor, category, description, and you can also mark the transaction as personal. You cannot edit the date or amount.
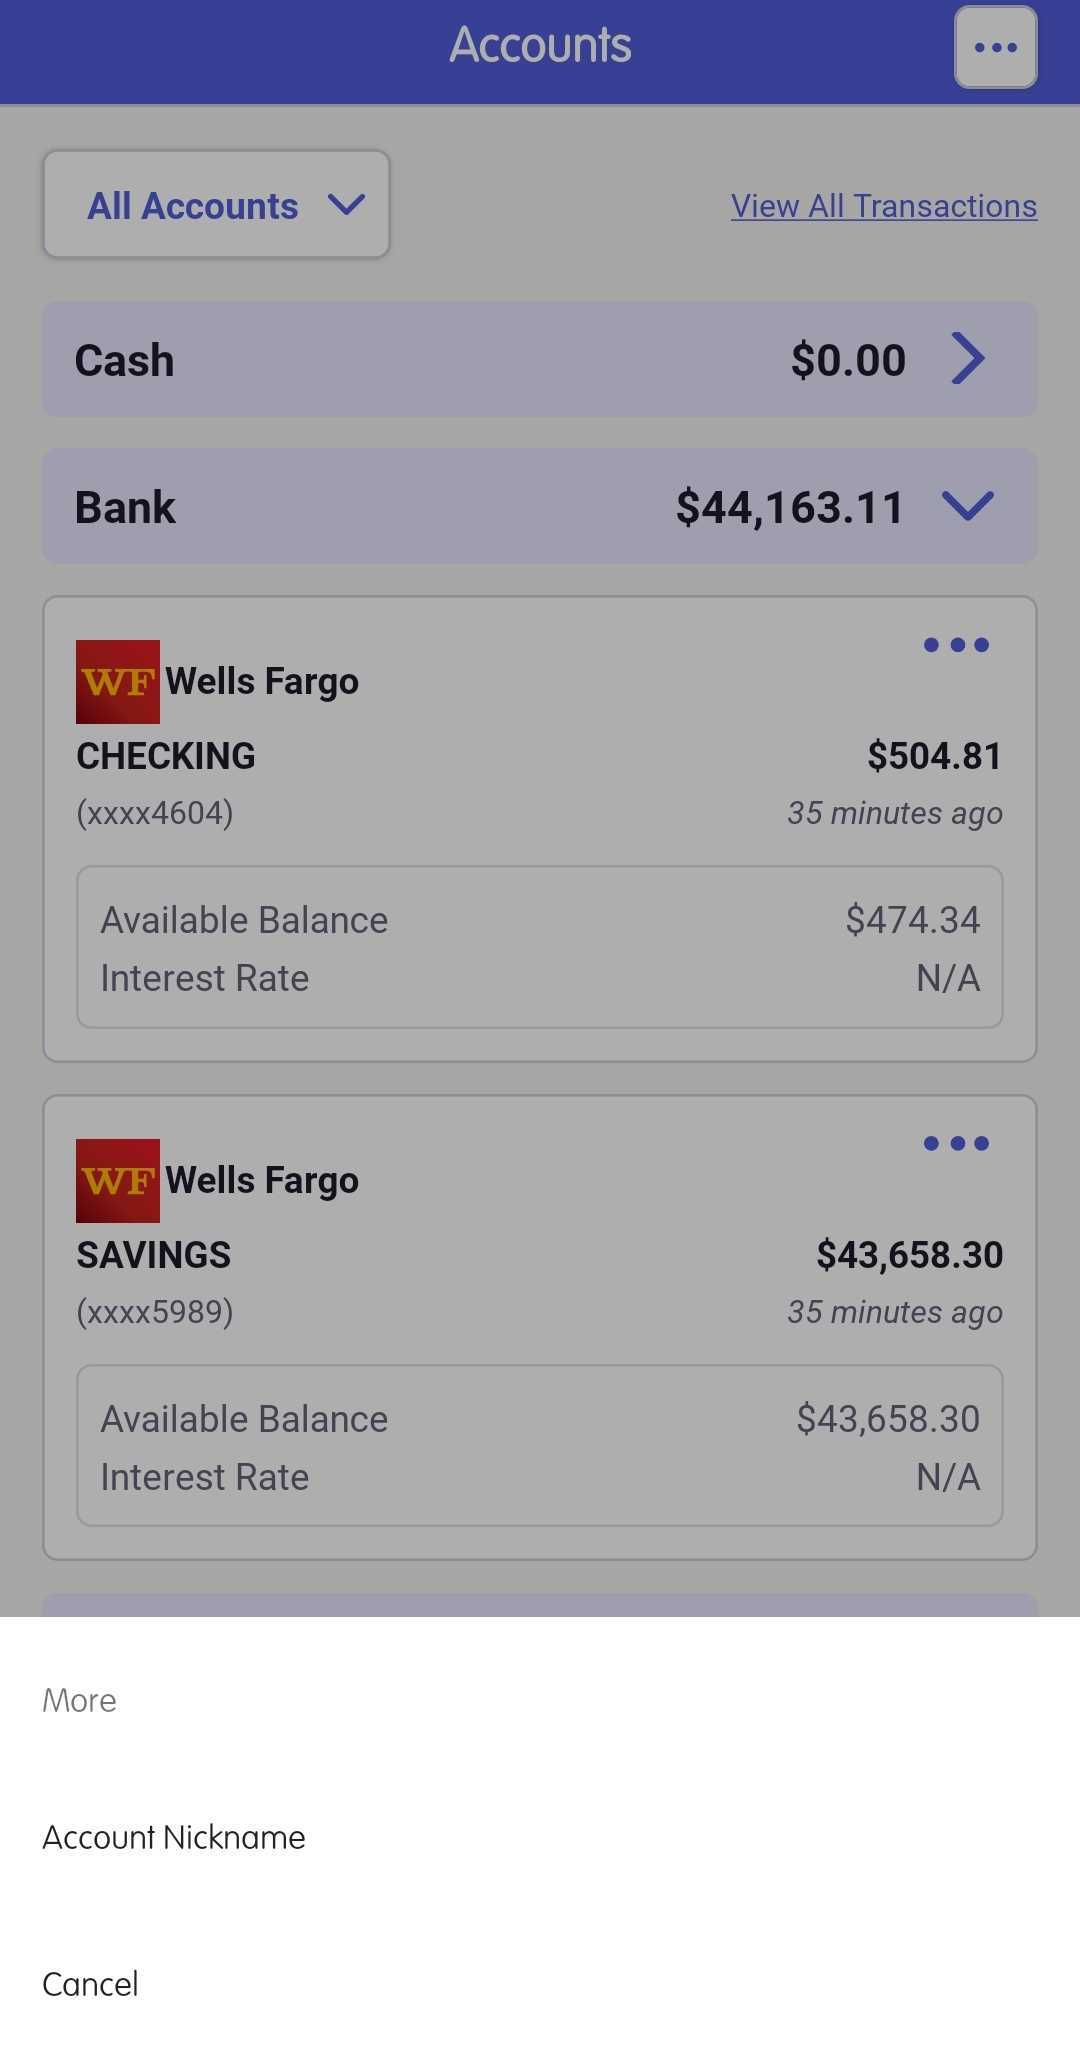
Rename your Accounts in the Neat Mobile App
- Give your accounts a nick name by opening the account you want to rename and clicking the three dots [...] in the top right corner of the account.
- Click Account Nickname in the pop-up to rename your account.