Connecting Multiple Neat Accounts to QuickBooks Desktop in Neat
From Neat you can connect multiple Neat accounts to multiple QuickBooks Desktop company files on the same Windows computer. See the frequently asked questions below for details on requirements and how get them connected. Keep in mind that you will not be able to connect more than one Neat account with one QuickBooks Desktop (QBD) Company File.FAQs
- What are the requirements for connecting multiple Neat accounts to QuickBooks Desktop?
- How do I connect my first account?
- How do I connect additional accounts?
- Which option should I choose in the Neat QuickBooks Connection Wizard?
- How do I copy and paste the connection token?
What are the requirements for connecting multiple Neat accounts to QuickBooks Desktop?
Before you begin:
- You will need a Neat Complete plan.
- You must have a QuickBooks Desktop subscription for each company file you wish to connect. Neat Complete accounts automatically include one QBD subscription.
- You must have QuickBooks (Desktop) Pro, Premier or Enterprise, 2009 and forward for Windows.
- QuickBooks Desktop must be installed on a Windows computer.
- You must be logged into your QuickBooks Desktop account as an administrator.
- QuickBooks must be open to the Company that you wish to connect Neat to.
- You must install the Neat Sync Manager onto the same computer that has QuickBooks Desktop installed on it.
Please note: These steps are for Windows QuickBooks versions ONLY. However, once the connection has been made (using a Windows computer), Mac users can use their Neat software to map and export data to QuickBooks Desktop.
How do I connect my first account?
Follow the steps below to establish the connection to QuickBooks Desktop for the first Neat account.
- Go to app.neat.com and sign in using your email address and password.
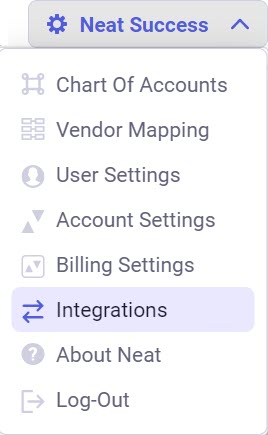
- Click on the small down arrow next to your name at the top right corner of the Neat Web app and choose Integrations.
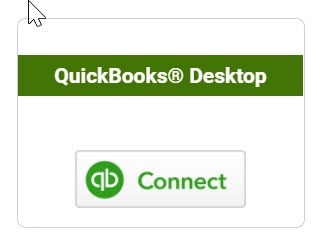
- Locate QuickBooks Desktop and click Connect.
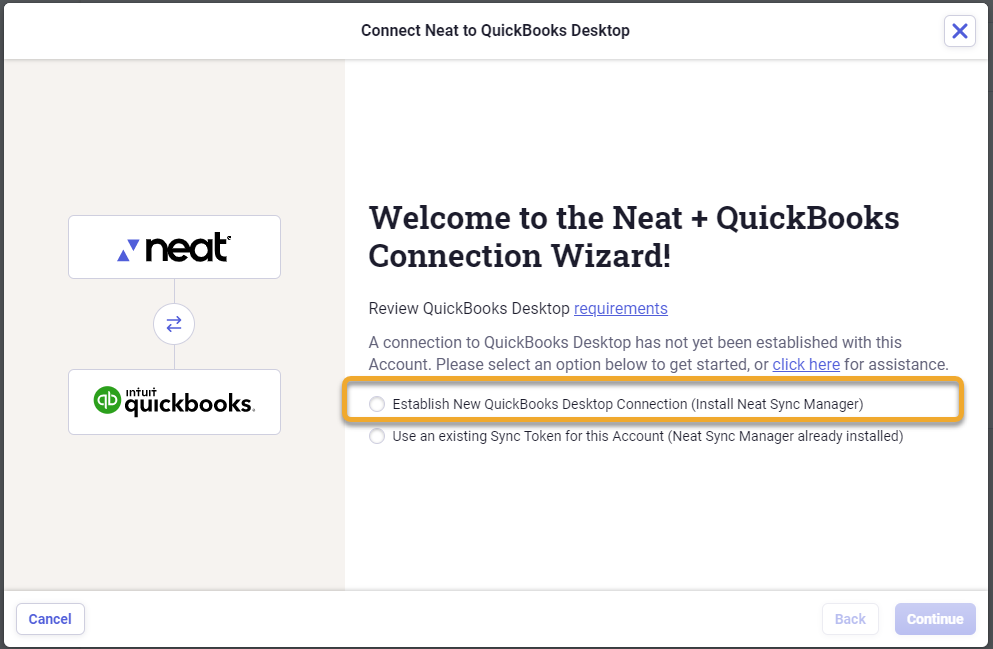
- The Neat QuickBooks Connection Wizard will open. Since it is the first time connecting to QuickBooks Desktop, select the first option that starts with “Establish New QuickBooks Desktop Connection (Install Neat Sync Manager)”.
 Please Note: If you are presented with this message and have already connected Neat with QuickBooks Desktop, then select the second option that starts with “The Neat Sync Manager has already been installed…” and proceed with the steps below to connect an additional Neat account. However, if you connected multiple Neat accounts to QuickBooks Desktop prior to February 27, 2019 and have more than one connection token see how to Set Multiple Neat Accounts to One QuickBooks Desktop Token.
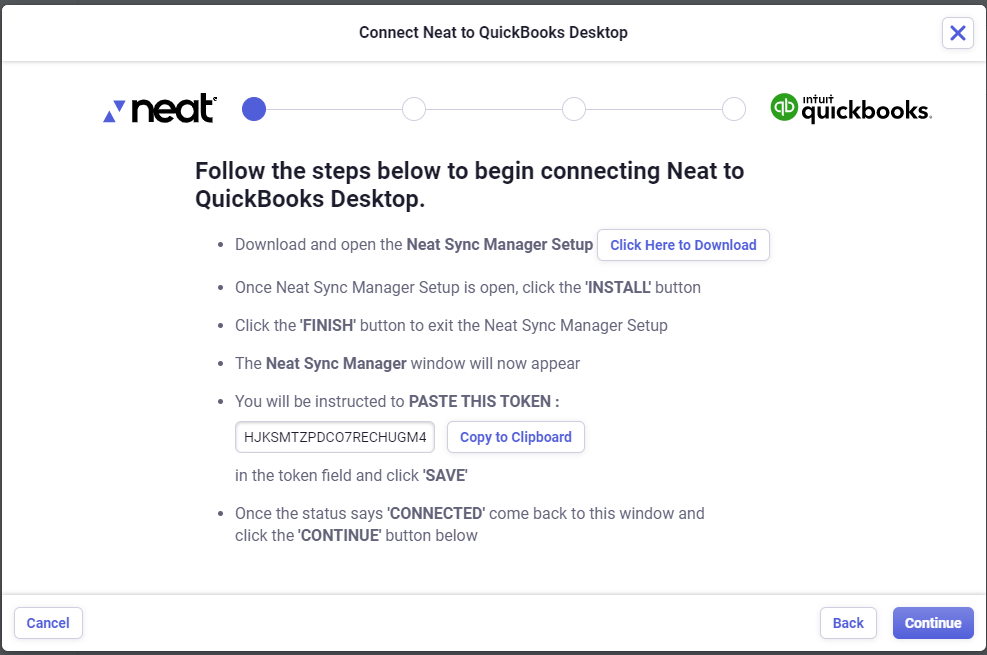
 - Before you begin, you will need to download the Neat Sync Manager application and enter a token code into the application to connect your Quickbooks Desktop account to Neat. Click the blue button
that reads Click Here to Download and the Neat Sync Manager will begin to download to your computer. Access the download, and double click on it to run the installer.
- You may receive a security warning, click Run to continue.
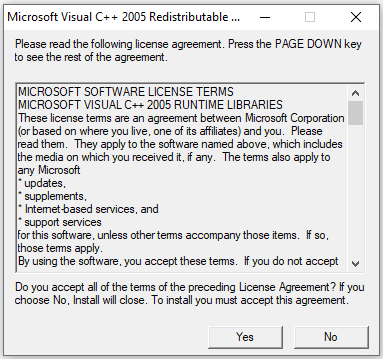
- You may also need to agree to a Microsoft Visual C++ 2005 license agreement. Click Yes to continue.
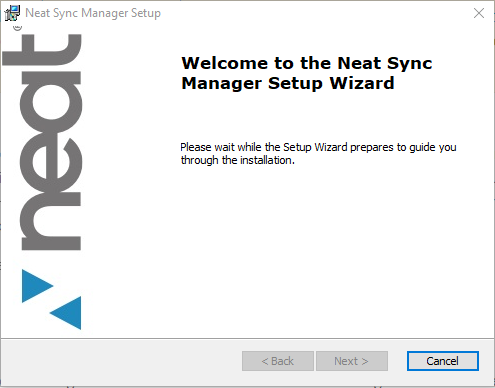
- Then the Neat Sync Manager Setup Wizard will open. Click Install to continue.
- After the Neat Sync Manager has been installed, click Finish to continue.
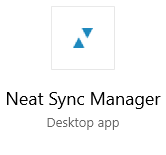
- The installation wizard will close and the following icon will be on your desktop. Double-click on the icon to launch the Sync Manager.
- A window will open and you will see a place to paste your token code. Go back to the Neat software and locate the token code, click Copy to Clipboard, and paste it into the Neat Sync Manager application. Choose Save to continue.
When you see the status change to Connected, go back to the Neat QuickBooks Connection Wizard and click Continue.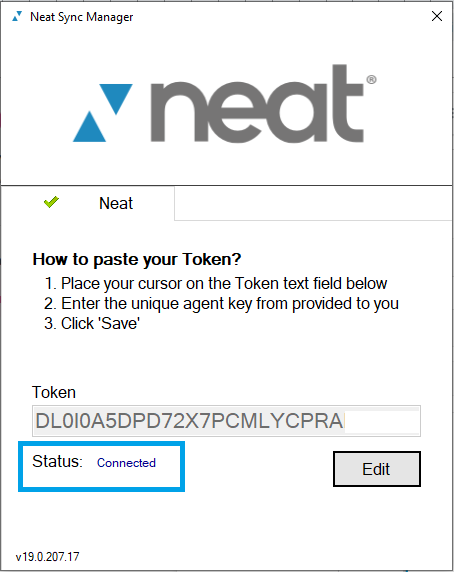
- Follow the steps and open the QuickBooks Desktop company file you want to connect to Neat and then click Continue.
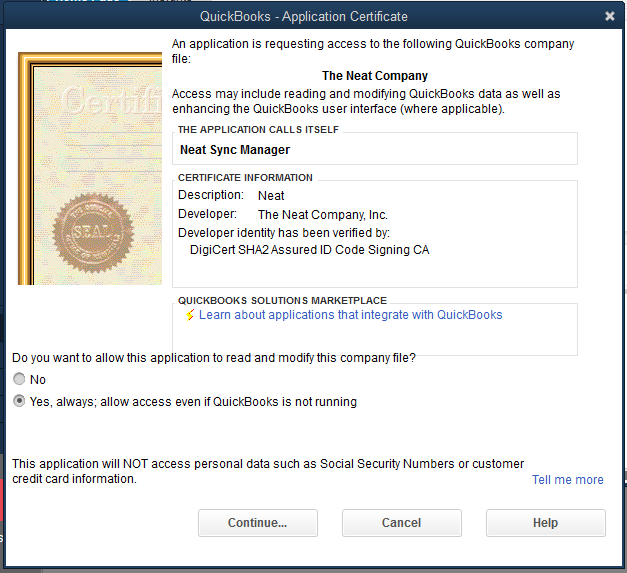
- You will be prompted to go back to QuickBooks Desktop one last time. After a moment the Quickbooks Application Certificate will open to validate the connection with Neat. You are free to choose any option but Neat highly recommends
selecting Yes, always; allow access even if Quickbooks is not running in order to ensure an uninterrupted connection. Click Continue. Select Done on the Access Confirmation page.
- Go back to the Neat Connection Wizard and click Continue.
- You are now connected to QuickBooks Desktop from your Neat account. Click Finished to close the Neat Connection Wizard.
How do I connect additional accounts?
When you have completed the first connection and are ready to connect an additional account, you will be able to follow a streamlined connection process and use the same token for multiple connections as detailed in the steps below.
- In QuickBooks Desktop, open the next company file for the second Neat account.
- In Neat, sign into the account you wish to connect.
- From the Accounting Tab in Neat, select QuickBooks Desktop and, if prompted, click Connect To New Company.
- When prompted to copy your existing token open the Neat Sync Manager and click the Edit button. Then click on the token. On your keyboard, press Ctrl + A to select the entire token. Then press Ctrl + C to copy the token.
Click Save in the Neat Sync Manager.

- In the Neat QuickBooks Connection Wizard click the box next to Apply Token and on your keyboard press Ctrl + V to paste the token in the box. Then click Apply Token.
- Follow the steps and open the QuickBooks Desktop company file you want to connect to Neat and then click Continue.
- You will be prompted to go back to QuickBooks Desktop one last time. After a moment the Quickbooks Application Certificate will open to validate the connection with Neat. You are free to choose any option but Neat highly recommends
selecting Yes, always; allow access even if Quickbooks is not running in order to ensure an uninterrupted connection. Click Continue. Select Done on the Access Confirmation page.
- Go back to the Neat Connection Wizard and click Continue.
- You are now connected to QuickBooks Desktop from your Neat account. Click Finished to close the Neat Connection Wizard.
Remember: You will not be able to connect more than one Neat account with one QuickBooks Desktop (QBD) Company File.
Which option should I choose in the Neat QuickBooks Connection Wizard?
The connection between Neat and QuickBooks Desktop generates a unique token that allows you to complete the connection. The first time you connect to QuickBooks Desktop you will see this screen:

- If this is your very first time connecting to QuickBooks Desktop from Neat, select the first option that begins with “I have not yet installed…”. This will generate your connection token.
- If you have previously established a connection between Neat and QuickBooks Desktop, you already have a token and, if you see this screen, then you should select the second option beginning with “The Neat Sync Manager has already been installed…” so you can follow the steps above to connect an additional Neat account. However, if you connected multiple Neat accounts to QuickBooks Desktop prior to February 27, 2019 and have more than one connection token see how to Set Multiple Neat Accounts to One QuickBooks Desktop Token.
How do I copy and paste the connection token?
- When prompted to copy your existing token open the Neat Sync Manager and click the Edit button. Then click on the token. On your keyboard, press Ctrl + A to select the entire token. Then press Ctrl + C to copy the token. Click Save in the Neat Sync Manager.
- In the Neat QuickBooks Connection Wizard click the box next to Apply Token and on your keyboard press Ctrl + V to paste the token in the box. Then click Apply Token.
- Follow the steps and open the QuickBooks Desktop company file you want to connect to Neat and then click Continue.