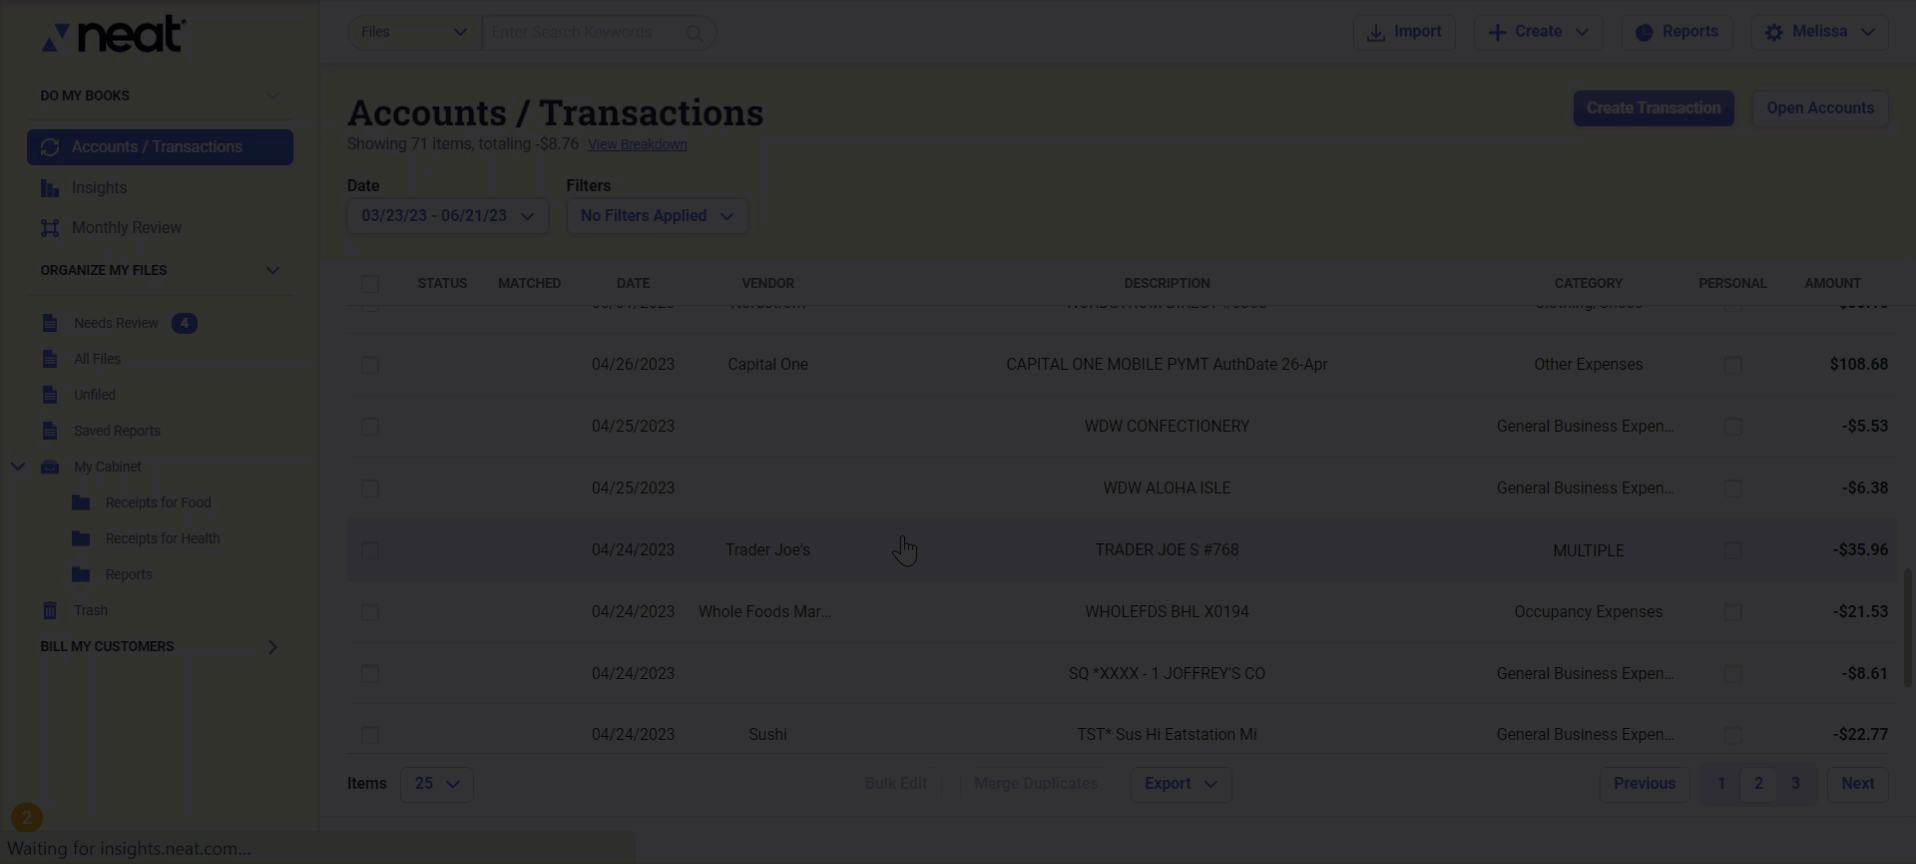
Open a transaction from the monthly review tab or transactions tab in the left-hand navigation bar.
Click Split Transaction.
A new Split Transaction section will be viewable with one new line item that has the default amount of the full transaction total.
Edit the amount and category of the line item and add an optional description. Click on Additional Fields to add more details.
Each line item has it's own save button. Click Save when you've finished editing your line item.
Please Note: The +Add button will be grayed out until you change the amount of the first line item and save your changes.
Whenever the total amount of your line items does not equal the total amount of the transaction, the Line Item Balance indicator will present you with a red error message indicating that your items are unbalanced and identifies the amount by which your items are unbalanced.
Click +Add to create a new line item.
Neat will automatically calculate and display the remaining amount of the overall total.
Edit the amount and category of the line item, if necessary, and add an optional description. Click on Additional Fields to add more details.
Click Save when you've finished editing your line item.
Continue until you have created all your line items. Ultimately, the total of all line items must equal the total amount of the transaction.
When you are done, click the Save button in the lower left-hand corner of the transaction details window to save all your changes.
How do I edit a split line item?
In the transaction details view, click on the pencil icon for the line you want to edit.
The Split Transaction Edit view will open. Edit the Description, Category, and Amount as desired. Click Save to keep your changes.
Please Note: If you click the Save button at the bottom left-hand corner of the transaction window instead of Save directly under the line item, you will get an error message stating you have a pending line item.
You must click the Save button under each of your line items first before clicking the Save button in the lower left-hand corner of the transaction details window.
Click Save in the lower left-hand corner of the transaction details window to save your transaction.
How do I delete a split line item?
Find the line item you want to delete. Then click the X.
The line item you selected will be deleted. This may cause the line item balance to become unbalanced. Make adjustments as needed.
Please Note: Whenever the total amount of your line items does not equal the total amount of the transaction, the Line Item Balance indicator will present you with a red error message indicating that your items are unbalanaced and identifies the amount in which your items are unbalanced.
You must edit your line items so that they equal the total amount of the transaction before saving the transaction.
If you attempt to save the transaction by clicking 'Save' in the bottom left-hand corner of the transaction details window before your lines are balanced, then you will get an error message stating the sum of all line items doesn't match the current transaction amount.
Once your line items are balanced, click Save in the lower left-hand corner of the transaction details window to save your transaction.
Why is the transaction tab grayed out?
The transactions tab may be grayed out for a couple of reasons:
You may be logged into a shared account that you are not the owner of. If you are an invited user to an account, you will not be able to view the transactions tab of the owner's account for security purposes. In the future, Neat will have
a 'user roles & permissions' feature, that will allow account owners to give their invited users access to this tab if needed.
The transaction features may not be available to you due to your plan type. Users who registered with Neat before October 15th, 2019 will need to upgrade their plan to gain access to the transaction features. Existing users
can trial the new features first before upgrading their plan, by clicking the transactions tab and choosing Start 15 Day Trial.