Mark Bills and Invoices as Paid
Neat now lets you mark bills and invoices in your cabinet as Paid. This allows you to better track expenses yet to be paid by setting filters to sort bills and invoices by paid or unpaid status.Mark as Paid FAQs
- How do I mark bills and invoices as Paid?
- Can I see the Paid status in the grid?
- Can I filter invoices and bills by Paid status?
- Can I bulk edit the Paid status?
How do I mark bills and invoices as Paid?
When editing a bill or invoice, you can simply put a check in the box for Paid. A green PAID stamp will appear at the top of your item data above the folder name.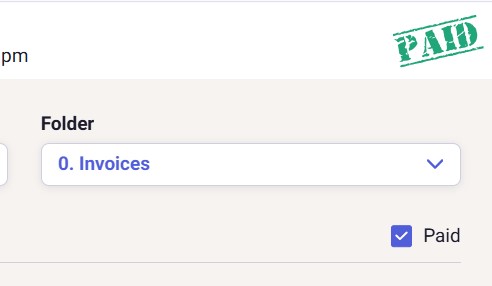
Can I see the Paid status in the grid?
Yes. When viewing the grid, bills or invoices marked as paid will show a check in the Paid column.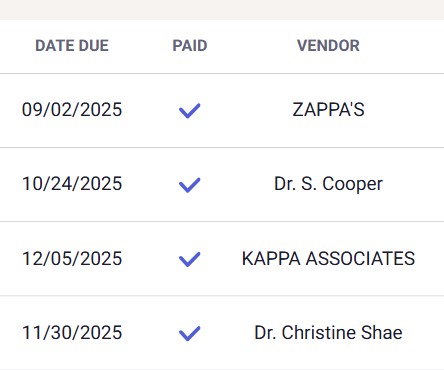
To enable the Paid column:
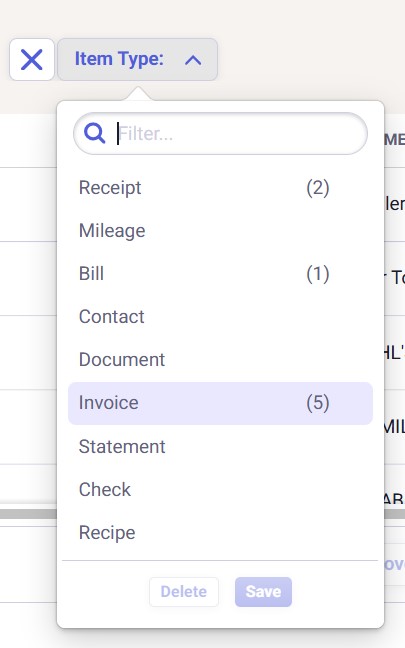
- Click Filters then choose Item Type. Select either Bill or Invoice (not both).
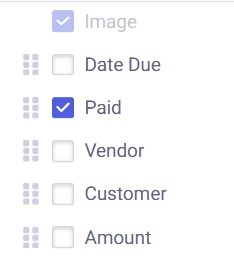
- Then click Column and select Paid.
Can I filter invoices and bills by Paid status?
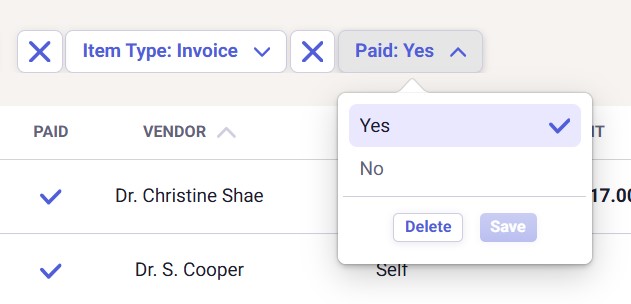
Yes. Note that you do not have to enable the Paid column in order to sort by Paid status, but it helps.- First, you must filter the item type by either Bill or Invoice (not both) as shown above.

- Then, you will be able to add a second filter to show only paid items (select Yes) or only unpaid items (select No).
Can I bulk edit the Paid status?
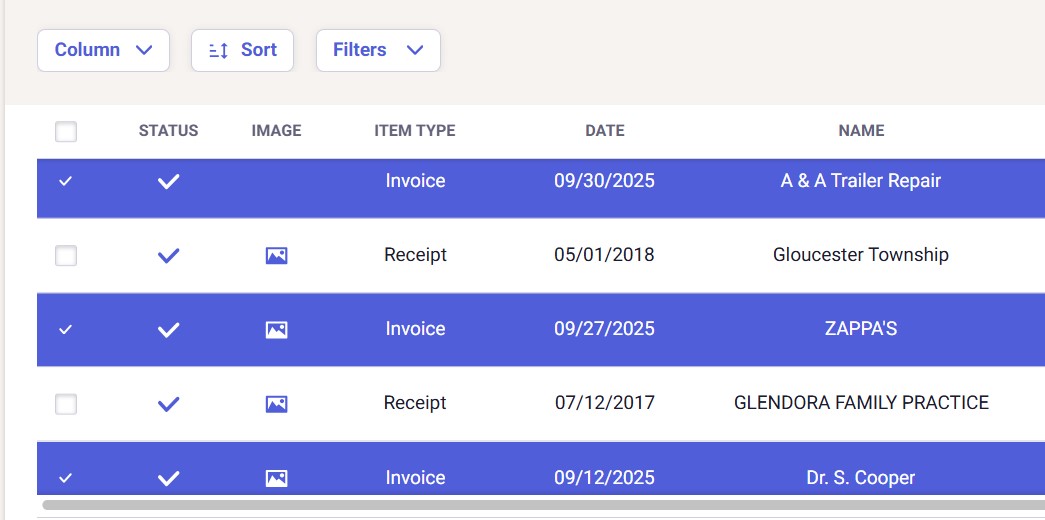
Yes, you can. Follow the steps below to bulk edit the paid status of bills or invoices. Note that when bulk-editing the paid status, you must select either all invoices or all bills. The paid status will not be available if more than one item type is selected.- Check the box for each invoice or each bill (one or the other, not both) to be bulk-edited.
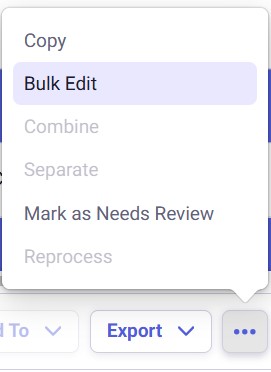
- In the lower right, click the ellipsis (...) and sBulk Edit.
-
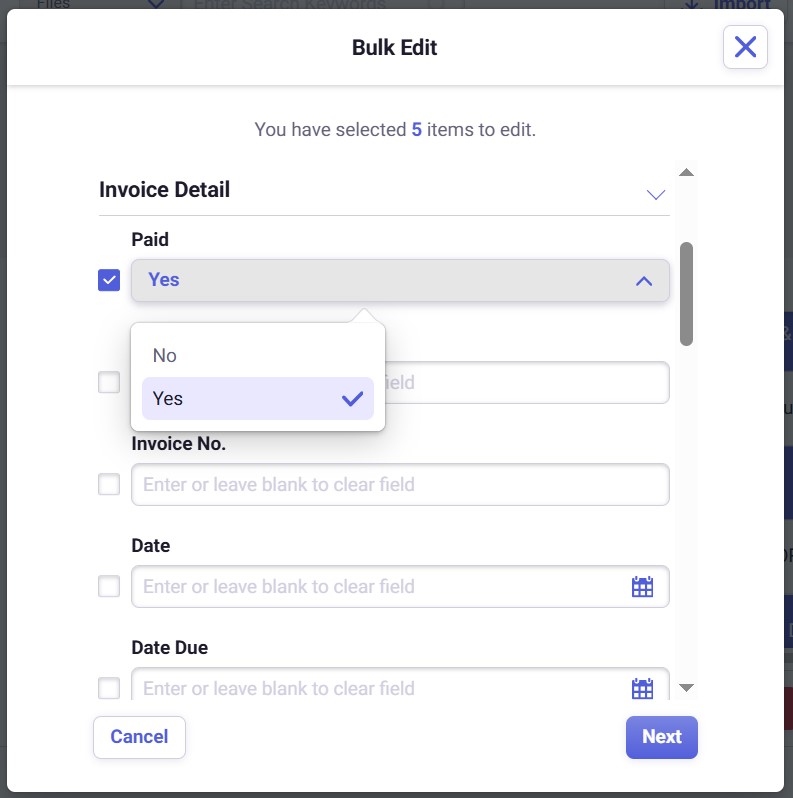
In the Bulk Edit pop-up window, put a check next to Paid and select Yes for paid or No for unpaid. Make any other edits you need and then click Next when ready.
- Review your changes for accuracy. Select Previous to make corrections. Select Next to continue.

- You'll see confirmation that your items were successfully edited. When ready, click Close.

