Neat Smart Organization System - Send a Contact to Outlook Contacts
Please Note: Neat Web App now has ALL of the desktop features, and so much more! You can continue to use this desktop application, however, all new features, improvements, and updates will occur in our Neat web application. Click here to learn more!
Learn how to send a contact to Outlook Contacts in the Neat Lightweight Desktop App to aggregate all of your personal or business contacts in one place. If you have not yet set up your Outlook account as a connection in Neat, click here.
Please note: Neat is currently only configured to integrate with personal Outlook accounts. You can verify the type of Outlook account you have by logging into Outlook.
Send a contact to Outlook Contacts
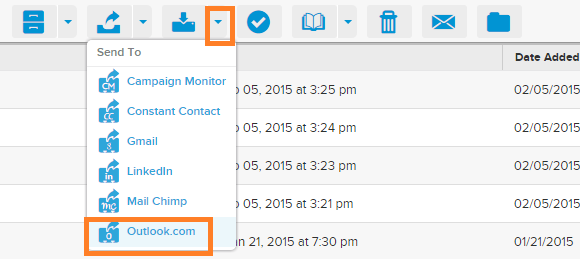
- Go to the contact that you would like to send to Outlook, click the contact and then click Send To.

- A drop down list of connected accounts will appear. Click Outlook Contacts.
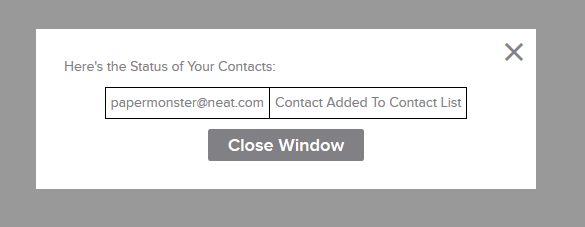
- A message box will appear confirming the status of your Contacts. When finished reviewing the message, click Close Window. Browse to outlook.com and log in to view the newly added contacts.